
Remove the previous finish. Before we start staining we need to make sure ALL of the previous finish has been thoroughly removed. Make sure the floor has been sanded to a fine grit and that there are no longer any scratches from the rough grit sanding. (This is beyond the scope of this article). Hoover the floor thoroughly including going round the edges with the pipe.
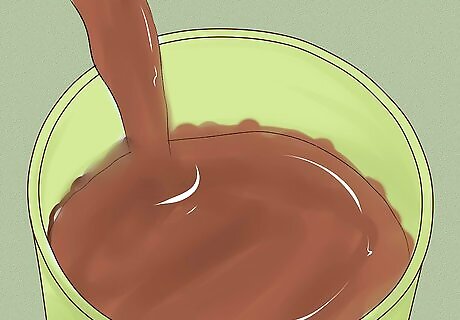
Ensure you have enough stain to cover the whole area (plus 10% to be safe). If you have 2 or more cans of stain, make sure you shake the cans and pour them into a bucket to mix them together. Sometimes there are variations in the color from batch to batch. If you pour a can in halfway through that is from another batch, you will see half your floor a different color. Not a big issue just be aware.
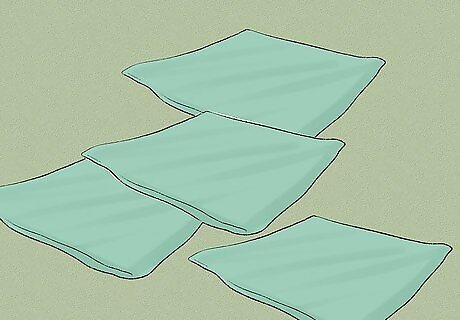
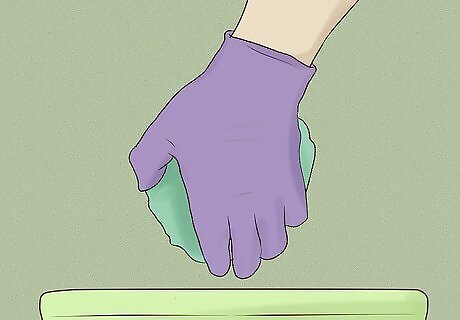
Prepare your rags. You need roughly 2 rags for every 10 square meters (110sq ft). Each rag should be around tea towel size (not much more than a fist full). You have a rag for dipping into the stain and wiping it on (ragging on) and then another rag for drying the excess off the surface. You'll want to replace them both after 10 to 15sq m (110 to 165sq ft) as they get too full of stain.
Start brushing the stain on in one far corner. Give the stain one last stir with a brush. Start in one corner brushing along the back edge of the floor into the corner, then across the adjacent edge by no more than arms length (18 inches is best).
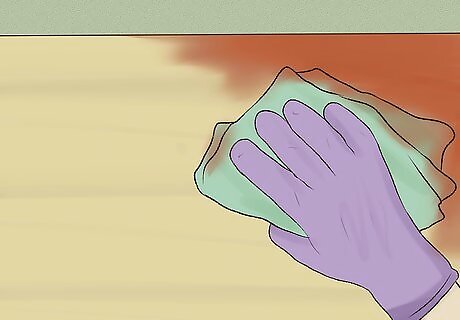
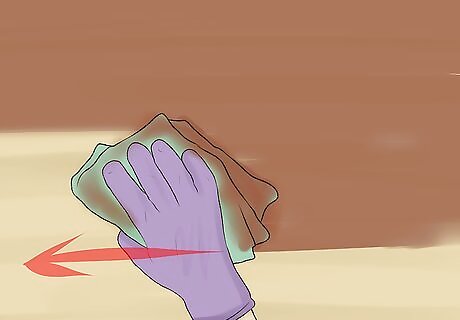
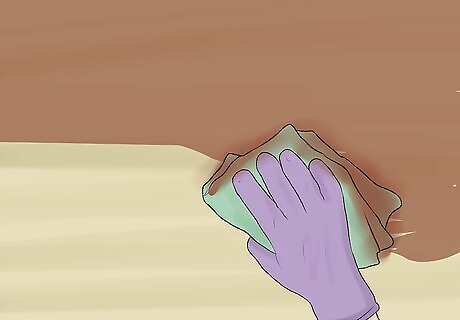
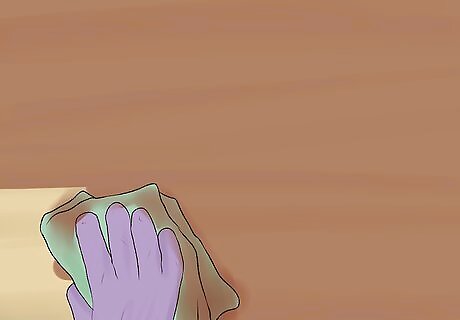
Start ragging on the stain thickly. Roll one of the rags into a ball and dip it into the stain (don't go dunking it in, just dip). Then fill in the area you have just brushed a border round with that rag of stain. Then use the other rag to wipe over that area you have stained to dry the surface. That is, to remove the excess stain from the surface. This is key.
Moving along the boards, brush against the back wall, another 3 to 5 feet (0.9 to 1.5 m) before dipping the "ragging on" rag in the stain and staining that area the same 18 inches (45.7 cm) deep as before. Now it should be clear that we are staining the floor from one side to the other, a couple of boards at a time starting from one side and moving to the other.
Go back to the other side and start a new row. Once one full length is done, you can go back to the other side and brush along the adjacent wall again, up to 24 inches (61.0 cm) this time. Keep ragging on and ragging off, from one side of the room to the other until you have covered most of the room, with maybe 24 to 36 inches (61.0 to 91.4 cm) left.
Finish up the last area. With this last section of the floor you have to brush round the edge, then rag on a small area, rag it off, move back, brush, rag on, rag off, move back, brush, rag on, rag off. Edging your way backwards towards the door.
Give the stain plenty of time to dry (as indicated on the tin). Once dry, hoover and apply protective coating. Water-based polyurethane is a good choice.


Comments
0 comment