views
Using a Curling Tool
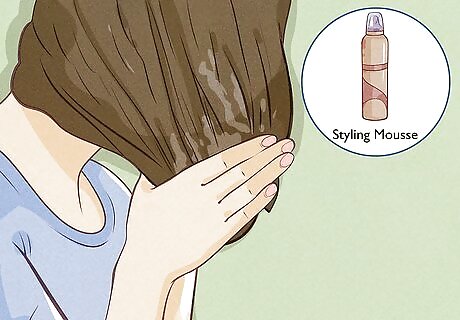
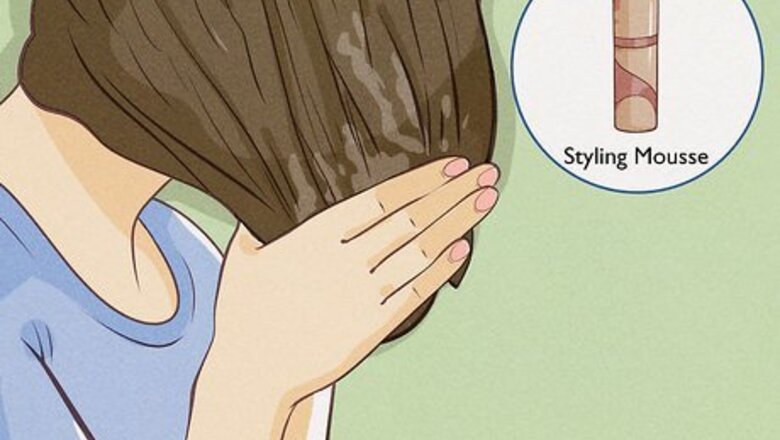
Distribute a lightweight styling mousse through your damp hair. The mousse will help hold your hair in place once it’s styled. It’ll also give your hair volume and make your hair easier to style. Many styling mousses will also protect your hair from the heat in your styling tools, which can cause damage. Apply the mousse properly by spreading it evenly through your hair from root to tip.
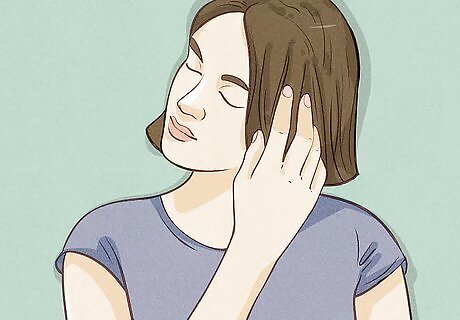
Dry your hair roughly while combing it with your fingers. If you have fine hair, dry it until it is about 80% dry. If you have coarse hair, dry it until it is 50% dry. When you’ve finished rough drying, let your hair air dry completely before using a curling iron. Finger-combing your hair while rough drying will help prevent tangles. Start with your blow dryer’s medium or low heat setting to prevent damage to your hair.
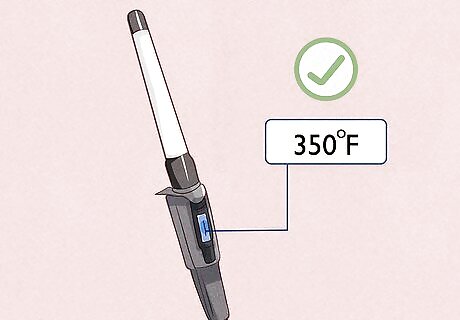
Heat your curling tool to 350 °F (177 °C) to 400 °F (204 °C). If your hair is color-treated or processed, you’ll want to use lower heat to avoid damaging your strands or ruining your hair color. Thick or textured hair can withstand higher temperatures. Use lower heat if you have fine or dyed hair. Lower heat won’t ruin your hair color or cause breakage. Use higher heat if you have thick or textured hair. If the temperature is too low, the curling iron won’t create curls.
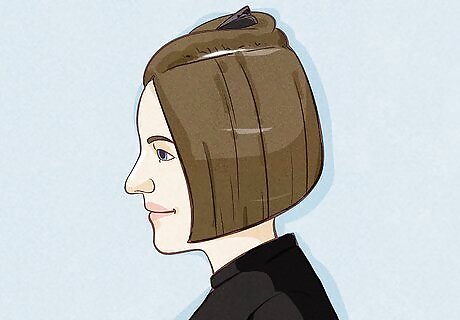
Divide your hair into 3 horizontal layers, leaving a 2 in (5.1 cm) layer loose. This bottom layer will be the underside of your bob, closest to your neck. Use a clip to gather the other 2 sections of your hair out of the way. Curling your hair in sections makes styling easier and more manageable, ensures that all of your hair gets styled, and creates volume.
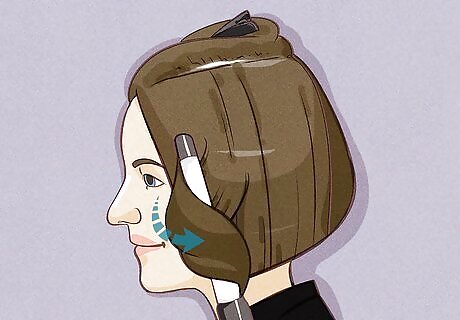
Wrap 1 inch (2.5 cm) vertical sections of hair around your curling tool. Start from one side of your head and work towards the other. For sections of hair around your face, wrap strands around the curling iron away from your face or shape your curls away from your face. If you wrap your hair towards your face, your hair will curl inward and cover your face. You can use a curling iron, curling wand, or a flat iron to curl your hair. If you’re using a curling iron, you can wrap your hair around the barrel without using the clamp, similar to using a curling wand. Or you can use the curling iron clamp to help keep your hair in place. For larger curls, you can wrap 2 in (5.1 cm) sections of hair around your iron.
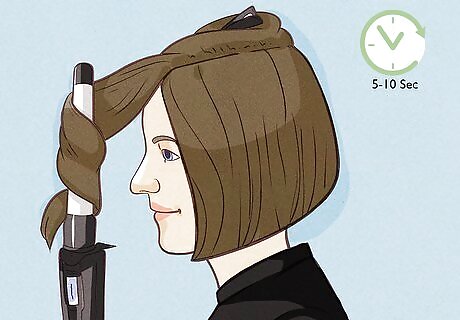
Hold your hair in your curling tool for 5 to 10 seconds. Fine hair takes less time to curl, while coarse, thick hair takes a few seconds more. At 5 seconds, tap the section of your hair wrapped around your iron or wand. If it feels very hot, release it from the iron. Let your curls cool once you release it from your curling tool. Touching them while they’re still warm can ruin the curl. Your iron may take longer to curl if it’s at a lower temperature.
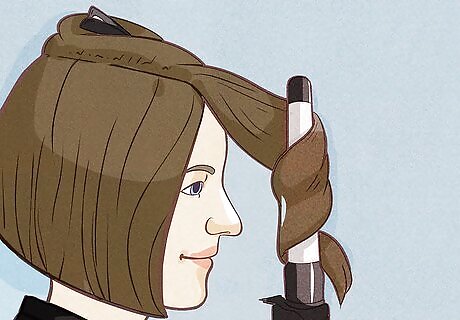
Free another layer of hair to curl when you’ve finished the first layer. Once your bottom layer of hair is curled, release another layer of hair from your clip and curl that layer. You’ll have one layer left after this section. If your hair is very thick, you may want to work in 4 sections instead. If you have blunt or sideswept bangs, you can clip them out of the way. Part your hair into more sections if you want to create more waves or curls.
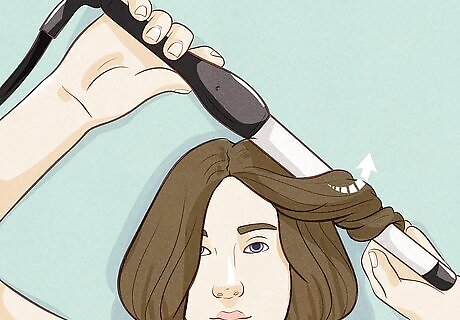
Curl the final top layer of your hair. After curling the middle section or sections of your hair, you’re ready to curl the top layer. Release the rest of your hair and curl the strands to complete your bob. Let your hair cool completely after you finish curling so it can take shape and set. Touching them too early can undo your curls.
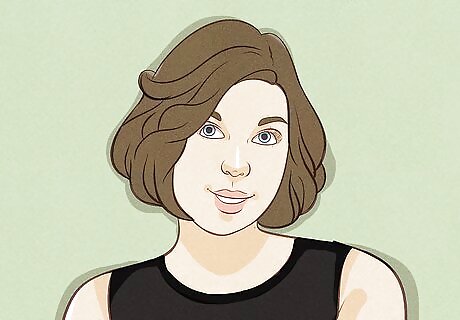
Tousle your curls with your hands to create waves. Finger brushing your hair will relax your curls into soft waves. Run your hands gently through your curls to create natural waves. Lift and shake your hair at the roots to add volume.
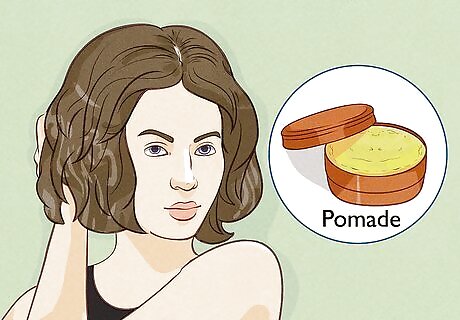
Use pomade to hold your waves in place. Rub a dime-sized amount of pomade into your fingers. Rake your fingers through your waves, shaking gently as you go to encourage waves. Using pomade rather than hairspray will hold your hair in place and give your waves some texture. Rub a little extra pomade into your roots with your fingertips for extra hold and texture. If you have bangs, finger brush them with pomade last. Doing them last ensures you don’t use too much pomade, which can weigh them down and make them look too heavy.
Creating Beachy Waves
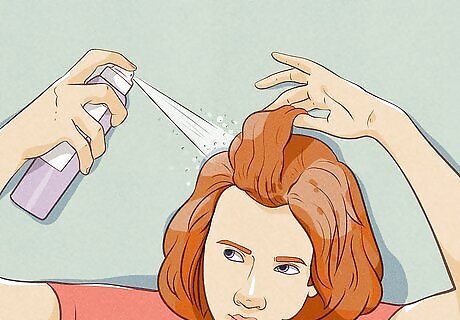
Spritz clean, damp hair with texturizing spray. Use a sea salt spray or texturizing spray made for creating waves. A texturizing spray can create volume, add definition and help hold your hairstyle in place.
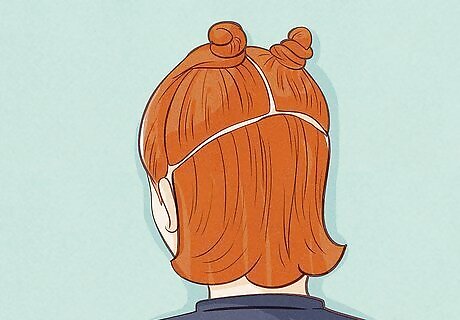
Separate your hair into 4 vertical sections to braid. Use your fingers or a comb to create 4 vertical sections. If you have thick or dense hair, you can divide your hair into more sections for smaller waves. If you have fine, thin hair, you can separate your hair into 2 or 3 sections.
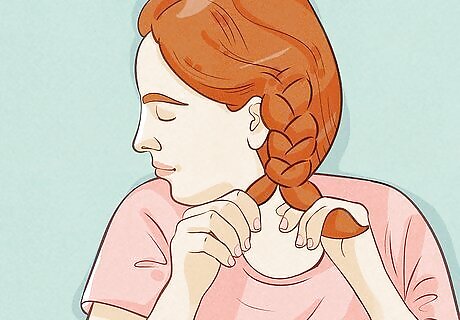
Braid each section loosely. Divide one section into 3 smaller sections. Cross the right section over the middle. Then cross the left section over the middle. Continue the braiding pattern until you reach the end of your hair. Secure it with an elastic tie. Braid and secure the other sections of your hair. If you have bangs you want to keep straight, don’t braid them and let them air dry. Otherwise, you can include them in your braids. Don’t pull the sections of your hair into braids too tightly. Loose braids will create soft, natural-looking waves.
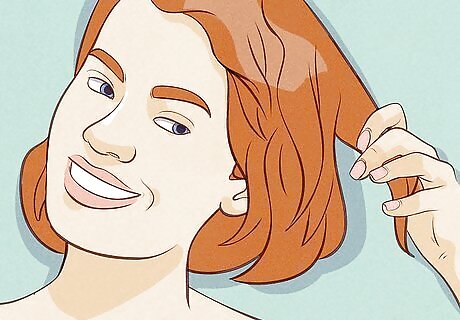
Undo your braids when your hair has dried. Depending on the length of your bob and your hair type, it may take at least an hour or 2 for your braids to dry. Check if your hair has dried by feeling different sections in your braids. If they’re still damp, give it more time to dry. If you’re short on time, blow dry your braids using medium or low heat. This could cause your hair to get frizzy. You can also let your braids air-dry overnight if you want. Use a hooded hair dryer for the best results.
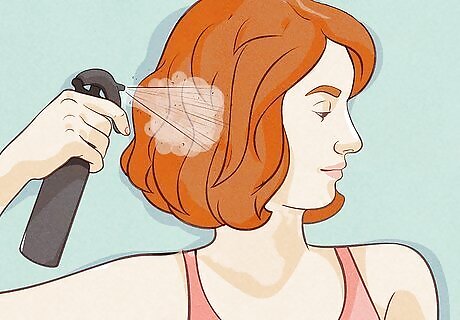
Use hairspray or more texturizing spray to finish styling. Once your braids are unraveled, spritz hairspray or texturizing spray into each section so your hairstyle will hold. Tousle your hair with your fingers while spraying so your waves look slightly messy and beachy. If you have bangs, lightly spritz them with texturizing spray and rake your fingers through your hair. Don’t spray them more than once; too much product can weigh down bangs and make them look limp.
Styling Naturally Wavy Hair
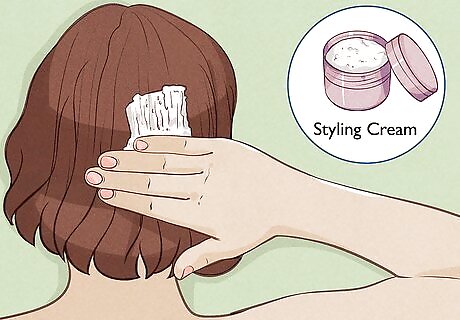
Work styling cream into damp hair to hold waves. If your hair is already wavy, you can bring out your natural waves and hold them in place with a styling cream. Evenly distribute styling cream through your damp hair from root to tip. If you have a shorter bob, start with a dime-sized amount of styling cream. If your hair is longer, start with a nickel-sized amount of cream.
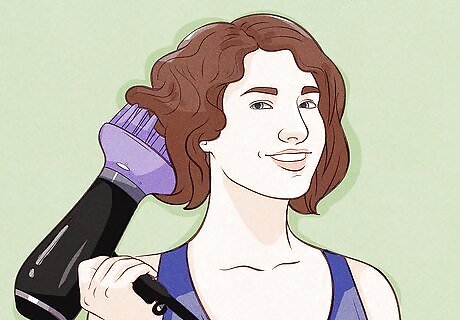
Dry your hair with a diffuser attachment to enhance waves. You can flip your hair upside down to dry it or lean your head to one side while drying sections of hair. This will give your hair volume at your roots. Use a warm, medium heat setting so you don’t damage your damp hair. Use your diffuser to get your hair about 80% dry. Drying it too much will cause frizz.
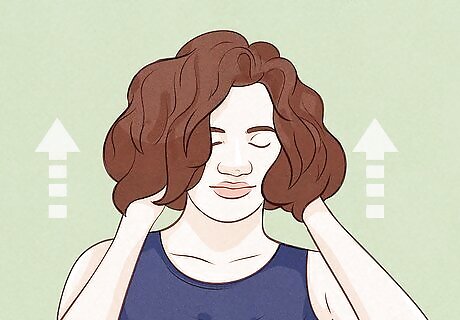
Lift and squeeze your hair while blow drying to define your waves. You can lift your hair towards your roots with the diffuser or your hand to give your waves a gentle boost. Don’t scrunch your hair roughly with your hands, which might cause breakage.
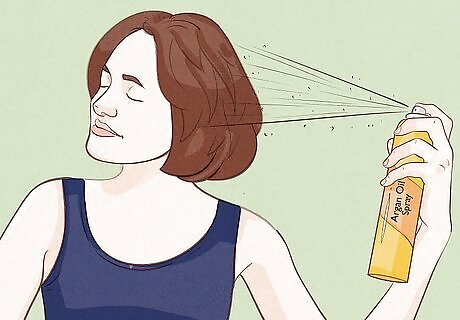
Spritz finishing spray on your waves to add some moisture. After blow-drying, a finishing spray like argan oil can add a little moisture and shine to your waves. It’s also a lightweight product, so it won’t weigh down your hair.
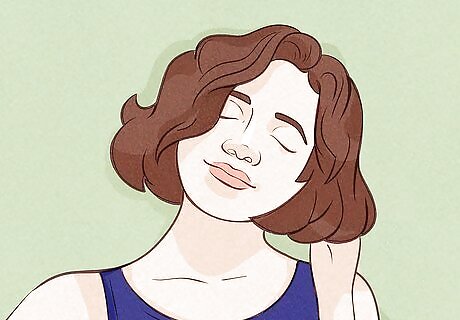
Tousle and flip your hair at the roots to give it some volume. Gently rake your fingertips through the roots of your hair to give your strands a boost and keep them from laying flat. You can also flip sections of your in the other direction for extra volume.





Comments
0 comment