views
Analyzing Painted Surfaces with a Lead Paint Test Kit
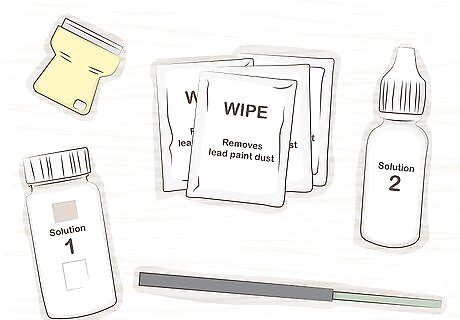
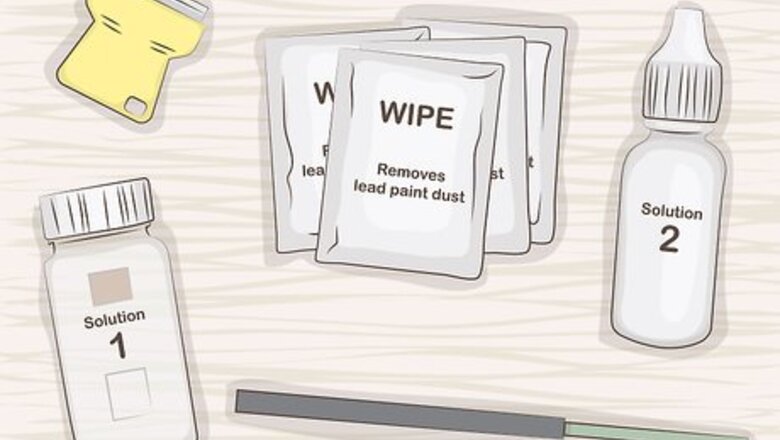
Purchase a Klean-Strip D-Lead Paint Test Kit. Currently, these are 1 of only 2 types of lead testing kits that bear the EPA's seal of approval, the other being 3M Lead Check Swabs, which are most useful for quick-testing solid surfaces. You can buy a D-Lead Paint Test Kit online for around $20-40. Because of their thoroughness and nuanced results, they're considered the best choice for use on paint. D-Lead Paint Test Kits come with everything you need to evaluate painted surfaces in your home, including sanitizing wipes, paint scoring and scraping tools, a chip catcher tray, 2 types of testing solution, and a waste bag for safe disposal. You may also be able to track down an EPA-certified lead testing kit at your local hardware shop or home improvement center.
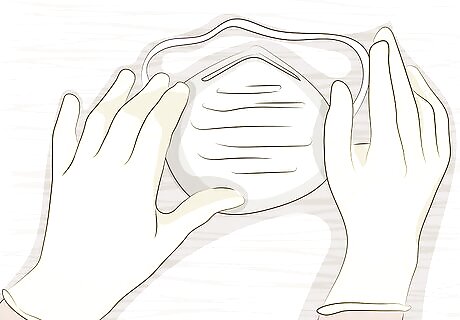
Put on rubber gloves and a facemask before you begin testing. Whenever you're handling materials that may contain lead, it's important to make sure that the bare skin on your hands is completely covered. The same rule applies to sensitive orifices like your nose and mouth. You might also consider wearing long sleeved clothing and lab goggles or another form of eye protection in order to minimize your exposure as much as possible.Warning: Ingesting or inhaling traces of lead can result in lead poisoning, which produces symptoms like headache, high blood pressure, joint pain, and chronic nausea in adults, as well as premature birth and serious developmental delays in children.
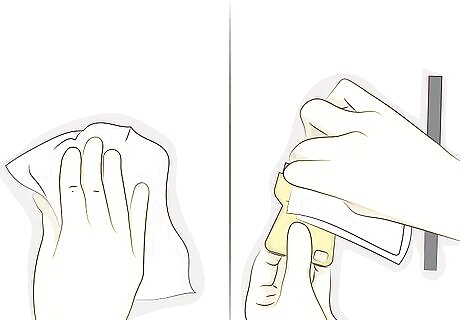
Clean your testing surface and tools with the included sanitizing swabs. Tear open a swab and rub it over the surface you'll be testing for lead in a circular motion. Then, wipe down your scoring tool and scraper tool with a separate swab to sterilize them. D-Lead Paint Test Kits can be used on both hard surfaces, like hardwood and trim, and soft ones, like drywall. Standard kits include enough sanitizing swabs (and other testing materials) for about 6 individual uses.
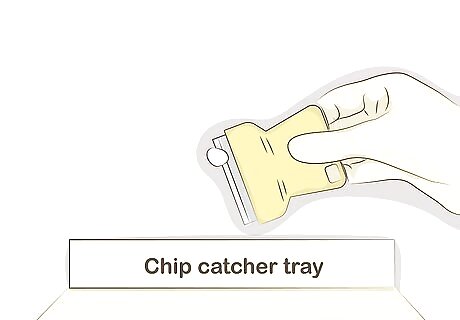
Remove a paint chip from an out-of-the-way part of your testing surface. Dig the tip of the scoring tool into an inconspicuous section of paint. Once you've loosed the circular chip, use the edge of the scraper tool to gently pry it free from the wall and into the folded chip catcher tray. Areas like interior corners, closets, and baseboard borders make good test sites, as they're not immediately visible. There's also less risk of further chipping or peeling than in frequently-used areas. Be sure to make your initial cut fairly deep to scrape away multiple layers of paint—it's possible that an old coat of lead paint could have been painted over with a non-lead variety.
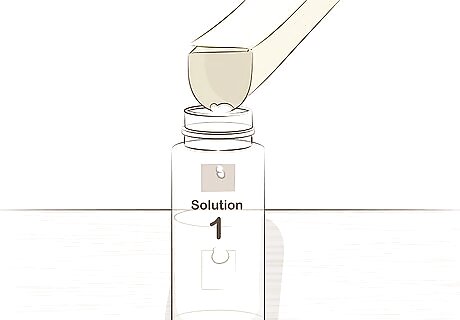
Transfer your fresh paint sample to a pre-filled vial of Solution 1. Use the chip catcher tray as a funnel to ensure that the paint chip doesn't come into contact with any other surfaces before it goes into the solution. Add the entire sample to the vial, even if it happens to break into smaller pieces. Don't attempt to pick up your paint sample by hand or use any other items to brush it off of the chip catcher tray. Doing so could contaminate the sample and consequently throw off your results.
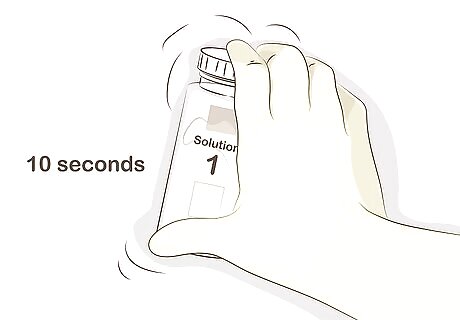
Close the vial of Solution 1 and shake it for 10 seconds. Make sure you properly secure the twist-on cap before you begin shaking. After 10 seconds, set the vial aside and allow it to sit for at least 2 minutes. This will give the solution time to completely permeate the paint sample. If you proceed with the test before waiting a full 2 minutes, your final results may be inaccurate.
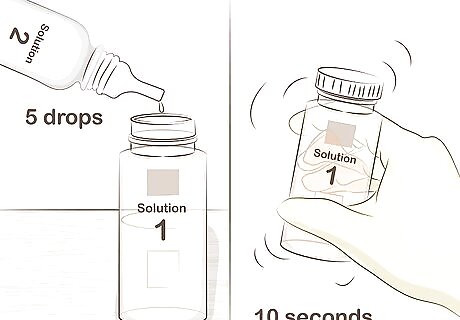
Add 5 drops of Solution 2 to the vial and shake it again. Squeeze the dropper bottle slowly and carefully to ensure that you've added the right amount of the reagent solution. Whisk the solution back and forth for 10 seconds as you did the first time. If your paint sample contains traces of lead, you'll notice the solution beginning to change colors as you shake Don't forget to confirm that the cap is on nice and tight before shaking. Solution 2 contains the active lead indicator that will tell you whether there's lead present in the paint sample you collected.
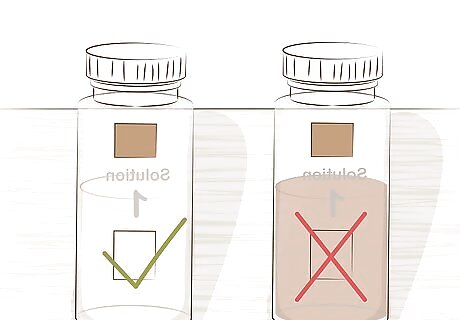
Compare the color of the solution to the test standard on the vial. To determine whether your sample contains an unsafe concentration of lead, look through the yellow-tinted viewing window printed at the top of the vial. If the color of the solution is darker than that of the test standard, it means that it's positive for lead. When the 2 test solutions are mixed, lead-tainted paint will cause them to take on a dull yellow color. If you discover unsafe levels of lead in your home, your next step will be to contact an EPA-certified risk assessor for further inspection or possible removal.
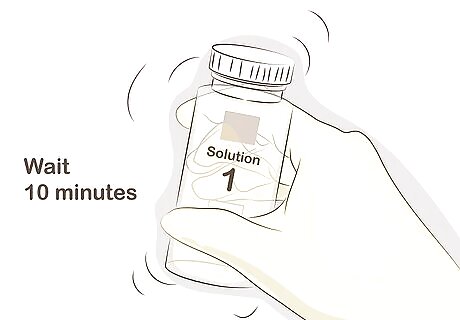
Shake the solution a second time if it's lighter than the test standard. If the solution turns a pale yellow color, it may mean that the solution hasn't had enough time to break down the paint sample. Give the vial another vigorous shake and set a timer for exactly 10 minutes, then observe the color a second time. Assuming the solution is still a light yellow at the end of the 10 minute interval, it means that your sample is negative for lead, or contains an amount that's considered non-hazardous. It's necessary to re-test light-colored solutions because adding Solution 2 to the test solution can sometimes introduce a slight yellow hue.
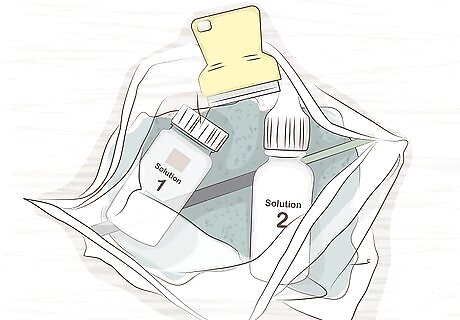
Dispose of all used test materials using the included waste bag. Gather up your used sanitizing swab, chip catcher tray, and vial of test solution and place them inside the plastic waste disposal bag that came with your testing kit. Then, clean your testing area with a fresh sanitizing swab and drop it in, along with your rubber gloves. Seal up the bag and throw it away in a covered trash container. If you have small children or pets who could find their way into the trash, deposit your testing materials in an outdoor receptacle a safe distance from your home.
Check Other Solid Materials with Lead Test Swabs
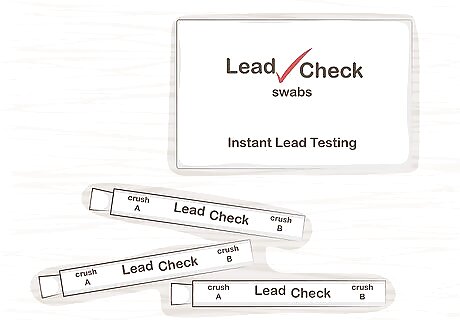
Use 3M Lead Check Swabs to quickly test solid surfaces for lead. 3M Lead Check Swabs are the only other lead testing product officially certified by the EPA. Like D-Lead Paint Test Kits, they're capable of detecting lead in paint, but can also be used on things like tools and children's toys that you might not expect to contain lead. You can purchase 3M Lead Check Swabs online and at some hardware stores and home improvement centers. A single package contains enough single-use swabs for multiple tests. They are sold in sets of 2, 8, or 48. Test swabs are generally considered the fastest and most reliable way to confirm that a given surface contains lead.
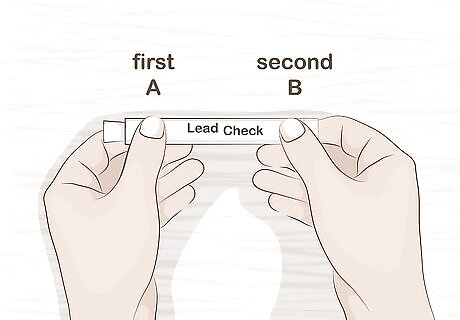
Crush the indicated points on the test swab to activate it. Locate the points marked “A” and “B” on the outer tube of the swab and squeeze them forcefully one at a time. This will activate the compounds used to detect lead on the test surface. You'll hear a crinkling sound when you've successfully crushed the activator points.
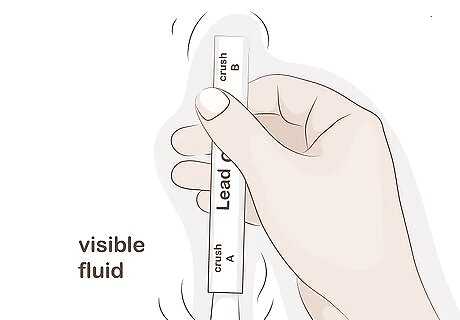
Shake the test swab until the testing fluid becomes visible. Hold the swab in one hand with the tip pointed down and shake it vigorously. This will begin mixing the chemicals inside. After a few seconds, you should be able to see the pale yellow testing fluid seeping through the material at the tip of the swab. The main ingredient in 3M Lead Check Swabs is rhodizonate, a sensitive lead indicator which is capable of detecting lead in traces as small as 600 parts-per-million.Warning: Don't crush and shake the swab until you're prepared to begin testing. Once it's activated, the chemicals it contains will only be effective for around 90 seconds.
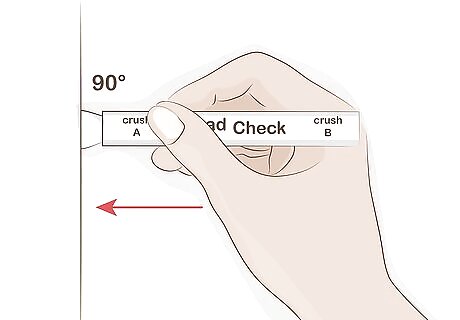
Apply the tip of the swab to a smooth, non-porous test surface. Press the entire tip into the surface firmly at a 90-degree angle. You can use 3M Lead Check Swabs on all painted walls, fixtures, and furniture, as well as plastics, metals, ceramics, and composite materials. Lead test swabs may not work as well on porous or irregular surfaces, such as raw stone, metal grating, or painted wicker. If you're testing a painted surface, remove a thin section of the outer coat to expose the underlying layers before you apply the swab. That way, you'll be be able to identify contaminated paint that's since been covered.
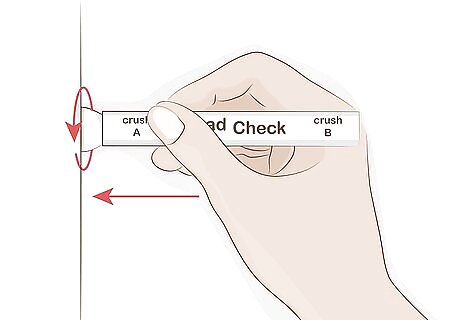
Rub the tip of the swab over your test surface for 30 seconds. Press the swab firmly into the surface and move it around with a slow circular motion. Squeeze the tube lightly as you work, making sure the tip stays in contact with the test surface the entire time.
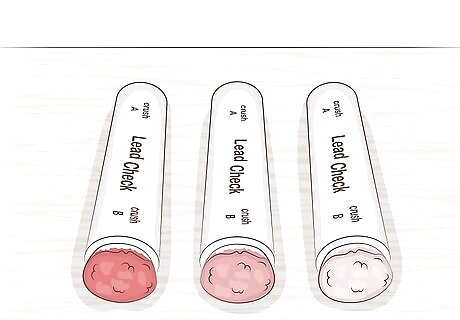
Look for the tip of the test swab to turn pink or red. As a general rule, the higher the lead content in the test surface, the darker the final color will be. If the swab doesn't change color, it means no lead has been detected and you can check that surface or material off of your list. Always use a separate swab for each individual surface or material you test to avoid cross-contamination and ensure clear, dependable results. Keep in mind that it's possible for the rhodizonate in 3M Lead Check Swabs to produce false positive results when used on red or pink surfaces.
Testing Your Home's Water
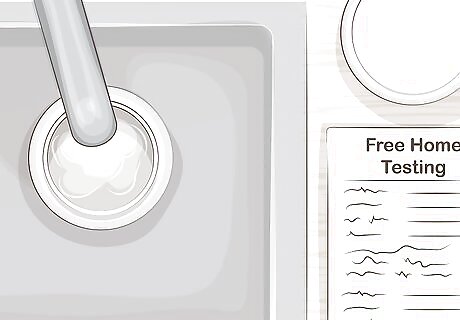
Consider scheduling a home water inspection for maximum reliability. If you're not in any particular hurry to find out what's in your home's water, call you local water supplier or utilities board and see if they offer free home testing. If the answer is yes, they'll send someone to your home to retrieve samples for testing for no expense. In-home analysis is the most effective form of lead testing, as it's carried out by qualified specialists in a controlled laboratory setting.Tip: You can find a list of laboratories throughout the U.S. that have been authorized by the EPA to test for lead in drinking water by visiting the EPA's website.
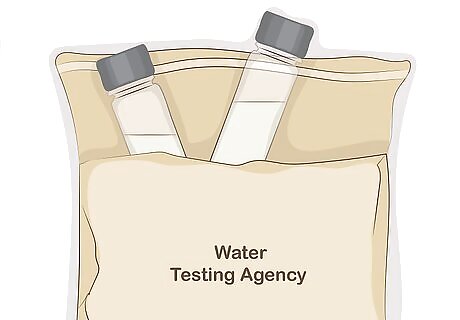
Send a water sample to a testing agency yourself for faster results. Another option is to take a sample on your own, then ship it off to your local water supplier or sanitation department for professional testing. This course of action may be easier for you if you don't have time to schedule a visit from an outside agency or simply don't want to wait for them to make the trip out. Use a clean, sterile glass or plastic container to collect your sample. Unsuitable containers may already contain chemical or biological contaminants that could make analysis difficult. To guarantee fast, accurate results, be sure to overnight your sample or hand-deliver it to the testing facility yourself. Once testing is complete, you'll be sent a detailed copy of your water analysis report by mail. It may take up to 2-3 weeks for you to receive the results.
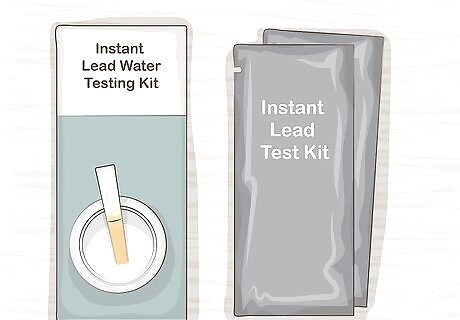
Pick up an instant lead water testing kit to conduct a test yourself. These kits are available at most major hardware stores and home improvement centers. Lead water testing kits typically contain 2 simple components—a small container for collecting samples and a test strip designed to react to traces of lead detected in contaminated water. Most instead lead water testing kits cost an average of around $15-30. If you live in a large city where water quality is an issue, it may also be possible to order an at-home testing kit from your local water supplier or municipal authority free of charge.
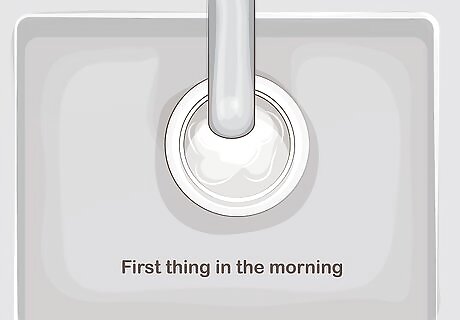
Take a fresh sample from one of your faucets first thing in the morning. To guarantee clear, accurate results, it's essential that you collect water that's been stagnant inside your home's pipes for at least 6 hours (12 is preferable). Fill the sample container to the indicated fill line and leave it uncovered. Samples gathered first thing in the morning are known as “first-draw” water. Since this water has been sitting in your pipes for so long, it will contain the highest concentrations of lead and other toxins.
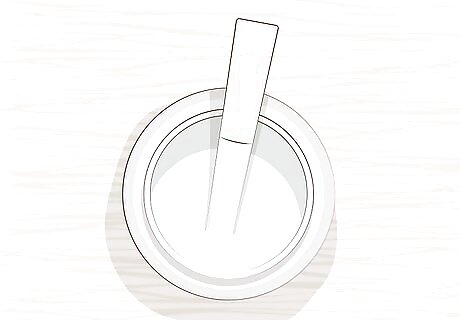
Insert the included test strip into your water sample. Drop the strip into the sample container, making sure it's completely submerged. Cover the container if the testing kit you're using directs you to do so. Otherwise, it will be okay to leave the water exposed. Some water testing kits include test strips for a variety of different substances. If your kit contains more than 1 type of test strip, make sure you're using the one that corresponds to lead.
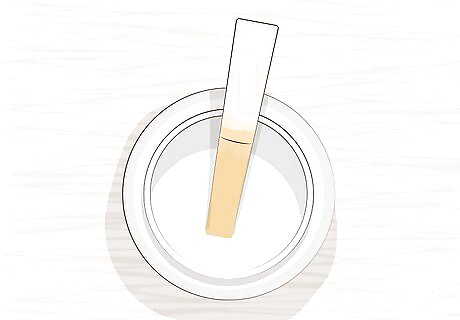
Wait the specified amount of time for your results. The test strip will slowly begin to change colors if lead is detected in the surrounding water. Many of the leading testing kits on the market claim to provide clear, easy-to-interpret results within 5-10 minutes.
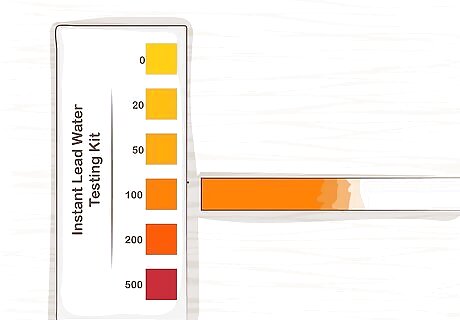
Compare the color of the test strip to the included color chart. Once time is up, remove the test strip and hold it up alongside the color chart included with the product you're using to determine whether the resulting hue indicates an unsafe amount of lead. With most tests, a positive result is represented by a yellow color. The darker the hue, the higher the concentration. One downside to instant lead water testing kits is that they only give positive or negative results rather than a more exact parts-per-million reading. This means it's possible that the water in your home could contain some concentration of lead that doesn't show up in the test.


Comments
0 comment