
Selecting and Using a Water Testing Kit
Know the parameters that you need to test in your aquarium. The ideal water quality parameters differ between saltwater, freshwater, reef, and planted or aquascaped aquariums. You will also need to test different parameters based on the type of aquarium that you have. However, all aquariums need to be monitored for pH and alkalinity, which provides pH buffering. For freshwater aquariums, you need to measure ammonia, nitrite, nitrate, alkalinity, and pH. For saltwater aquariums, ammonia, nitrite, nitrate, alkalinity, and high level pH are the important parameters. Additionally, you'll need to consistently monitor the salinity of the water. Reef aquariums require calcium, alkalinity, phosphate, and nitrate testing. Ammonia, nitrite, phosphate, alkalinity, and pH are important parameters for planted or aquascaped aquariums. Your tank's alkalinity and pH will determine the carbon dioxide concentration, so it's really important for tanks that have plants or nature elements.
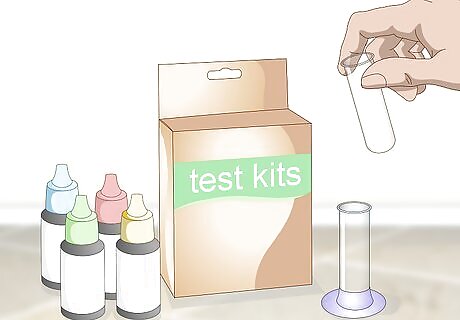
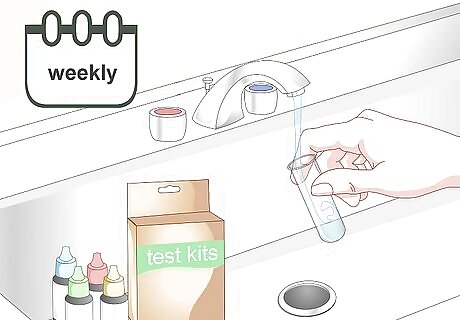
Purchase the test kits for your aquarium. Visit your local aquarium supply or pet store to buy your own test kits. Make sure that you know what type of aquarium you have and feel free to ask the sales representatives any questions. You can buy a test kit for each water quality parameter individually or you can purchase a master kit that has all of the required test kits for your type of aquarium. Individual water test kits tend to cost from $5 (USD) to $15 (USD) and master water test kits tend to cost from $25 (USD) to $110 (USD). However, keep in mind that some master kits can cost more.
Use a syringe or pipette to take a sample from your aquarium. Dip a needle-less syringe into the aquarium, then pull back on the plunger to pull a water sample into the syringe. Remove the syringe from the water, being careful not to lose your water sample. Immediately transfer the water into the test tube provided in your testing kit. You can purchase a needle-less syringe or pipette online. You may also be able to find 1 at your local aquarium or pet store. They're a great option because they take a precise water sample without contaminating your aquarium.
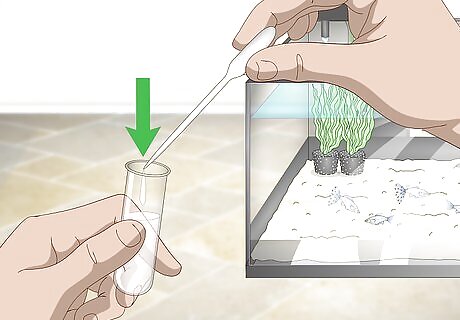
Fill the test kit test tube up to the required level. Insert the tip of your needle-less syringe or pipette into the top of the test tube. Slowly release the water you took from your aquarium into the test tube until it's full. Add the amount of water specified in your test kit. Don't ever put the test tube straight into the aquarium to collect the water. This is because not only is it difficult to measure out the right amount of liquid, but also leftover chemicals from previous tests may mix into the aquarium water.
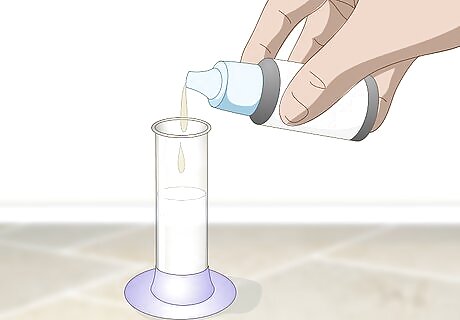
Add the testing solution to the test tube, as directed. Read the directions on your water testing kit to find out how much testing solution to use. Use the exact number of drops required for your test. Before you add the testing solution to the test tube, read the label to check the expiry date. An expired testing solution may give inaccurate results.
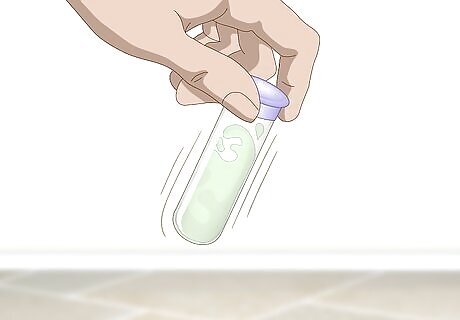
Follow the directions to mix your testing solution. Each water testing kit has its own directions for mixing the testing solution, which will vary. For instance, you might need to screw a lid onto the test tube and then shake it vigorously to combine the testing solution with the aquarium water. On the other hand, some kits require you to add the testing solution to your aquarium water using a dropper. Then, you'll watch to see if the water changes color. Make sure you read and follow the directions that came with your kit. The process for your testing kit will typically vary depending on what type of aquarium the kit tests. For instance, a saltwater aquarium will typically require a titration test kit, which requires you to drop the testing solution into the test tube. On the other hand, a freshwater kit might have a test tube that you shake to combine the chemicals.
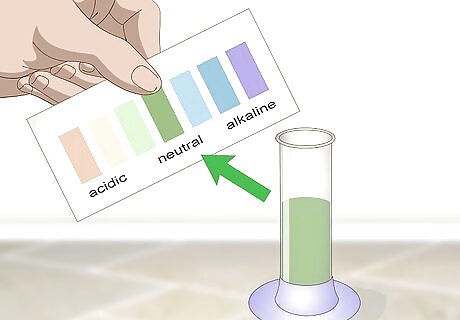
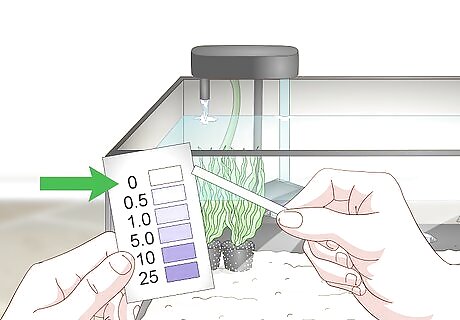
Read the results of your test by following your kit's directions. Each kit will have it's own directions for reading the results. For instance, many kits have a color chart that provides your results. To use the color chart, hold your test tube next to it and find the color that matches your result. If your kit doesn't come with a color chart, follow its directions for finding your results. If your kit has a color chart, make sure you read your results in natural lighting. In some cases, artificial lighting can alter the appearance of the color, which might make you read the results incorrectly. Once you have the result, you will know if the water is the ideal level or if you may need to make some adjustments.
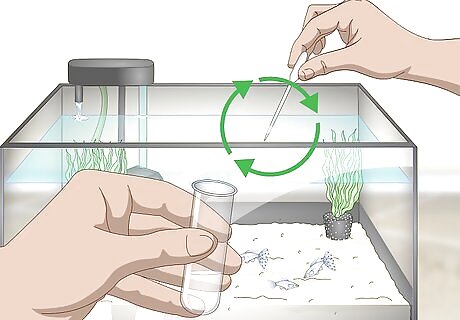
Test the water quality of the aquarium every day until you get stable readings. When you first set up the aquarium or if you are changing the water, you will need to wait until the water quality parameters are at the right level before you can add the fish. Once you have ideal, consistent readings for your aquarium, test the water quality weekly as part of your cleaning and maintenance routine.
Adjusting the Parameters
Test your tap water weekly to get accurate readings. Both the aquarium water and the tap water need to be tested. Although you may be confident that you know what parameters need to be changed in your tap water to make it suitable for your aquarium, check it regularly to ensure that the water composition hasn’t changed. Tap water can vary greatly, so it's important to always check yours. Typically, tap water will be alkaline in pH and will likely contain either chloride or chloramine. Keep in mind that tap water can also be hard or soft, which will greatly effect the water's makeup. Make sure that you also test your tap water for sediment before you add it to the aquarium. If you can see sediment in the water or if the water is red-brown color, wait until the problem is fixed before adding it to your tank. This can happen after large rainstorms or if there has been repair work on the pipes.
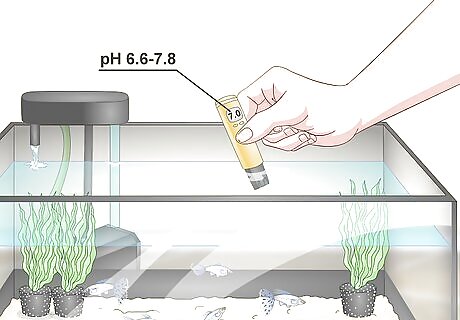
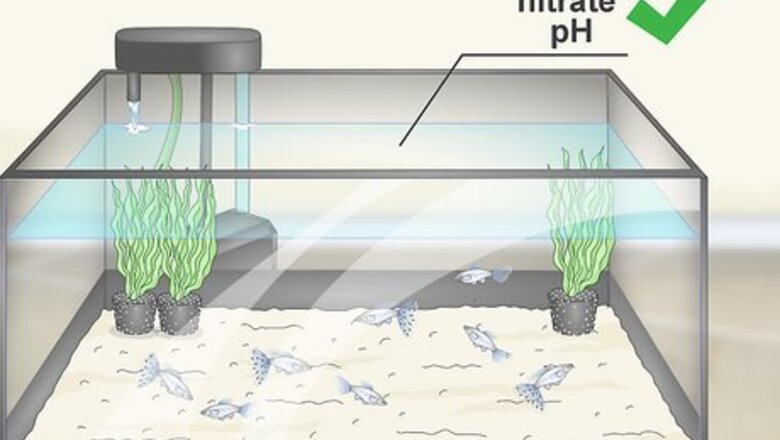
Maintain a pH of approximately 7.0 – 7.8 to keep your nitrogen cycle stable. Check the ideal pH level for your type of aquarium with your water testing kit. If the pH is too high or too low, you can make adjustments using pH products that are sold at fish or aquarium supply stores. Maintaining an ideal pH is one of the most important parts of having the right water quality in your aquarium. Vary rarely, you may need a slightly lower pH for certain wild fish or to maintain proper levels of carbon dioxide in a planted aquarium. However, this isn't common.
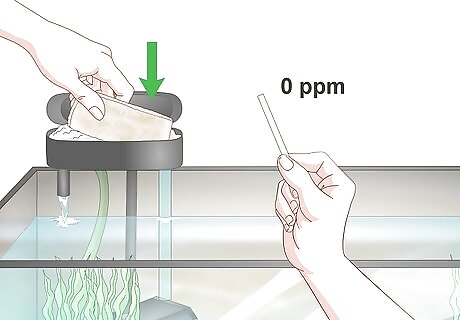
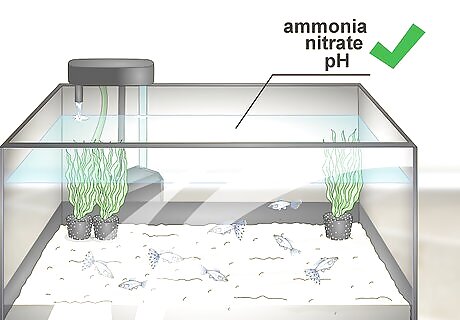
Keep the ammonia reading below 0 parts per million (ppm). Ammonia is produced in all aquariums due to fish food breaking down and waste. Higher levels of ammonia can be toxic for the fish in your aquarium. Use products that are specially designed to detoxify ammonia in aquariums to reduce the level of ammonia if necessary. You can purchase these ammonia-reducing products from fish and aquarium supply stores. Use these products when you establish your aquarium and whenever you add or replace the water.
Reduce the nitrite level to below 0 ppm. Although nitrite is less harmful to fish than ammonia, it can still present problems in aquariums, particularly for tropical fish. The nitrite level in new aquariums typically begins to rise once the ammonia level starts to decrease. To reduce the amount of nitrite in the aquarium, use a product that detoxifies both ammonia and nitrite. However, if your nitrite levels are very high, change the water. In most cases, you won't have issues with high nitrate levels if you maintain your aquarium and change your water biweekly. When changing the water in an aquarium, never replace the full volume all at once as this can cause the fish to go into shock. Instead, replace 25% to 30% of the water each week.
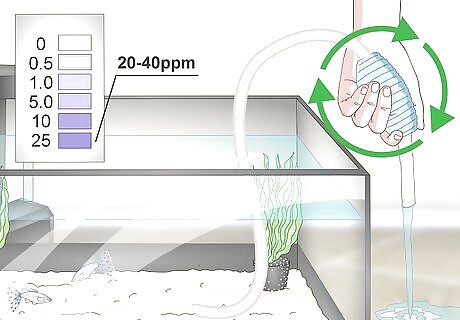
Aim for the nitrate level to be between 10 ppm and 40 ppm. Nitrate is less harmful than ammonia and nitrite for fish, however, it still plays a large role in the overall functioning of your aquarium. Change the water consistently and at scheduled intervals to help reduce the nitrate levels. You want your nitrate levels to be as low as possible. Very high nitrate levels might cause excessive algae growth.


Comments
0 comment