views
Treating the Blister
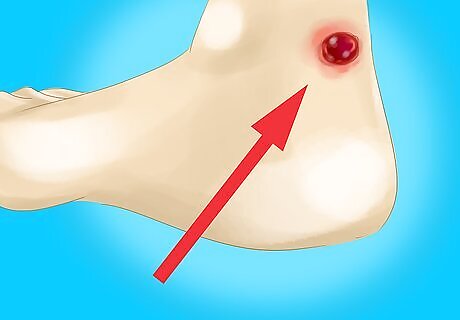
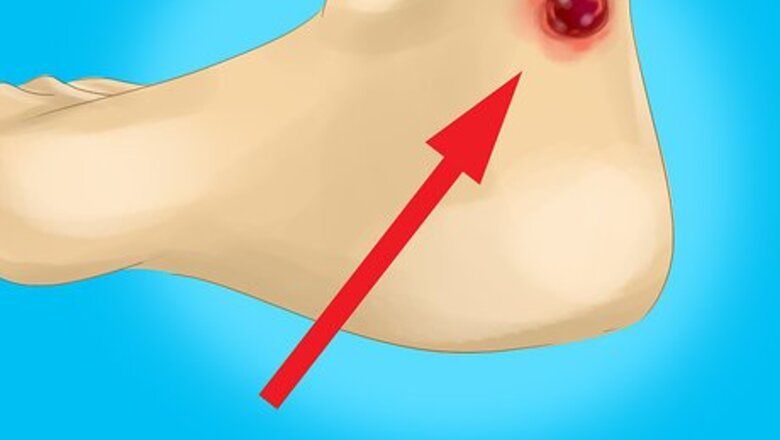
Don’t pop it unless it really bothers you. Popping the blister makes a hole in your skin. This makes it more vulnerable to infections because it is easier for bacteria and dirt to get inside. It also exposes the more tender, underlying skin to use before it is ready, which can be very painful. Instead, you can: Wash the area gently with soap and warm water. It is important to clean the blister in case it breaks open. This will reduce the amount of dirt and bacteria on your skin nearby which could infect it. Cover the blister with a BandAid. This will reduce the pain by protecting it from contact as you use your hand.
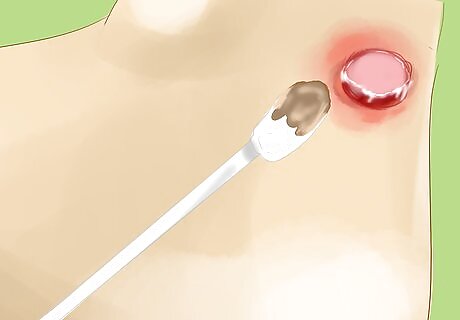
Disinfect the blister if you have to pop it. It is important that the skin around the blister be clean and disinfected before you puncture the blister. This will reduce the likelihood of it getting infected. You can: Wash the blister with warm water and soap. Don’t scrub because you don’t want to irritate it. But run it under water and wash it gently to make sure that any dirt, bacteria, or sweat is removed. Dab iodine, hydrogen peroxide, or rubbing alcohol on the area to kill any remaining bacteria. Use a clean cotton ball and gently wipe the blister and a small area around the blister itself.
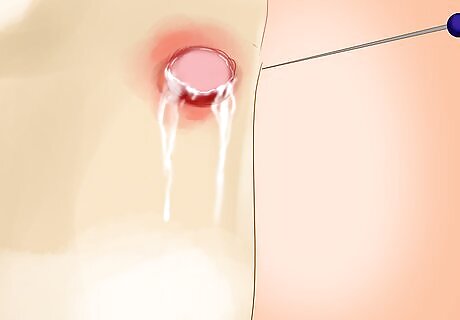
Drain the blister. The goal of draining the blister is to get the fluid out without introducing bacteria or leaving an open wound. You can do this with a sterilized sewing needle. Wash a needle with soap and water. Then wipe the needle with rubbing alcohol to kill any bacteria that may be on it. You can do this by putting alcohol on a cotton swab and rubbing it on the needle. The alcohol will quickly evaporate in the air. Slowly and carefully use the needle to make a tiny hole in the edge of the blister. Make the hole in the layer of skin that is on top of the fluid. The fluid will flow out of the hole. Do not remove the layer of skin that was on top of the bubble. Leave it so that it covers and protects the irritated skin beneath it.
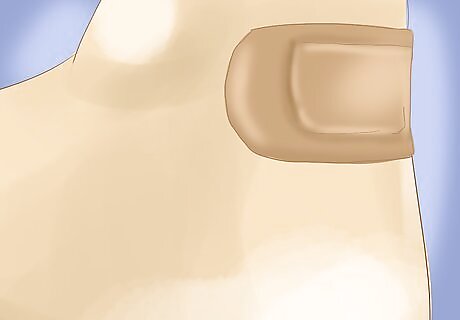
Clean and bandage the blister. After it has been drained the blister is an open wound through which bacteria and dirt can get into your body. You can minimize the chances of this happening by: Washing the fluid from the blister off your hand. Run your hand under warm water and wash gently with soap. Gently smearing Vaseline or an antibiotic ointment on the drained blister. They are available at your local pharmacy. You can purchase it without a prescription. Applying a clean BandAid over the blister. Be careful that the adhesive areas of the BandAid do not stick to the flap of skin that was on top of the blister. You don’t want to rip the skin off when you remove the BandAid. Look for the kind of BandAids that have a square of gauze with adhesive on all four sides, rather than the kind that are strips with adhesive on only two sides. This will better protect your wound, as all four sides of the bandage will be sealed.
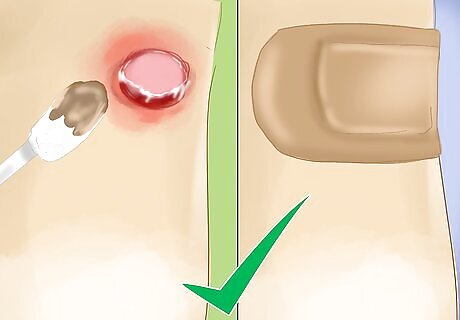
Put on a new BandAid each day. Gently remove the old BandAid, reapply the ointment, and cover the blister with a new bandage. After a few days the skin underneath will be healed and you can gently remove the flap of dead skin covering the wound. You can carefully cut it away with a scissors sterilized in rubbing alcohol. Each time you change the Band Aid, you should also check for signs of infection. Go to the doctor if you have the following signs of infection: Increasing redness, swelling, warmth or pain over time Pus seeping from the wound. This does not include fluid that came out of the blister when you popped it.
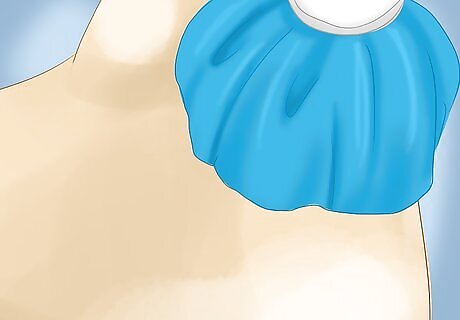
Put a cold pack on a blood blister. If your blister is filled with blood and painful, don’t pop it. It should be allowed to heal naturally to prevent an infection. You can reduce the discomfort by applying ice: Wrap an ice pack in a thin towel and apply it to the blister for about 20 minutes. If you do not have an ice pack handy, you can wrap a bag of frozen peas or corn in a towel and use that.
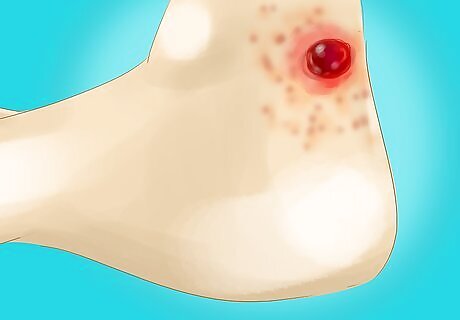
Go to the doctor if your blister may be more serious. Blisters are occasionally caused by allergic reactions or infections. If you think your blister may be a result of any of the following, go to the doctor to get it checked: A burn, including a sunburn An allergic reaction to medication Atopic dermatitis, also called eczema An infection such as chickenpox, shingles, herpes, impetigo
Preventing Blisters
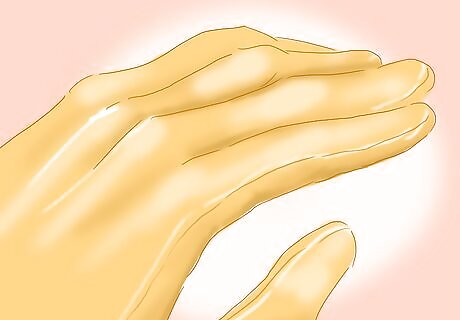
Wear gloves when working with your hands. Gloves will reduce the amount of friction on your hands when you do house and yard work such as: Raking leaves Shoveling snow Gardening Moving furniture or other heavy lifting
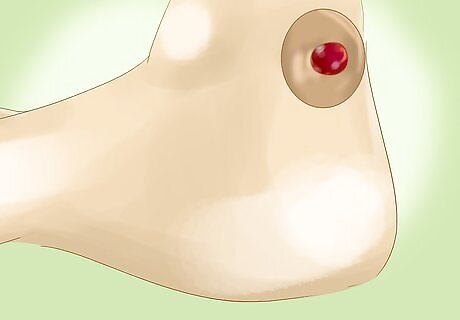
Apply a donut dressing to an area that is starting to form a blister. This is a great way to take the pressure off an area that is getting irritated from friction. For extra protection, you can also wear gloves. Use moleskin or another form of soft padding. You can purchase it at your local drugstore. Fold the moleskin or padding in half. Cut a half circle out along the fold. The cut should be the diameter of the area you want to protect. Unfold the moleskin. You will have a small round hole in the center that is the size of the area that is forming a blister. Fix the moleskin to your hand with the sensitive area exposed through the hole. The padding around it will take the pressure off and prevent a blister from forming.
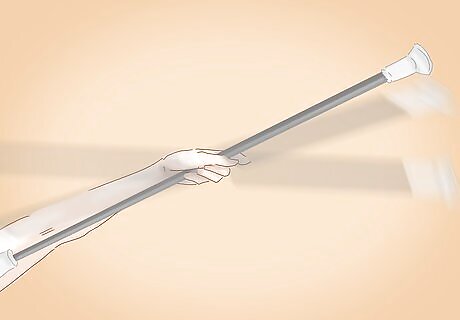
Build up slowly. If you are engaged in a sport that causes your hands to be exposed to severe friction, consider increasing the amount you do slowly. This will give your hands time to form calluses. These are tough areas of skin which protect the softer skin underneath. If you feel a blister forming, stop and give your hands time to rest. When your skin is no longer sore, you can start up again. Sports where you may be particularly prone to blisters include: Rowing Gymnastics Weight lifting Horseback riding Climbing


Comments
0 comment