views
Preparation
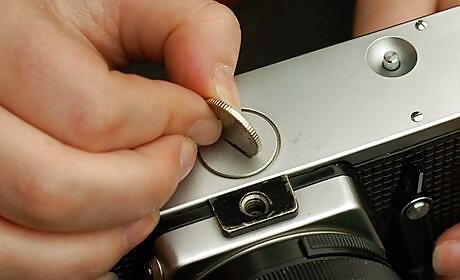
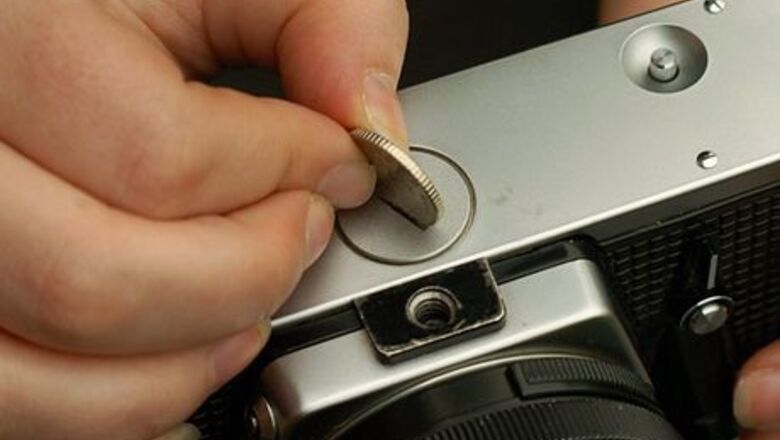
Fit a battery, if one is not already fitted. The cover for the battery is on the underside of the camera. Put a coin into the slot in the battery cover and turn it anti-clockwise (a British 5-pence coin or an American quarter works fine here). If the camera has not been used for a while, it might require some effort to get undone; be careful to not let the coin slip and round the sides of the slot. A British 5-pence coin or American quarter is fine for removing the battery cover. Remove the old battery, if one is present, and drop in a PX625 cell into the hole, with the + (positive) terminal facing towards you. Drop a PX625 cell into the hole. Note the + terminal facing upwards. Re-fit the battery cover. You only need to tighten it just enough that it won't come loose by itself. Don't over-tighten it; you risk the coin slipping and rounding the edges of the slot, which might mean you're unable to remove it.
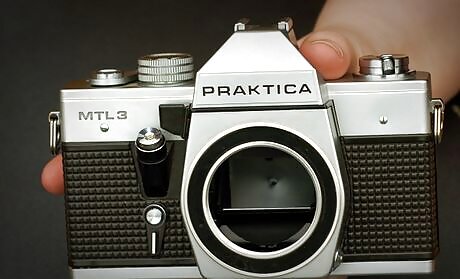
Fit the lens. Remove the body cap, if present, by screwing it anti-clockwise (looking from the front). An MTL3 with body cap removed. Lay the camera on your lap, or on a flat surface, facing upwards, and align the thread of the lens with the thread in the lens mount. Grip the lens gently by the aperture ring or focus ring and start turning gently. Do not apply any downwards pressure; doing this can result in cross-threading the lens mount or the lens. Align the thread of the lens with the lens mount and start turning it gently A few turns after the thread has bitten you can start spinning it faster. Continue turning the lens until it can turn no more, then apply a reasonable amount of force to ensure it has locked fully into place. Continue turning until the lens is in place; the numbers on the aperture ring will be facing the top of the camera. If your lens has a switch with an "A" and "M" position, set this to the "A" position. This will allow you to focus and compose at the widest aperture and you'll only need to stop the lens down briefly to meter. The A/M switch on a Pentacon 50mm f/1.8, set to "A" as it should be.
Loading a film
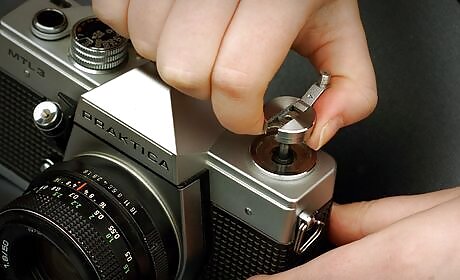
Lift the rewind knob. This is on the top of the camera, towards the left if the back of the camera is facing towards you.
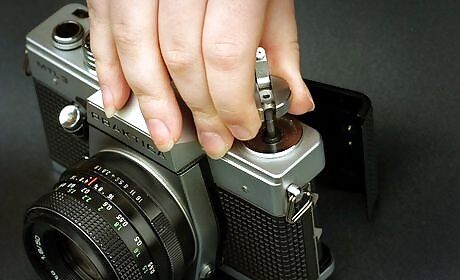
Pull it a little further and the back of the camera will spring open.
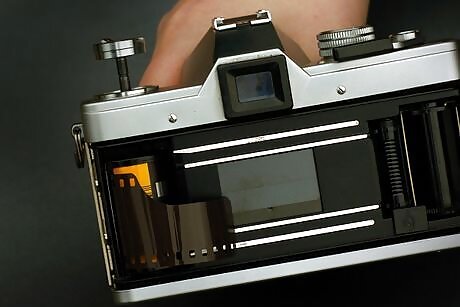
Drop a 35mm film canister into the chamber on the left hand side. The flat end of the canister will be pointing upwards.
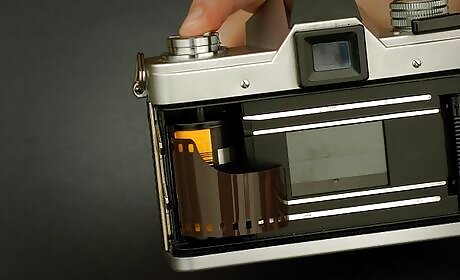
Push the rewind knob all the way down. You may find you have to rotate it a little in one direction for the fork attached to it to fully enter the film canister. This is normal.
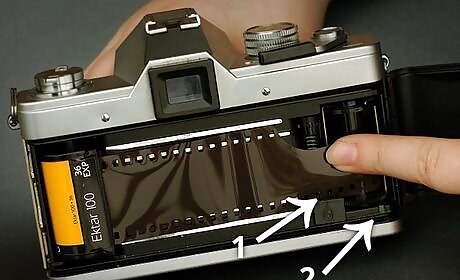
Pull the film leader away from the canister till the tip is at the green index mark on the right hand side, next to the take-up spool. Ensure that the film properly engages the sprockets as marked in the picture.

Close the back of the camera.

Press the shutter button, then wind on your film. The shutter might not fire the first time if it's not armed already, of course, in which case just wind the camera on.
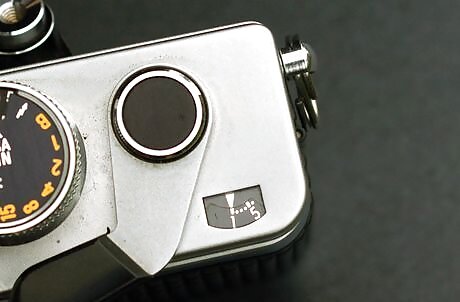
Repeat the above step until the frame counter reads 1, as pictured. Don't fire the shutter once the frame counter reads 1; this is the first frame on your roll.
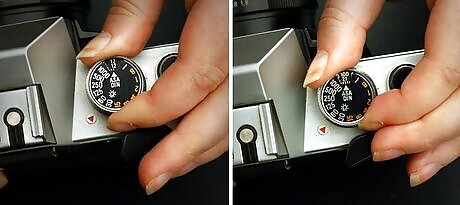
Set the film speed on the film speed dial. The film speed dial is in the same place as the shutter speed dial; it's the silver dial around the outside, which can move independently.To change the film speed, pull the silver ring around the shutter speed dial upwards. While holding it there, rotate the dial until you have set your desired film speed.Notice that the MTL3 has both DIN and ASA settings; modern films typically give their ratings in ASA (which is called ISO on digital cameras). (For example, Fuji Velvia 50 is ASA 50, not 50 ° DIN, the latter being equivalent to an ASA speed in the high five figures.
Shooting

Look through the viewfinder. You will notice the following things: A triangle on the left hand side. This only appears in our photo above, or in your viewfinder, if you have not armed the shutter. A needle on the right hand side. This is a meter reading. Take note of the +, O and - markings on the scale; we'll be referring to them later. Three circles in the centre of the image, which are your focusing aids.

Focus. Turn the focus ring of your lens until you have a sharp picture. You have three focusing aids that will help you. The split-image in the centre. This will cause straight vertical lines to appear split in half if they are out of focus, and they will rejoin when they are in focus. Sometimes half of this image will be blacked out, for example with slow lenses (f/4 and slower). The microprism ring outside of that will shimmer when the subject in that area is out of focus, and will be clear when it is in focus. The ground glass of the circle around that will help you if the above focusing aids are not helpful in your shooting situation.
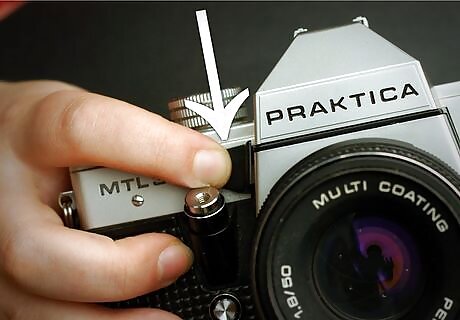
Set the exposure. The MTL3 is a fully manual camera, but this is hardly any harder than doing the same thing on a digital SLR in manual mode. Press and hold the metering key on the front of the camera. The viewfinder might darken as you do this. This is normal; the MTL3 needs to stop down the lens to measure how much light will come through the lens at the given aperture (this is called "stopped-down metering"). Press and hold the metering key. This is the big black button near the shutter button, which turns on the camera's meter. Look at the needle. If it is in the middle of the "O" mark, then you have a correct exposure. If not, then adjust either your shutter speed or the aperture ring on your lens until it is correct.A fuller explanation of the role of aperture and shutter speed is beyond the scope of this article, but you might want to take a look at How to understand camera exposure. The MTL's metering needle in action. Left-to-right: indicating under-exposure (towards the - mark), indicating over-exposure (needle towards the + mark), and indicating a roughly correct exposure (needle close to the O mark).
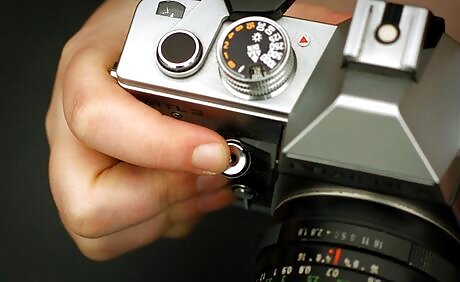
Shoot! Press the shutter button all the way down; you'll get a nice, reassuring click from the shutter.
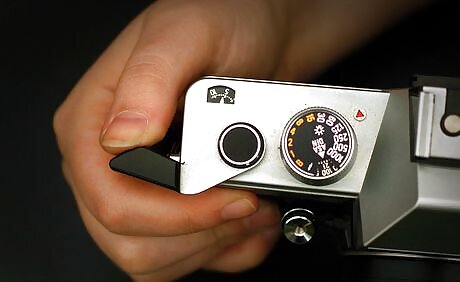
Wind on your film to the next frame and keep shooting until you hit the end of your roll of film.
Unloading the film
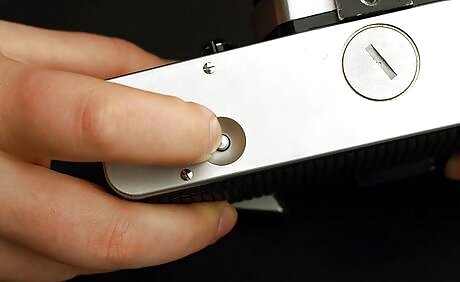
Press the rewind release button on the base of the camera.
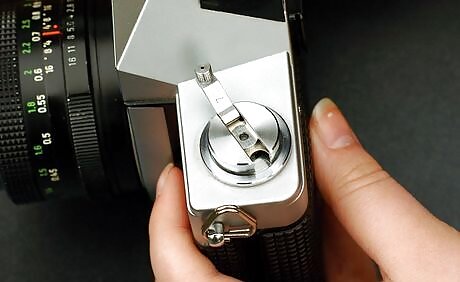
Flip out the rewind crank on the rewind knob.
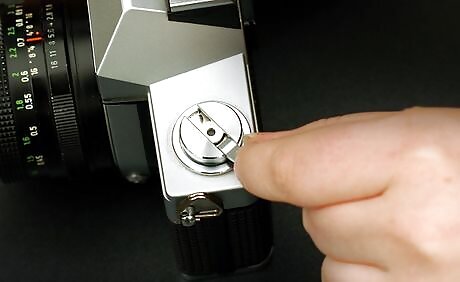
Rewind the film in the direction indicated on the rewind crank (looking from the top of the camera, you want to turn it clockwise). Keep winding until you feel the film disengage from the wind-on mechanism (it'll get much, much easier to turn), then turn it a couple more times.
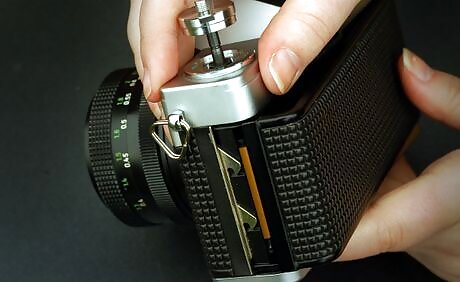
Open the back of the camera by lifting the rewind knob upwards, just as you did to load the film earlier.
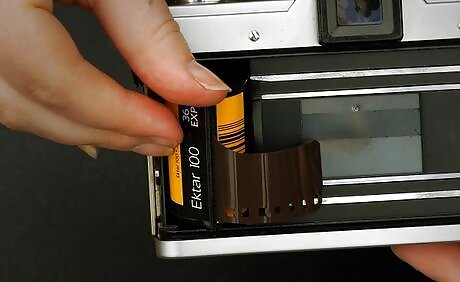
Remove the canister then close the back of the camera.
Take your film to be developed and show off the results to the world!
Using the self-timer
Make sure the shutter is armed by winding on the film.
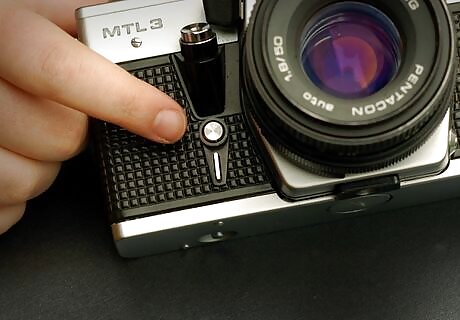
Locate the self-timer lever. This is to the left of the lens mount, if you are looking at the front of the camera. Not all MTL3s are fitted with self-timers, so if yours is not, rejoice: you just saved yourself a trip to a skilled camera technician.
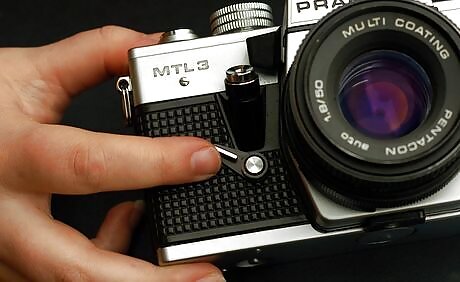
Pull the lever upwards (clockwise, looking from the front of the camera) to the top of its travel; it will lock in place.
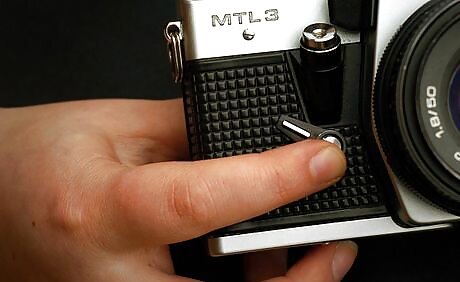
Press the silver button in the middle of the pivot of the self-timer lever. The timer will run for about 8 seconds and then the shutter will fire.






Comments
0 comment