
Getting Started
Download and install Android Studio. Android Studio is free to download and install. Use the following steps to download and install Android Studio: Go to https://developer.android.com/studio in a web browser. Click Download Android Studio. Check "I have read and agree with the above terms and conditions". Click Download Android Studio for Windows or Download Android Studio for Mac Double-click the Android Studio Installer file in your Downloads folder or web browser. Follow the on-screen instructions to finish installing Android Studio.
Open Android Studio. Android Studio has a green icon with an image that resembles a drawing compass in the center. Click the Android Studio icon to open Android Studio.
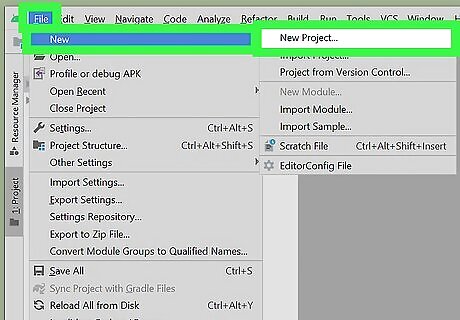
Create a New Project. When you create a new project, you can select which device you want to design an app for as well as an activity. Use the following steps to create a new project: Click File. Click New. Click New Project. Click one of the tabs at the top to select a device. Select an activity (optional), or select No Activity to design an app from scratch. Click Next. Type a name for your project in the first bar. Use the third bar to select a save location (optional, the default save location is "C:\Users\[username]\AndroidStudioProjects") Use the drop-down menu next to "Language" to select Java or Kotlin. Use the drop-down menu next to "Minimum SDK" to select the minimum version of Android your app will run on. Click Finish.

Open the "activity_main.xml" file. Use the Project panel to the left to open different files for your app. Use the following steps to navigate to and open "activity_main.xml": Select "Project" from the drop-down menu above the Project panel to the left. Expand your app name at the top of the Project panel. Expand app. Expand src. Expand main. Expand res. Expand layout. Double-click activity_main.xml.
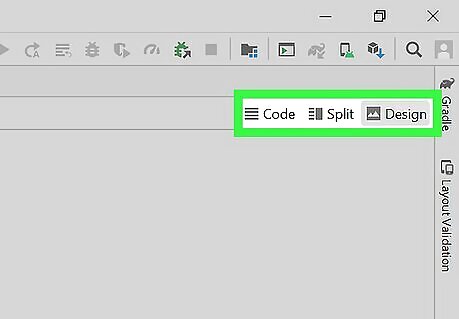
Click Design, Code, and Split to switch view screens. Click one of the three view screen options in the upper-right corner above the view screen panel to switch view screens. Design view displays what the screen will look like when installed on your app and allows you to add visual elements. Code view displays the Java code and allows you to edit the code. Split view displays both the design view and code view in a split screen.
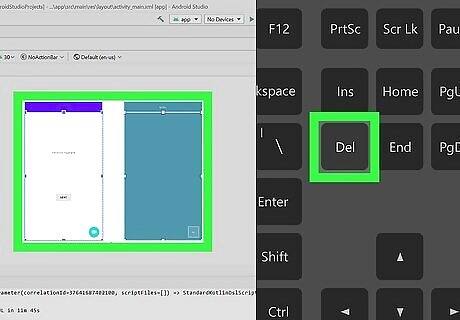
Delete objects on the screen. You may have some default objects on the app screen that you don't want to keep. To delete them, first click Design to switch to Design view. Then click the object on the screen that you want to delete and press the Delete key.
Adding Objects
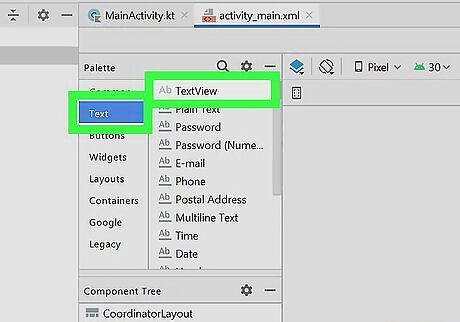
Add a text box to your app. Text boxes can be used to display text on the screen of your app. You can use the "Attributes" panel to the left to edit the text in the box as well as give the text box an ID that can be referenced in your Java script. Use the following steps to add a text box to your app: Click the Design tab to switch to Design view. Click Text under the "Palette" panel to the left. Click and drag TextView onto the screen. Edit the text you want the text box to display next to "text" in the "Attributes" panel to the right. Type a name for the text box object next to "Id" in the "Attributes" panel.
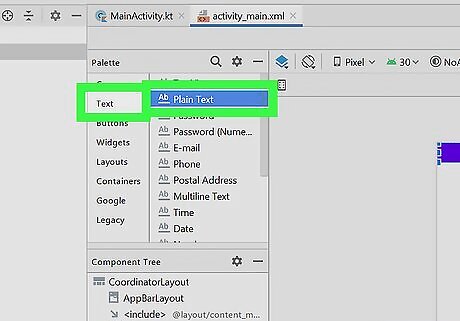
Add a fillable text bar. A fillable text box allows the user to enter their own text. This can be used to allow users to input their name, email, and other information. You can edit the sample text and object "ID" in the "Attributes" panel. Use the following steps to add a fillable text box to the screen: Click the Design tab to switch to Design view. Click Text under the "Palette" panel to the left. Click and drag Plain Text onto the screen. Edit the sample text you want the text bar to display next to "text" in the "Attributes" panel. Click the flag icon next to "InputType" in the "Attributes" panel. Click the checkbox next to the type of text you want the user to enter (i.g. textPersonalName, textEmailAddress, phone, etc) Type a name for the text bar object next to "Id" in the "Attributes" panel.
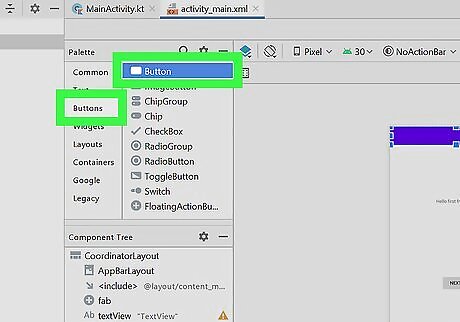
Add a button to the screen. You can use the "Attributes" panel to the left to edit the button text and object name. Use the following steps to add a button to the screen: Click the Design tab to switch to Design view. Click Buttons under the "Palette" panel to the left. Click and drag Buttons onto the screen. Edit the text you want the button to display next to "text" in the "Attributes" panel. Type a name for the button object next to "Id" in the "Attributes" panel.
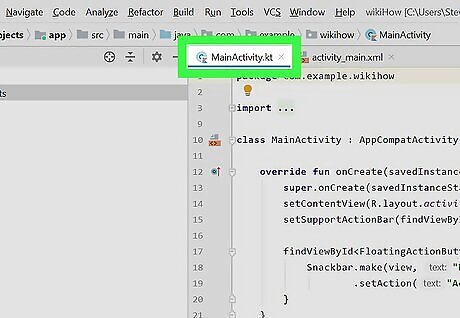
Click the MainActivity.java tab to code your main activity. This displays the java script that makes your main activity a functioning app. You'll need to know a little about Java for this.
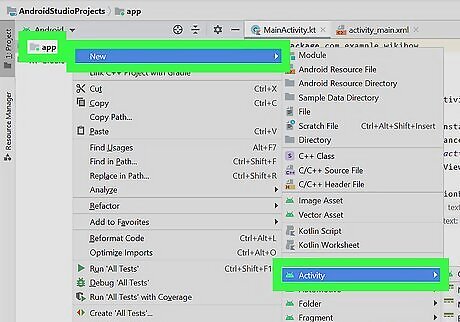
Add a new activity. Adding a new activity gives your app more than one function. If you want to make a tab or a button that opens a second screen in your app, you'll need to add a new activity. Use the following steps to add a second activity to your app: Right-click app in the "Project" panel to the left. Hover over New. Hover over Activity. Click an activity type (i.g. Basic Activity). Enter an activity name in the first bar. Enter a layout name for the activity in the second bar. Enter a title for the activity in the third bar. Use the drop-down menu next to "Language" to select "Java" or "Kotlin". Click Finish.
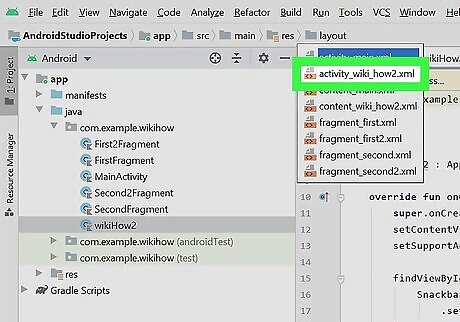
Open the XML file for your new activity. The XML file for the new activity is located in the same location as the first one. Use the following steps to navigate to and open your new XML file: Expand your app name at the top. Expand app. Expand src. Expand main. Expand res. Expand layout. Double-click the XML file for your new activity.
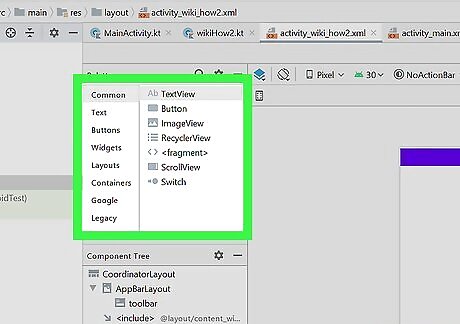
Add objects to the new activity. Make sure you are in Design view when adding new objects. In addition to text and buttons, the Palette menu has all kinds of objects you can add to your app. Some examples include the following: In addition to "TextView" and "Plain text" objects, the Text menu has objects for Emails, phone numbers, addresses, date, time, multi-line text and more. In addition to simple buttons, the Buttons menu has image buttons (where you use your own graphics), checkboxes, radio options, a toggle switch, and a floating action button. The Widgets menu has all kinds of objects you can add, including an ImageView, VideoView, WebView, CalendarView ProgressBar, RatingsBar, SearchView and more. Layouts contains different design elements for your app. Containers contains objects that are meant to house other objects, such as a Toolbar, NavigationBar, tables, scroll view items, and more. Google contains an AdView option, and a MapView option. Legacy contains older Android options.
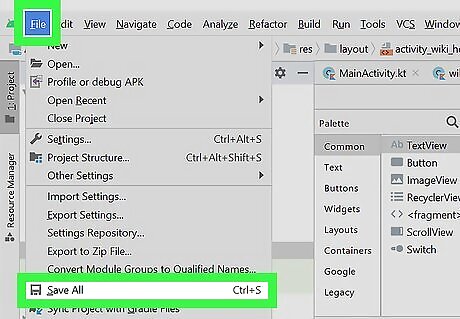
Save your project. Use the following steps to save your project: Click File. Click Save all.


Comments
0 comment