
Preparing for Application
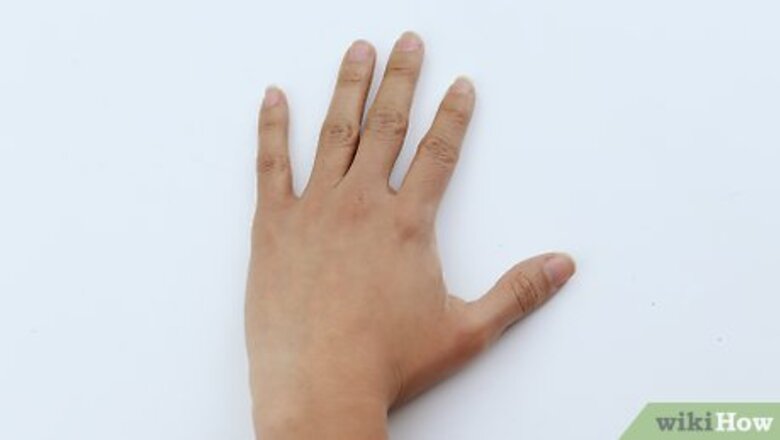
Figure out what part of your body you want to apply your henna. Since henna is temporary, it gives you a lot more options of where you might want to display your art. There are some factors you will need to consider when making your decision: Will the weather permit me to reveal more parts of my body so it can be shown? Do I have any formal events to attend in the next couple of days that may call for location discretion? Questions like these can help narrow down what part of your body you want the henna to be drawn. Popular locations are the hands, arms and feet.
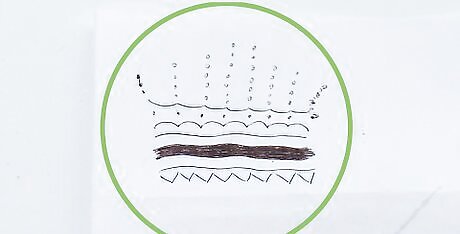
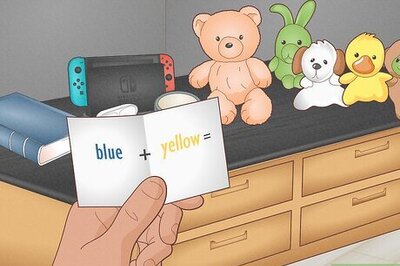
Choose a design. Choosing a henna design can be a little bit overwhelming. Henna designs are unlimited, even within the traditional realm. Picking a design is easy if you have a visual representation of what you want to do; you can also play around with you own design. Go on the Internet and look up “henna designs” in your search engine. There are many different foundations that you can choose from. Most people like floral designs; some people like paisley designs, or free hand patterns.
Get that body area ready. Depending on where you want to apply the henna, wear clothing that will not get in the way. If your hair might get in the way, tie it aside in the opposite direction of the henna. Make sure to clean the area with soap and water; you want to apply the henna smoothly.
Making the Henna
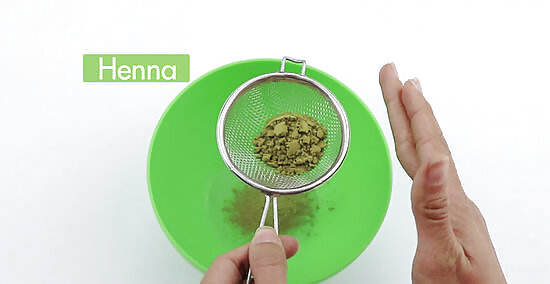
Sift your henna using a sifter to rid it of chunks that will clog your fine tip from which the henna comes out. Alternatively, stretch a pair of a nylon cloth over a plastic container and place the henna and some coins on top of the nylon cloth. If you are using fresh henna leaves, use a crusher or mixer and powder it up. Cover the container and shake it to sift the henna through the nylon cloth.
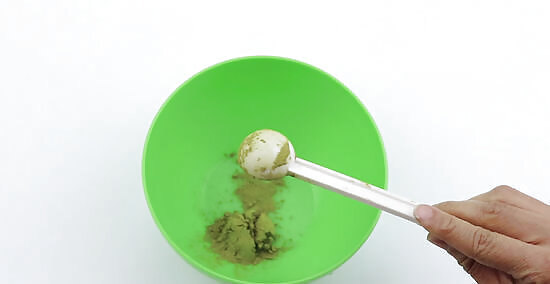
Pour the henna powder into a small bowl. If you are using henna powder, do as so.
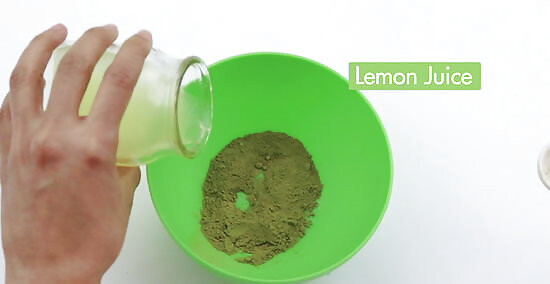
Mix 1/4 cup (60 ml) lemon juice or water with the henna powder using a whisk until you have a mixture that has the consistency of mashed potatoes.
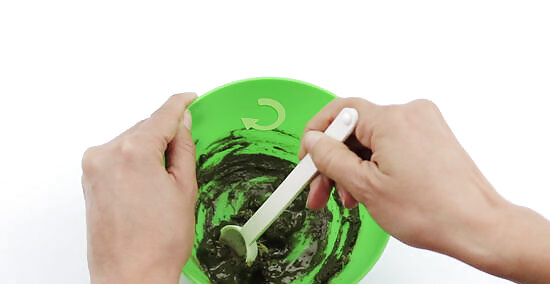
Mix it well..

Cover the henna with plastic wrap. Allow the henna to rest for 24 hours at room temperature to draw the dye out of the henna. You will see the dye separate into a layer above the rest of the henna mixture as it matures.

Scoop out the separated dye with a spoon. Add additional lemon juice, 1/4 teaspoon (1 ml) at a time, until the consistency of the henna is similar to the consistency of yogurt.
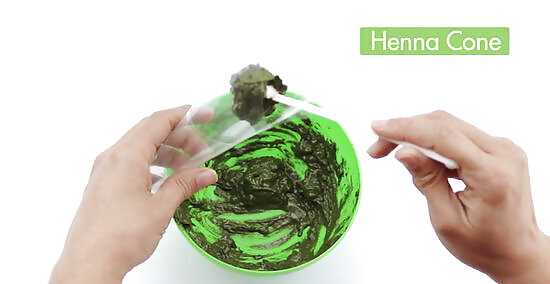
Place the henna into a plastic henna cone. Twist the top of the henna cone 1 or 2 times and wrap it tightly with a rubber band. Roll the rubber band downward until the henna is touching both the tip of the cone and the base of the rubber band. This setup creates a tight seal that will ensure that your henna dispenses properly.
Applying the Henna
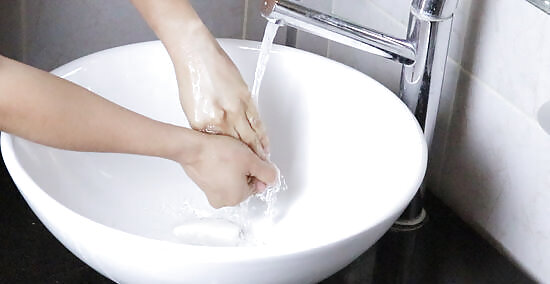
Wash the skin with soap and water. Apply some rubbing alcohol with a cotton ball if the skin is particularly oily.
Position the tip of your plastic henna cone over the skin. Apply gentle pressure with your thumb to the top of the cone, just beneath the rubber band, to dispense the henna through the tip of the cone. If the henna does not dispense easily, you can clip the tip of the cone with fingernail clippers to enlarge the opening. Just remember to make very small cuts so that you don't overdo it. Try practicing your technique on paper first. This way, your lines will have a steady flow and your designs will look continuous and intricate.
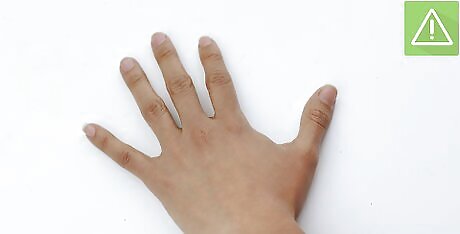
Create your design. You can create your own original design or look at books or online templates for inspiration. The hands and feet will stain darker than other parts of the body because the skin on the extremities is thicker. The neck and face do not tend to stain well because the skin there is naturally thin and oily. Thin lines of henna usually look nicer.
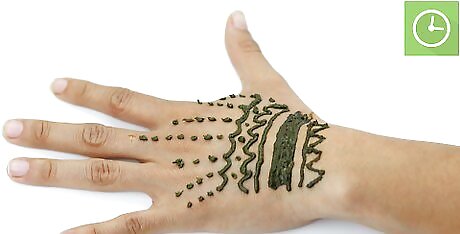
Allow the design to dry. The henna should not look wet or oily, but it shouldn't be so dry that it starts to crack.
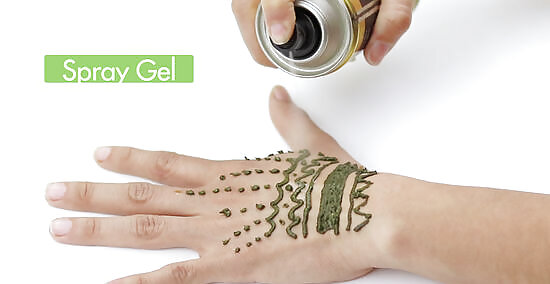
Spray the completed design with 1 light coat of spray gel. This gel comes in pump spray bottles and is normally used to style hair. You can purchase spray gel at your local drugstore or supermarket in the health and beauty section.
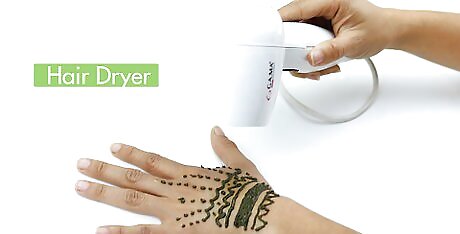
Allow the spray gel to dry. Use a hair dryer to accelerate the process.
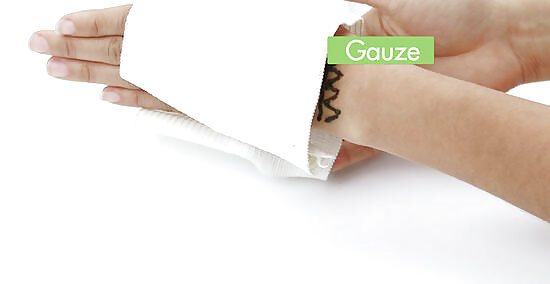
Spray a second light coat of spray gel onto the henna. When the gel has dried, you can wrap the design with gauze for extra protection.
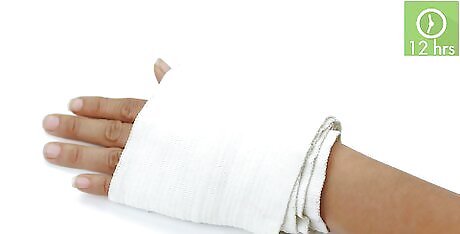
Keep the design wrapped overnight or for at least 12 hours.
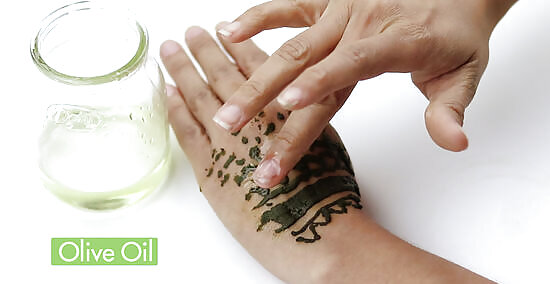
Unwrap the design. Apply a coat of wax lip balm, coconut oil or olive oil to the design.
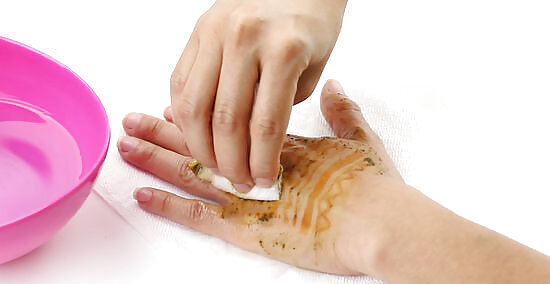
Remove the excess dried henna flakes with a mild soap and water solution. Gently blot the stained design with a soft cloth so that you don't shorten the life of the design.
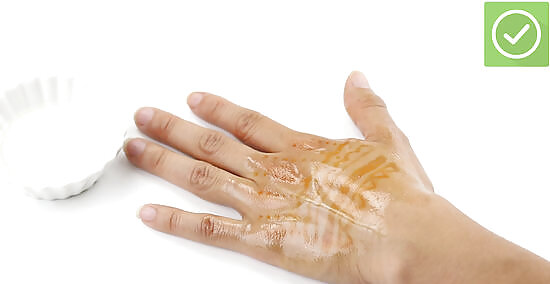
Apply some oil as well. This will make the henna last longer.


Comments
0 comment