views
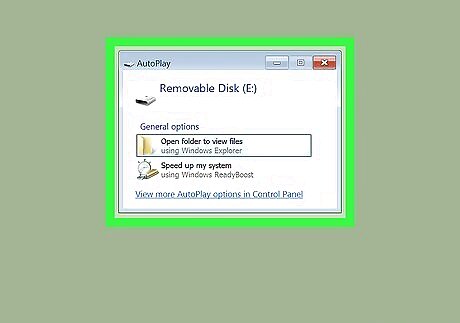
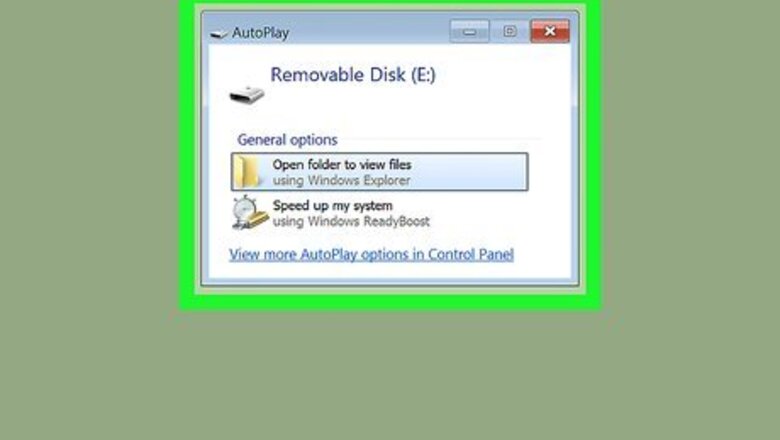
Insert your blank USB flash drive into the PC. In most cases, a window called "AutoPlay" will pop-up automatically. If no such window appears, press ⊞ Win+E to open the File Explorer, right-click the drive in the left panel, then click Open AutoPlay. If the drive is not blank, you should format it before you continue. Press ⊞ Win+E to open the File Explorer, right-click the drive in the left panel, and then select Format. Once formatted, right-click the drive and select Open AutoPlay.
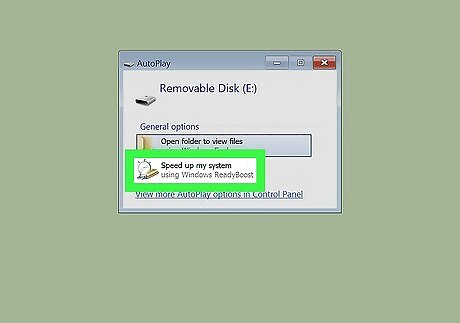
Click Speed up my system on the "AutoPlay" window. This opens your USB flash drive's properties to the ReadyBoost tab. If you see an error on the tab says that your drive is not suitable for ReadyBoost, you may have plugged the drive into a USB port that isn't fast enough. Try a different port. If that doesn't help, you'll need to use a different USB flash drive. If you see an error that says the computer is fast enough that ReadyBoost won't provide any benefits, it's usually because you're using an SSD (solid-state drive). No performance gains would be possible with a USB flash drive in this case.
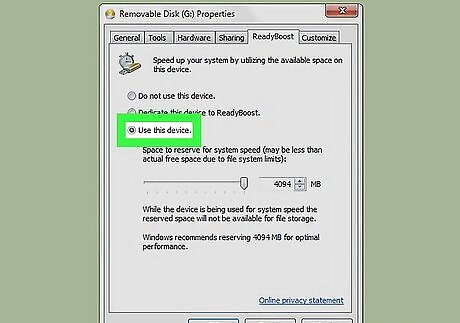
Select Dedicate this device to ReadyBoost or Use this device. You'll see one of these two options near the top of the ReadyBoost tab. If you're using Vista, drag the "Space to reserve for system speed" slider all the way to the right.
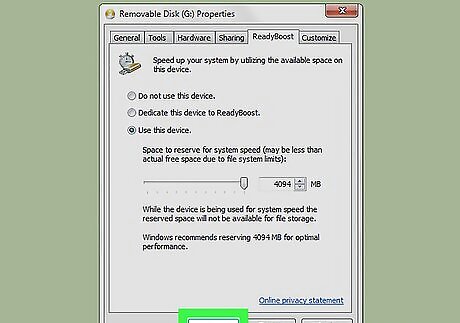
Click OK. This adds a special cache file to the USB flash drive that allows it to be used by Windows as additional RAM. Windows will start using the drive as RAM immediately, although you may not notice speed improvements until you've populated the new cache file by running your normal tasks.


Comments
0 comment