
Flushing Your Brake Lines
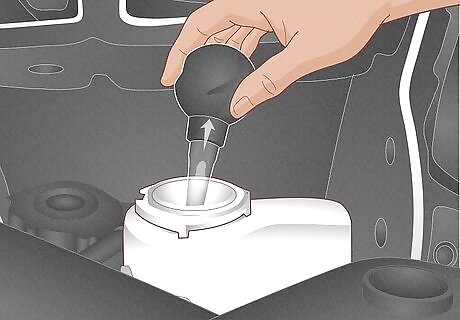
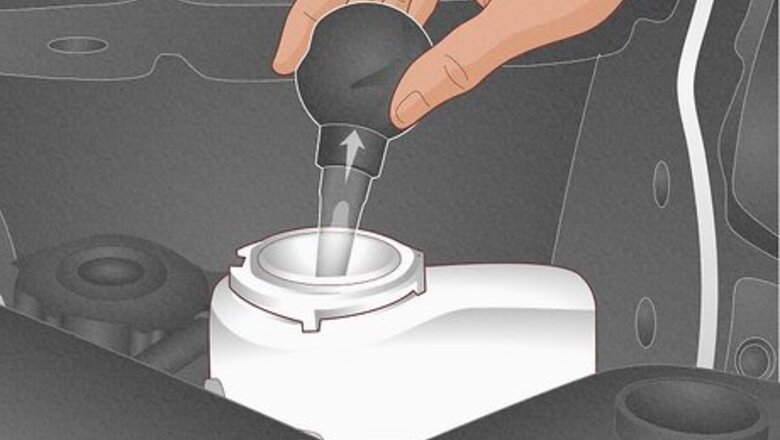
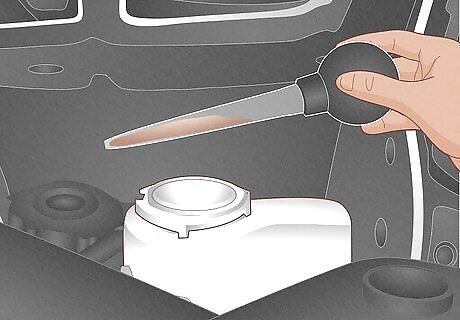
Remove old brake fluid from the master cylinder with a baster. Pop open the hood of your vehicle and look for the master cylinder, which looks like a white plastic tank near the back of the engine bay on the driver’s side. Unscrew the cap on the master cylinder. Squeeze the bulb on the baster before sticking the end into the tank. Then, let go of the bulb to suck up the old brake fluid. Squirt the fluid into a large bottle and continue emptying the tank as much as you can. If there’s dirt or dust on the top of the tank, then wipe it off with a clean rag so it doesn’t get into the tank and contaminate the fluid. Be careful not to spill any brake fluid onto your vehicle’s paint since it could ruin the color and finish. Lay down a few towels and wipe up any spills right away with soapy water to prevent damage.
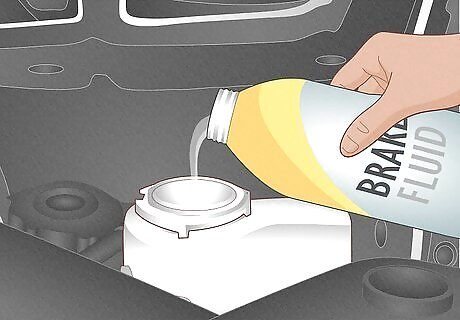
Add fresh brake fluid to the cylinder. Check your vehicle’s manual or the master cylinder’s cap to see if your vehicle requires DOT3 or DOT4 fluid. Stick a funnel into the opening of the cylinder, and pour the fluid up to the max fill line marked on the side of the tank. Wipe the opening off with a clean towel before putting the cap back onto the cylinder. Always use the brake fluid listed for your vehicle to ensure that your brakes run properly. Avoid using brake fluid that’s already been opened because it may get contaminated and work improperly.
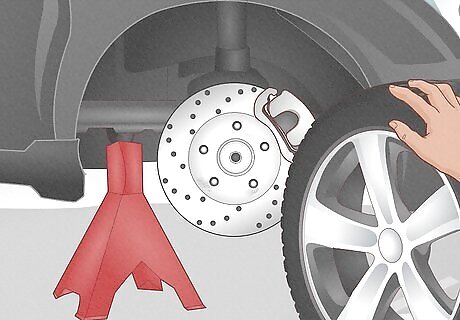
Raise your vehicle on jack stands and remove the tires. Jack your vehicle in the front and position jack stands underneath the frame behind the tires. Lower your vehicle back down so it rests on the stands. Then repeat the process at the back of your vehicle and place jack stands in front of the rear wheels. Once you have the vehicle raised up, remove the lugnuts and tires with a tire iron. While you don’t need to take the tires off of your vehicle to access the brakes, it’s a lot easier to see what you’re doing if you remove them. Avoid going underneath your vehicle while it’s still on the jack because it could easily slip off and cause serious injuries. Always place jack stands first.

Connect a bleed hose to the bleeder valve on your brake. Check your vehicle’s manual to see what order to bleed the brakes, but usually you’ll start with the rear passenger side. Look for the block-shaped caliper attached to the brake. Locate the small rubber cap on top of the caliper and pop it open to expose the bleeder valve. Stick the hose over the end of the bleeder valve, and put the other end into a large empty bottle. Starting in the rear passenger side helps flush the longest brake line first so you’re less likely to have contamination or old fluid left over.
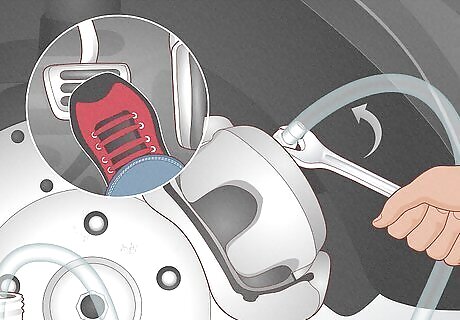
Press on the brake pedal and open the bleeder valve to flush the fluid. Place a 1 in × 4 in (2.5 cm × 10.2 cm) piece of lumber under the brake pedal to prevent it from being pressed too far. Have a helper press down on the brake pedal until they feel firm pressure. Then, use a box wrench to turn the bleeder valve a quarter turn counter-clockwise. Old brake fluid will start flowing through the hose and into the bottle. Alternatively, use a pressure bleeder kit if you’re flushing the brake fluid on your own. The kit has a pump handle that draws the fluid out when you raise and lower it instead of pressing down on the brake pedal.
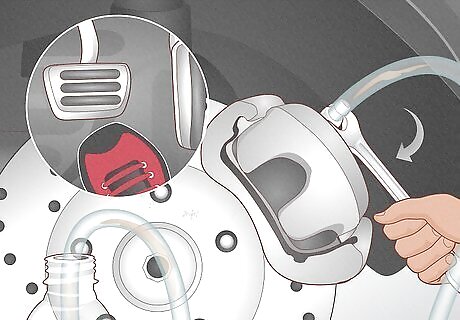
Close the valve and release the pedal when the flow stops. As soon as brake fluid stops flowing out from the valve, use your wrench to tighten it clockwise by a quarter turn. Only have your helper lift off of the brake pedal after you close the valve so air doesn’t get into the brake lines. Air bubbles in the brake lines can cause the fluid to go bad more quickly and make your brakes run poorly.
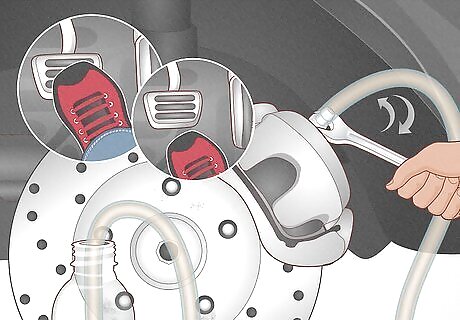
Continue opening and closing the valve until the brake fluid runs clear. Press down on the pedal and open the valve again so more brake fluid comes out from the bleeder valve. If the brake fluid runs clear without any contamination, then the line is completely flushed. Usually, you’ll only have to open and close the valve 3–5 times to flush the fluid. Tighten the bleeder valve, detach the hose, and put the rubber cover back over the valve to protect it from dirt and debris. Check the master cylinder every few times you open and close the valve, and refill it with brake fluid if it’s below half. Letting the brake fluid level drop too low can introduce air into the lines and make your brakes work inefficiently.
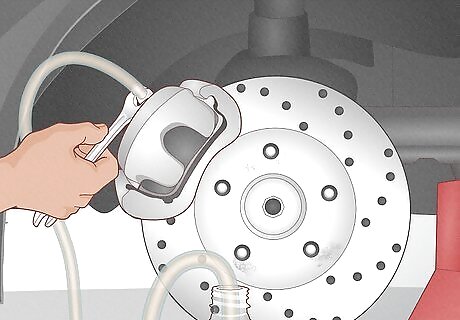
Repeat the process on each of your brake lines. Typically, you’ll work from the brakes furthest from the master cylinder to the closest, but check your vehicle’s manual for the specific pattern. Connect to the next bleeder valve and do the same thing as you did on the first brake. Once you finish bleeding the last valve, then you’re finished. Just reattach your tires, lower your vehicle back to the ground, and you’re ready to drive. Take the old brake fluid to a hazardous waste disposal site rather than throwing it in your trash because the chemicals could harm animals or plants in the environment. If you’re not able to dispose of brake fluid properly, consider having a mechanic flush your brakes instead.
Signs of Bad Brake Fluid
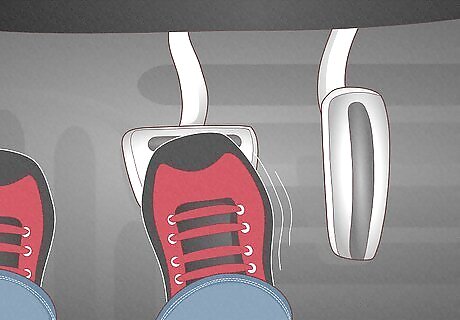
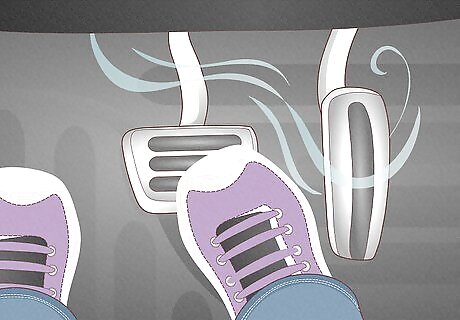
Soft or spongy brake pedal If it feels like you’re stepping on a sponge or have to press your brake pedal really far down in order to stop, it may be a sign that the fluid is low or contaminated.
Hazy or brown fluid color Typically, brake fluid is clear or has a slight amber color. If you look in your master cylinder and see brake fluid that’s brown like coffee, then it’s time to flush it out.
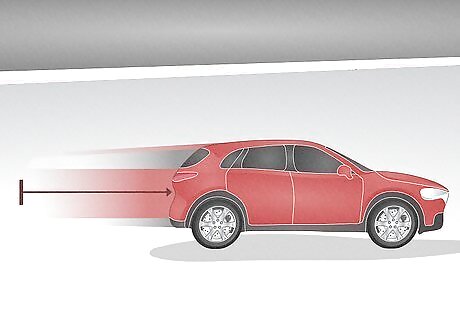
Increased stopping distance When air bubbles get introduced into the system, they prevent the brakes from applying pressure on your wheels. If you have to start braking your vehicle sooner than you had to in the past, then it’s a potential sign to replace your brake fluid.
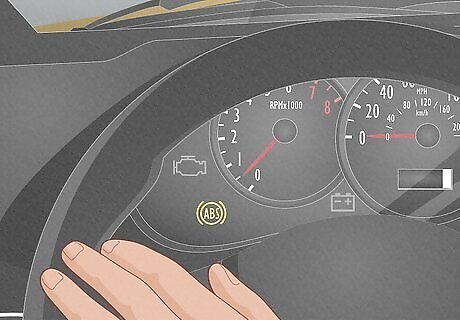
Lit warning light on the dashboard Check your dashboard for a red light with an exclamation point inside a circle. Alternatively, the warning light may say “ABS” for the anti-lock brake system. If you see one of these lights illuminated, then check your brake fluid first.
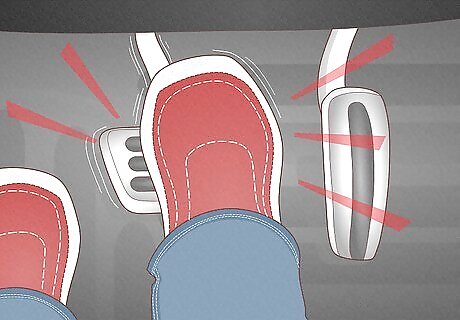
Strange noises or smells while braking If you have old or low brake fluid, you may hear a grinding noise when you press down on your brakes. You may also smell a burning odor if the brake fluid is contaminated and boiling in the system.
How often should you flush brake fluid?
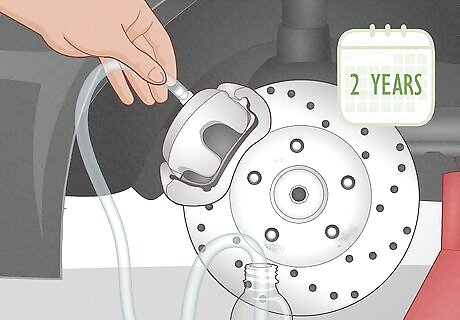
Flush your brake fluid every 2 years or 30,000 miles (48,000 km). Brake fluid typically starts breaking down after it’s been in your vehicle for a few years. Many vehicles have different recommendations, so check your make and model's manual to be sure. If you reach the listed mileage before 2 years, then still replace the brake fluid instead of waiting. As a good rule of thumb, check your brake fluid every time you change your vehicle’s oil to see if it’s still good quality and at the proper level. Shine a brake fluid light tester into the master cylinder and check the reading to determine if you need to put in new fluid.
What happens if you don’t flush brake fluid?
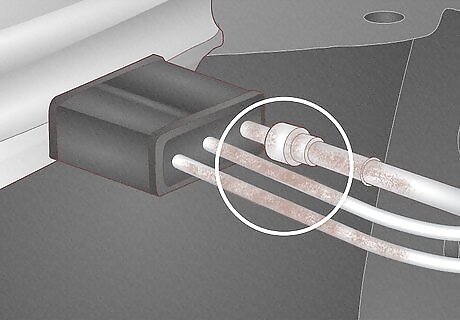
Your brake lines are more prone to rust. Brake fluids are hygroscopic, which means they absorb water and moisture over time. As the moisture gets into your brake system, it may start corroding the internal parts of your brake line. The rust can eventually break away and contaminate your brake fluid.
Your brakes won’t work as effectively. As the brake fluid absorbs more moisture, its boiling point lowers. When you press down on the brakes, the heat causes the contaminated fluid to boil and create bubbles. The air bubbles create “brake fade,” which increases your stopping distance and makes it tougher to stop.


Comments
0 comment