views
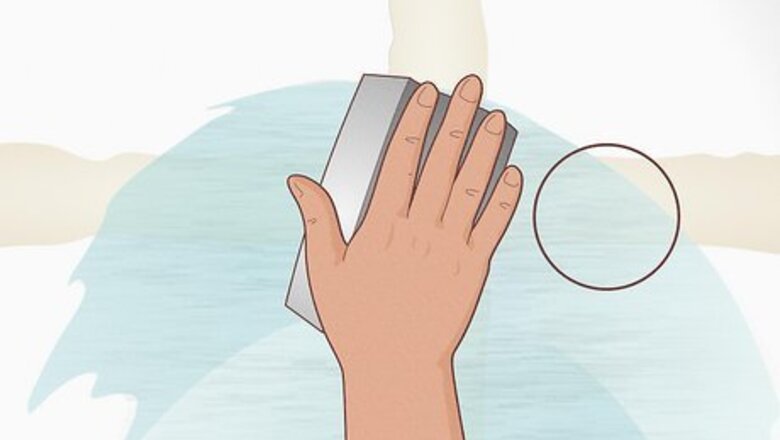
- Wet a sanding sponge with warm water and wring it out completely.
- Rub the coarse side of the sanding sponge against the most raised areas using circular motions. Rinse and wring out the sponge when it’s dirty.
- Feather out the drywall mud using the sponge’s smooth side to flatten the surface. After 2 passes of wet-sanding, let the drywall dry completely.
What is wet-sanding?
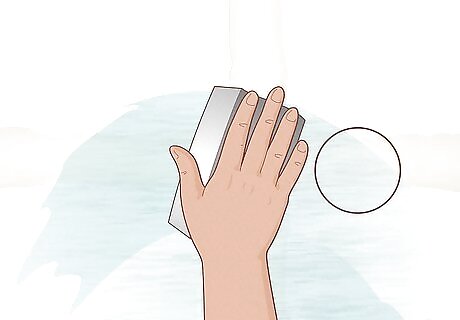
Wet-sanding uses a damp sponge to smooth out drywall and catch dust. Sanding drywall when it’s dry kicks up a lot of fine dust particles that are difficult to clean up. When you wet-sand, the moisture makes the dust cling to the sponge so you can easily rinse it off in a bucket of water. Pros of wet-sanding: Wet-sanding traps drywall dust for less mess and a quicker cleanup. Wet-sanding fills in minor scratches and dents for a smoother finish. Wet-sanding requires fewer materials and costs less money. Wet-sanding is easier to do for small drywall patches or tight corners. Cons of wet-sanding: Because sanding sponges are less abrasive than sandpaper, wet-sanding takes more time than dry-sanding. Using too much water while wet-sanding can damage the drywall surfaces. Wet-sanding could leave wavy textures on your wall because sponges aren’t perfectly flat and have pressure unevenly applied to them.
Project Overview

Wet-sanding drywall is an easy option for any DIYer. If you want to keep your space clean, wet-sanding is a simple process that only takes a few hours to complete. After your wall dries, your drywall is ready to finish. Skill level: Beginner Working Time: 2 hours for one small room Total Time: About 12 hours Cost: $10–15 USD Required materials: Sanding sponge, bucket, and water
How to Wet-Sand Drywall
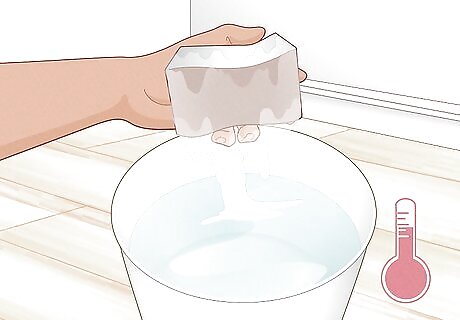
Dampen a sanding sponge in warm water. Sanding sponges have a coarse abrasive side and a smoother, softer side. Fill a large bucket ¾-full with clean warm water. Dip the sponge in the water so it gets completely saturated. Then, wring the sponge out until it isn’t dripping water anymore. If you’re only sanding a small area after repairing drywall, then a standard kitchen sponge may work. Wait for the drywall mud to dry completely before wet-sanding. Check the packaging to find the dry time because it varies between products and the size of the repair.
Sand high spots with the sponge’s coarse side. Start working where there are obvious raised edges or peaks of drywall mud. Hold the coarse side of the sponge flat against the drywall and apply gentle, even pressure. Move the sponge in tight circular motions slowly across the drywall mud. When the sponge starts looking dirty, dip it in the water and wring it out before continuing.
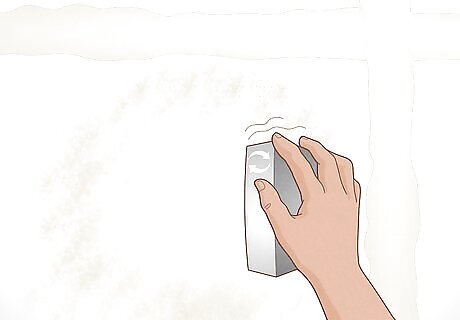
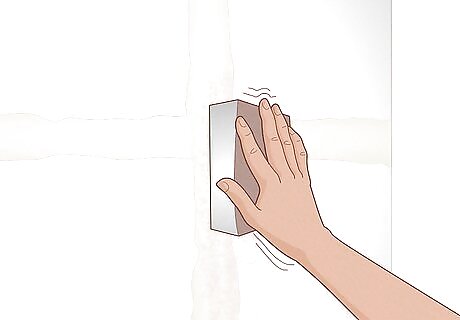
Flatten the surface with the sponge’s smooth side. Flip your sponge over to the softer side and rewet it, making sure to wring out all the excess water. Start in the middle of the drywall mud and apply gentle pressure. Work towards the edges of the drywall mud using circular motions so it blends smoothly into the drywall. Only do 2 passes of wet-sanding over the drywall mud because wetting it anymore could soften it too much and create an uneven surface with pits and valleys.

Allow the drywall mud to dry completely. When you moisten drywall mud, it softens and becomes slightly pliable again. Leave the drywall mud alone to dry, which may take a few hours or up to a day. Check on the drywall mud’s color periodically, to see if it has a consistent and even color. If you still see darker moist spots, leave it to dry for longer.
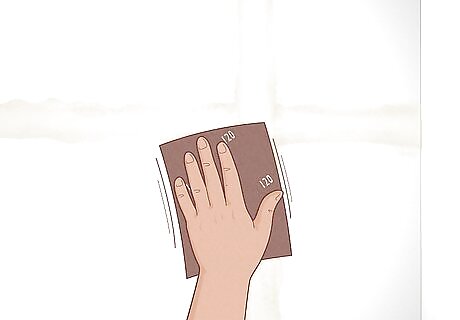
Use 120-grit sandpaper to flatten leftover raised areas. When the drywall mud is completely dry, check if there are still any high spots you couldn’t smooth out with the sponge. Put on a dust mask and safety goggles to protect yourself from any dust. Rub the sandpaper gently over the raised areas using circular motions. Once you have a smooth surface, you’re set to finish your drywall with paint. Cover any vents with plastic film and keep windows open to help get rid of and clean up drywall dust. If you see dents, scratches, or nicks, fill them in with more drywall mud.
Wet-Sanding FAQs
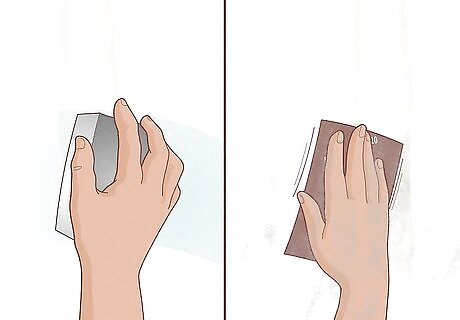
Is wet-sanding better than dry-sanding? Wet-sanding is better if you want to keep your space clean—it creates far less dust than dry sanding. However, it’s not the best choice if you’re in a rush or if you want a perfectly smooth texture on your wall.
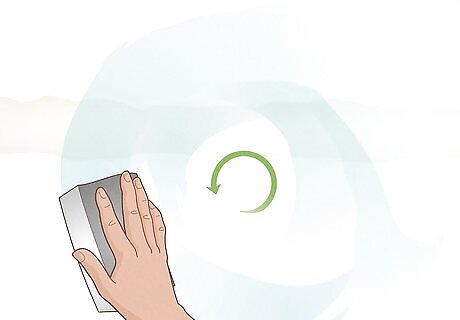
How do you wet-sand for the best finish? Use wide, circular motions and apply gentle, even pressure with the sponge so the wall has the most consistent texture. Rinse out your sponge regularly to get rid of the drywall dust.
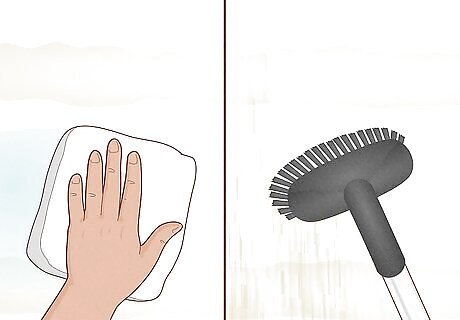
How do I clean drywall dust when I’m finished? The sponge should catch most of the dust, but if there’s any leftover, wipe hard surfaces with a tack cloth. After that, use the brush attachment on a shop vac to suck up the residual dust.




Comments
0 comment