views
Setting your SMTP Server
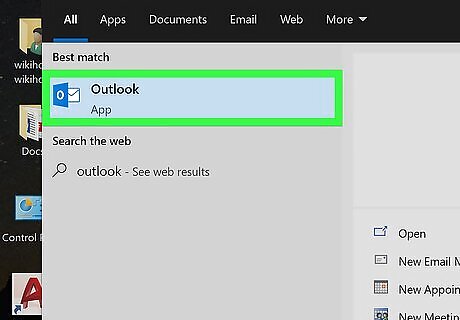
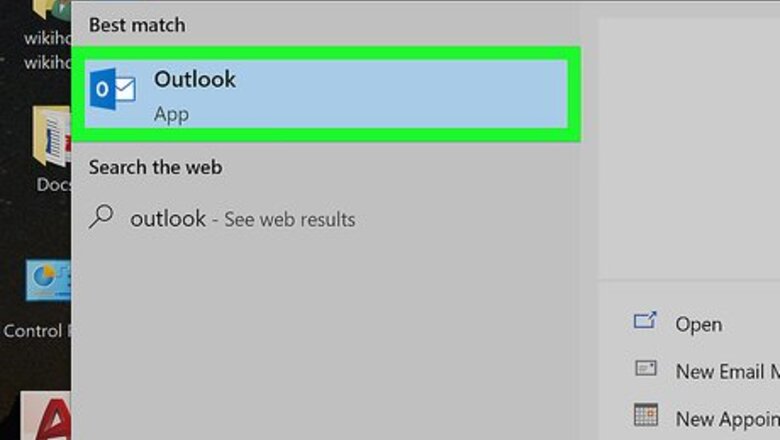
Open up Outlook like normal. If you already have it open and you see the error message, close it and reopen the program before continuing.
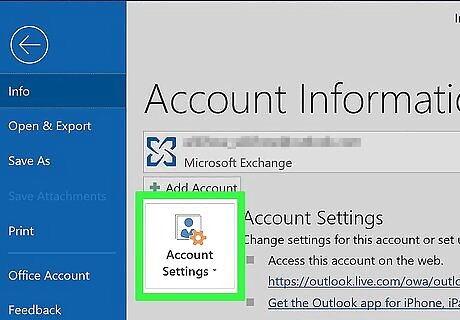
Click on "Tools," then "Account Settings." The Tools button should be in the top banner of the program. Account Settings will be in the resulting drop-down menu. Note: In some versions of Outlook, this is found under "File" → "Info" → "Account Settings."
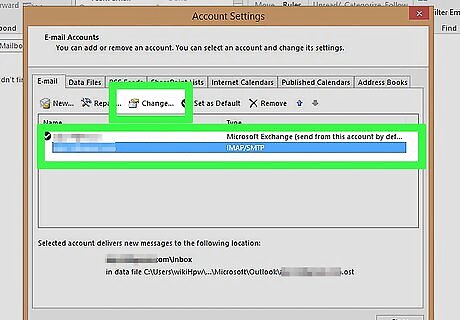
Select the "Email" tab in Account Settings. Once you click Account Settings, a small box with multiple tabs should show up. Choose "Email." Your email account should appear.
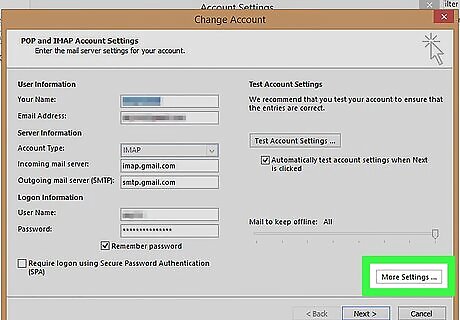
Choose "More Settings" from the lower-right corner, then click "Outgoing." More settings will launch another smaller window, with more tabs at the top. Click on Outgoing to get to the right set of settings.
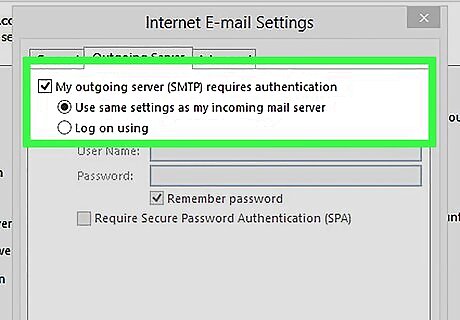
Ensure your outgoing settings are correct. There are really only two pieces that matter, and they both need to be checked in order for Outlook to work correctly: Check the box labeled: "My outgoing server (SMTP) requires authentication." Click the bubble labeled: "Use same settings as my incoming mail server."
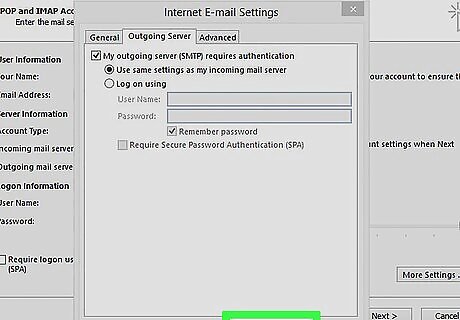
Click "OK" to leave the settings and get back to your email. Do not, on the way, choose to "Test Account Settings." It won't work, and could undo some progress. Click "Finish" to close the other settings box, then "Close" to get out of Account Settings. Note: Depending on your version of Outlook, these might be worded slightly differently. The important point is to not hit cancel. Look for OK, Finish, or Done when leaving settings.
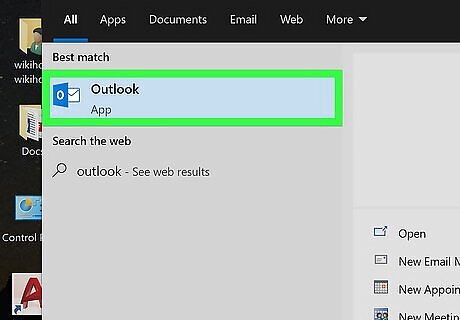
Restart Outlook and try to send a message. This error usually occurs when sending a message. Restart the program and try to send an email to see if it works. If it does not, don't fear. Move on to the other possible solutions below.
Resetting The Outgoing Port
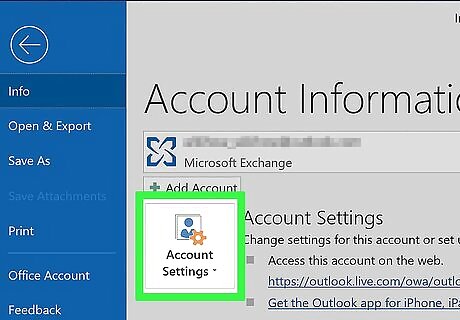
Return to "Account Settings." You can find it under tools. It may also be labeled as "Email Account Settings." This fix is specifically for times when you get the 0x800ccc78 error trying to send an email.
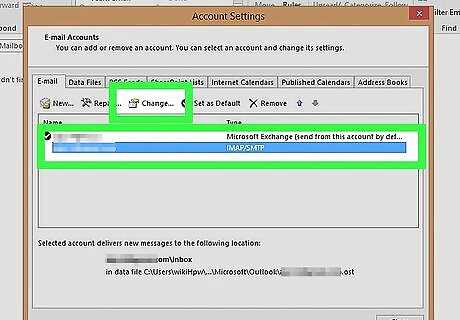
Click "Next for View" to get to to the next email account. You can also click "Change Email Account" in some versions. Basically, you'll need to manually reconfigure some of your outgoing mail settings. You need rework servers for the email address connected to Outlook.
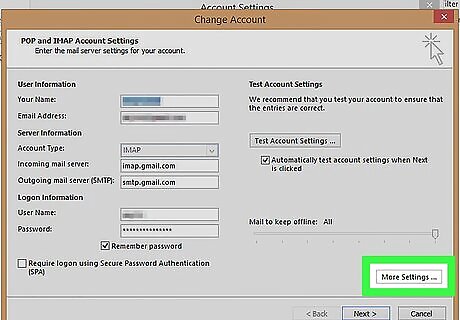
Double-click on the email account in question, then click "More Settings." If you've only got one email account hooked up to outlook, just click on this one. This will bring you to a detailed menu allowing you to adjust the ports. Make sure that the box "My Outgoing Server Requires Authentication" (the box you checked in the previous method) is still checked.
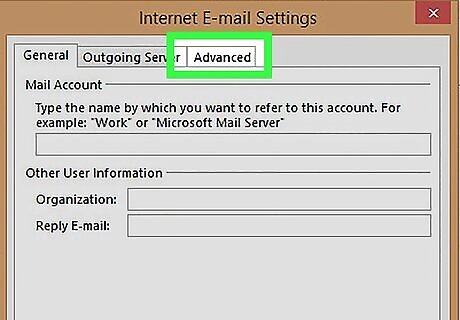
Click on the "Advanced" tab. If the right box is still checked, move on to the Advanced section. However, be careful with this page. It has a lot of crucial information installed. The only thing you'll be editing is the port number.
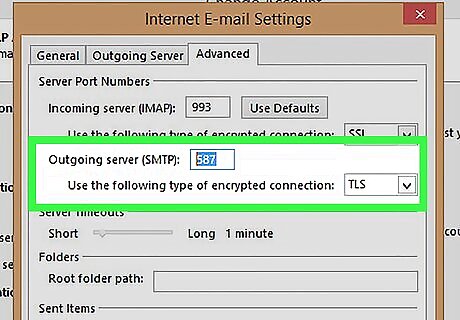
Set the port number for the "Outgoing Server" to 587. As long as this is the only thing you change, this should potentially solve the problem. Hit OK and Finish to get out of all the menus (not cancel, or the "X") and check to see if it worked. If not, there is one last solution to try out.
Fixing a Broken PST File
Try the previous two methods before attempting a PST fix. PST stands for Personal Storage Tables. When they get too big they often get corrupted, leading to errors. They can, however, be fixed. It isn't incredibly difficult, but you still want to make sure the other two methods didn't work first. They are simpler and less invasive. That said, using a PST repair program is not very difficult, and is generally safe. Even better, Microsoft bundles a repair program right with Outlook called Inbox Repair.
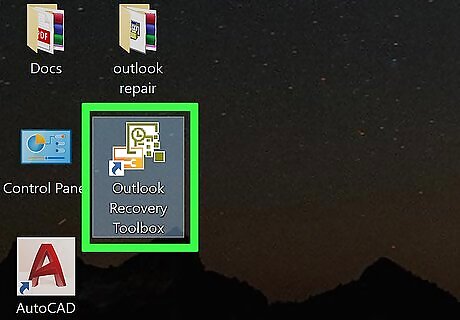
Open your PST repair program. For Windows Users, you may have a program called "Scanpst.exe" that will do this for you. For Mac users, you may not have the option to use Scanpst. In this case, you must go search online to download an "Outlook PST Repair" program. Sites like CNET have Outlook PST Repair programs for free. Scanpst is sometimes hidden. To find it, copy the following into a search bar: Program Files\Microsoft Office\. Then click OFFICE and scroll to Scanpst.
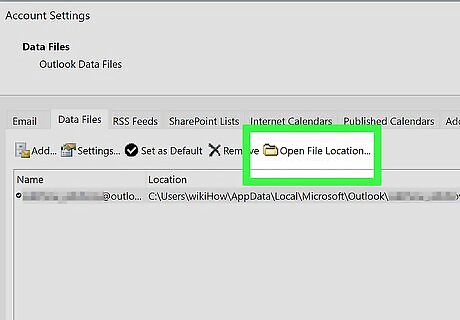
Open Outlook to find the location of your PST files. Head back to the Account Settings (either through Tools or File → Info) and click on the tab labeled "Data Files." You'll see a list of all your email address. Click the one with the issue and then select the button "Open File Location." This will open a window showing your .pst file on your computer.\ Remember this location on your computer -- you'll need it later.
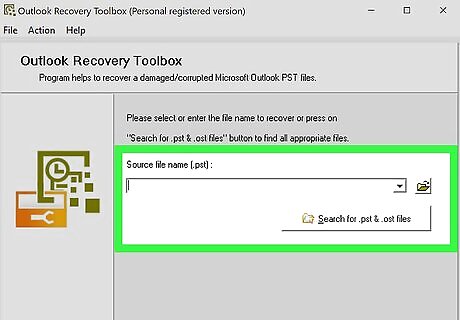
Return to your PST repair program and locate the .pst file you just found. Now that you know where it is, click on "Browse" or "Load PST" and cue up your Outlook file. On some programs, you may be able to just click and drag it over from your old file.
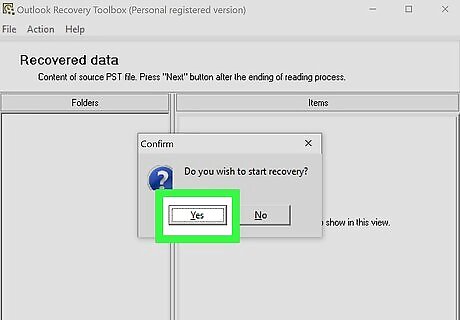
Hit "Start" and follow the on-screen instructions. The first step is a scan of your PST files. More likely than not, it will then offer to repair them. Click "Repair" to fix up your old file, which should prevent any further issues. Repair will automatically create a backup of the PST file, so don't worry about losing old data.
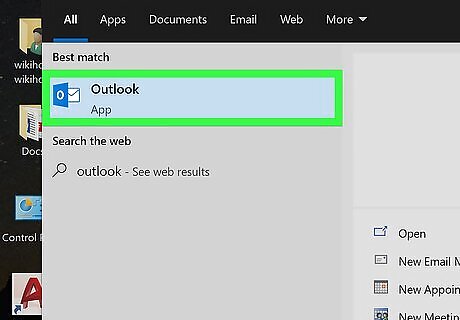
Open Outlook with the new PST file. Once you've repaired your old file, simply drop it next to the old one. Remove the broken file, putting it in a new, separate folder for safe keeping in case something went wrong. If you're having trouble syncing up the new file, simply return to the "Data Files" screen in Account Settings. From there, you'll find the button "Add File" on the left-hand side. Click it to add your new PST file. Leave the folder containing your PST files open while working. This will make it much easier to find later on.


Comments
0 comment