
- Group items by selecting them and then going to "Layout > Group".
- Make sure none of the objects have the "In Line with Text" wrap setting before creating a group.
- If the Group option is grayed out, make sure you have more than one object selected & that none of the objects is a SVG, table, or worksheet.
Grouping Objects in Word
Open your document in Word. You can either double-click the file in your file manager (Finder for Mac and File Explorer for Windows) or you can click the Word app icon and go to File > Open.
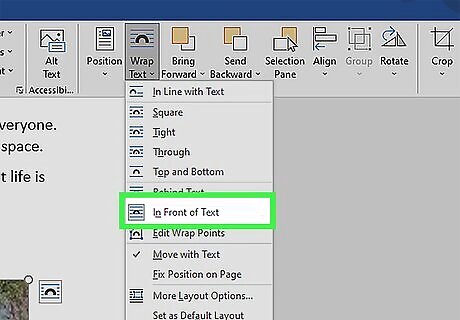
Make sure none of your objects are set to "In Line with Text." If a picture or object you want to add to the group has its text wrapping set to "In Line with Text," you won't be able to select it while creating your group. Here's how to check and change the text wrap settings: Click any object you want to add to the group. Click the "Layout Options" icon that appears at the top-right corner. If the "In Line with Text" option is selected, choose any of the other text wrapping options. Repeat for all objects you want to group.

Select the objects you want to group. If you're using Windows, press and hold Ctrl as you click each object. If you're on a Mac, press and hold Cmd instead.
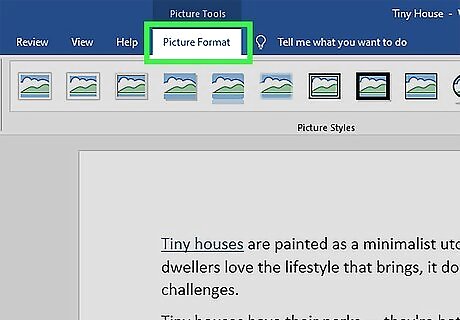
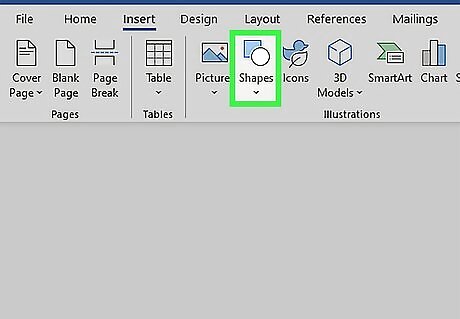
Click the Shape Format or Picture Format tab. You'll see one or both of these tabs at the top of Word, depending on which objects you've selected. The option to group objects appears on both of these tabs. If you don't see either of these tabs, click the Layout tab instead. You'll also find the option to group here. If you're using Office 2010, click the Drawing Tools or Picture Tools tab, then click the Format tab.
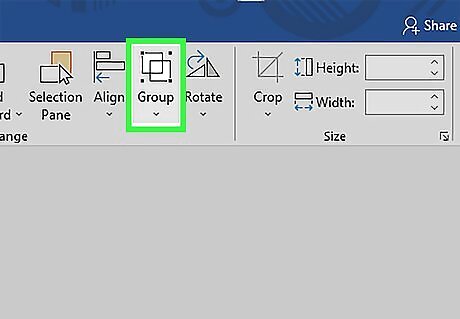
Click Group on the toolbar. You'll see this on the Arrange panel near the top-right corner of Word. If you don't see this option, click Arrange to make it visible. A brief menu will expand.
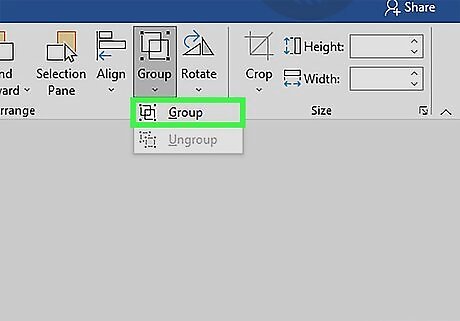
Click Group again to group the selected objects. The objects are now grouped together, which allows you to rotate, To ungroup objects, click your group to select it, click the Layout tab, then select Ungroup. Once you've grouped, then separated a group, you can regroup it. Go to Layout > Regroup.
Why is the Group button grayed out?
You can't include SVG icons in your groups. If there are SVG icons in your selection, you'll first have to convert the SVG icons to shapes, which is a feature that only Windows 365 subscribers have access to. There will be a "Convert to Shape" button under Graphics Tools > Format.

You only have one shape, picture, or object selected. Since you can't create a group with only 1 item, you'll need to add more items. Press and hold Ctrl (Windows) or Cmd (Mac) as you click to add other objects.

Your selection includes a table or worksheet. Unfortunately, you cannot add these things to your group.


Comments
0 comment