views
Individual Wicking Pots
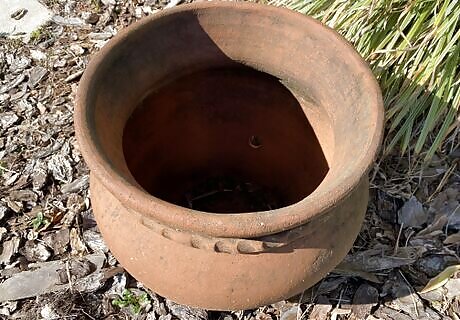
Choose a decorative pot with drainage holes.
Purchase a bucket, usually 2 gallons (8 L), with a lid that will fit into the decorative pot. Cut a 5 inch (12 cm) slit near one side of the lid with a utility knife or saw. Drill a 1 inch (2.5 cm) hole in the lid that you can use to refill the pot with water each week.
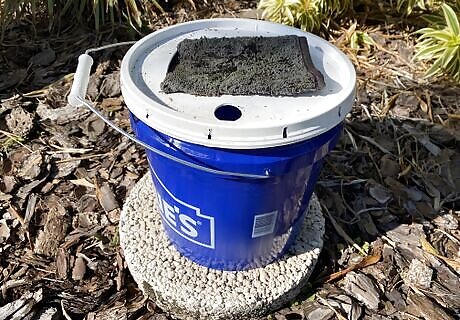
Put the bucket and lid in the decorative pot and fill the bucket with water. Place the lid on the bucket.
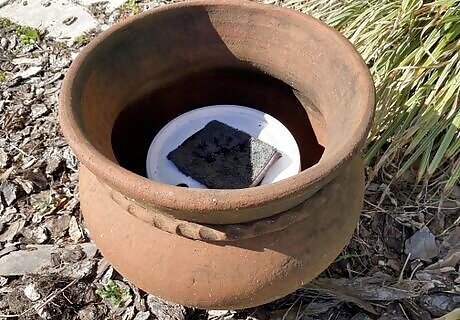
Find an old towel or washcloth; this will be a large fabric wick. Put the towel (wick) into the water in the bucket to saturate it. Feed the towel (wick) through the slit in the lid so it hangs into the water about 6 inches (15 cm).
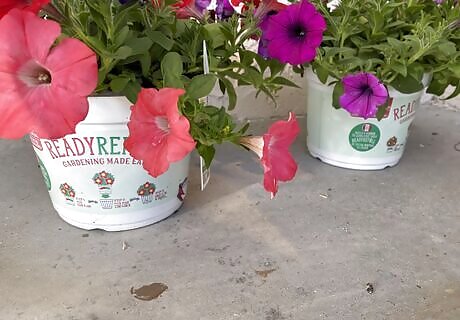
Place a pot of flowers or vegetables on the towel (wick). Be sure the pot has a number of large holes in the absolute bottom of the pot. Wicking will work if there is a direct connection between the potting soil in the pot and the wick (towel).
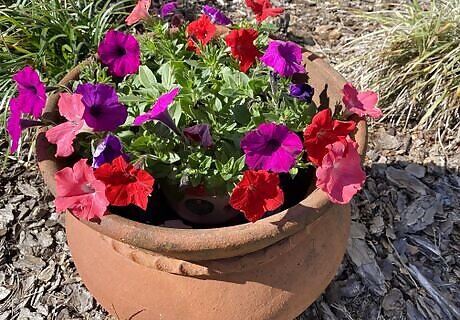
Water the pot of flowers or vegetables thoroughly to establish the wicking connection. Add water to the bucket (reservoir) every 7-10 days in cool to moderate temperatures, every 5-6 days in hot weather.
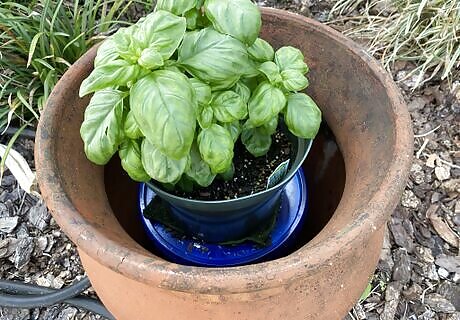
Add fertilizer directly to the potting soil or add it to the water in the reservoir. This is basil grown just the same as the petunias.
Install Drip Irrigation for Multiple Pots
Choose an outdoor faucet or hose bibb. Connect a backflow preventer first, its the law for most municipal water systems; it will prevent dirty water from flowing backward into your home. Attach a wye-adapter to it for the option of normal use alongside the irrigation system; use a metal-bodied one for lasting strength and seal its threads with teflon tape to prevent drips.
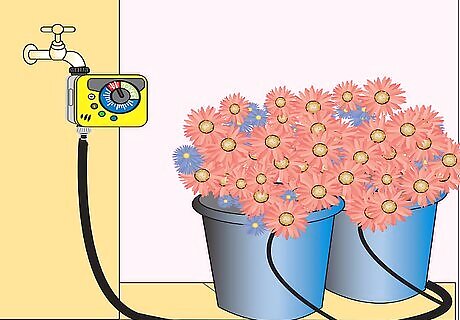
Plan a "drip" irrigation system (not a "soaker hose"). A programmable timer typically goes at the faucet, followed by a simple pressure regulator (5 to 15 psi), light 3/4" semi-flexible UV-resistant black plastic "main line" to maintain relatively uniform pressure throughout, and side lines of solid and then perforated "micro tubing" to slowly deliver water to the plants. There are also "micro sprinklers" to spray water a few feet. But all that's really needed are the main line, a punch and micro couplers to supply solid micro-tubing to the individual pots, lengths of perforated tubing to lay just under the surface of each one's soil in proportion to its water need (generally, its size), and plugs for the end of driplines and mistaken punctures to the mainline. Small garden areas near the deck can be watered similarly. A "starter kit" will have most of the essentials, including instructions.
Anchor the main line unobtrusively around the area to be watered. 3/4" nail-on tubing clips sold for other kinds of plastic pipe hold it well; keep it low to reduce dripping on wires or even lights strung higher on the deck. A good place may be the underside of the wooden screens under railings (likely present on and accessible from within a second-story deck), or the undersides of the deck girders. Keep curves loose to avoid kinking in the sun; trim the end to length with some to spare after the basic format is laid out.
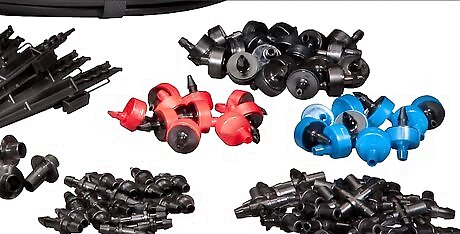
Add pots and a solid micro-tubing lead followed by a capped drip line for each. The pots must have drain holes to prevent flooding and root death with excessive rain; they should sit on ventilated grids or saucers with feet, or hang, to prevent deck damage from water pooling underneath. Side "window boxes", or baskets and even small or not-too-full upside-down planters cantilevered off metal arms are a great way to conserve actual deck space.
Configure watering. Small, sun-warmed planters need watering often as the plants drink vigorously. But constant sogginess suffocates roots and breeds fungus and bugs. And overflow drags off nutrients. Try once a day for five minutes (or just a little less time than produces much runoff); more often if the plants wilt much between waterings. Some planters include large reservoirs with sponges to reabsorb "just enough" over time.
Fertilize periodically. If the plants look pale or yellow, they're probably weakening from lack of nutrients. A spoonful of cheap granulated general-purpose fertilizer--however much is recommended for periodic application to roughly that many square feet, or several gallons of water--on top of the soil will soon absorb in from watering or rain and fix the problem; apply every few weeks for best results. Pre-dissolving the fertilizer, or expensive gimmicky fertilizer costing more than a few dollars per pound, is unnecessary. (The most "organic" option is manure, but for obvious reasons that should cost little, too.) A "scorched" look to tips of leaves can mean too much fertilizer -- "over-water" awhile to leach it out.






Comments
0 comment