
Using Settings
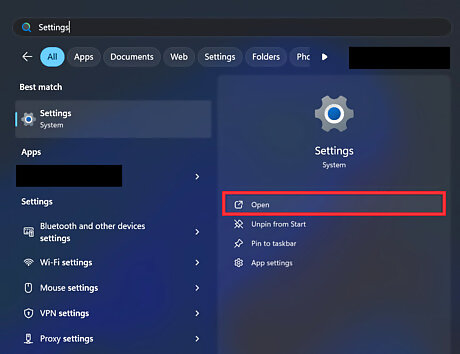
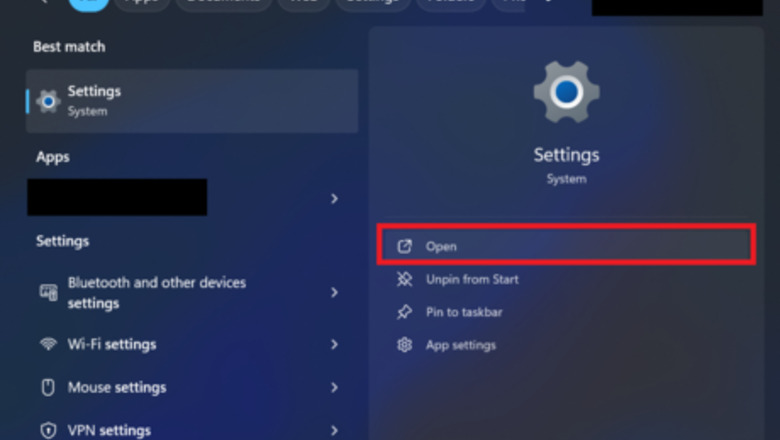
Open the Settings app. To do this, navigate to the Start menu. Click the Windows icon in the bottom left hand corner of your screen, or press the Windows icon (⊞ Win) on your keyboard. Click into the search bar and search for "Settings". Then, click Open.
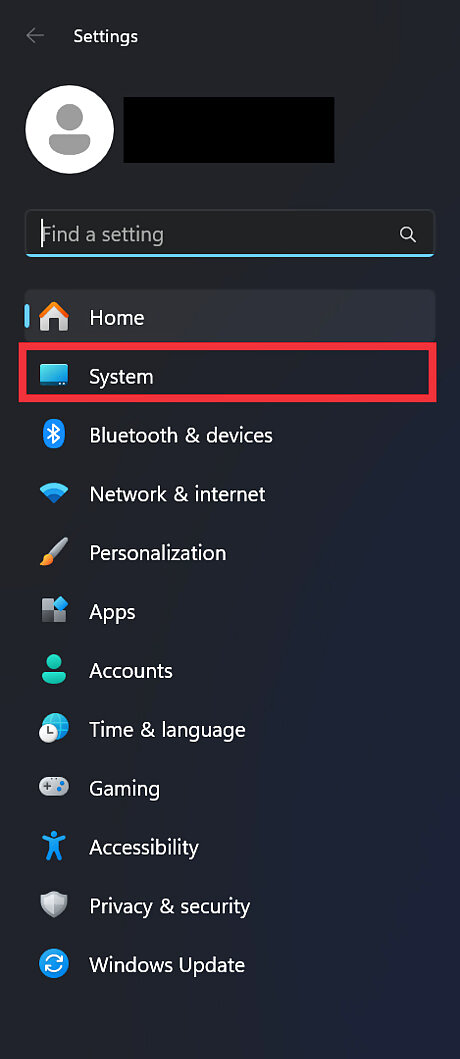
Click System to open up the "System" tab. It is the second option in the left hand pane.
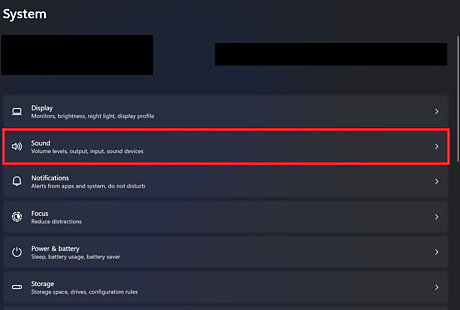
Click Sounds to open up the sound settings menu. It is the second option down in the right hand pane.
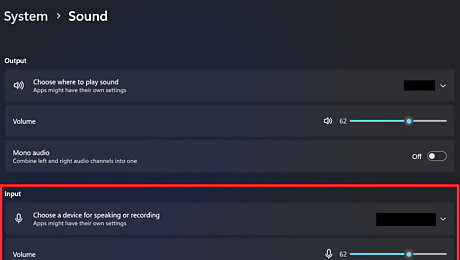
Scroll down to the "Input" section.

Look for "Choose a device for speaking or recording" and expand the dropdown. You can expand the dropdown by clicking on the "V" symbol on the right.
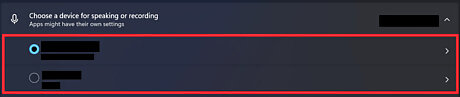
Select your preferred microphone from the list. The selected microphone will be set as the default microphone. You can also adjust the volume of your selected microphone here by toggling the slider next to "Volume."
Using Control Panel
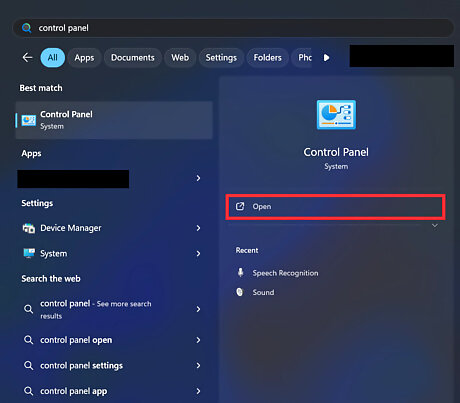
Open the Control Panel by navigating to the Start menu. Click the Windows icon in the bottom left hand corner of your screen, or press the Windows icon (⊞ Win) on your keyboard. Click into the search bar and search for "Control Panel." Then, click Open. Alternatively, press ⊞ Win+R keys on your keyboard and enter "control". Then click Ok.

Click into the search bar in the top right of the Control Panel interface. Search for "manage audio devices" and hit ↵ Enter on your keyboard.
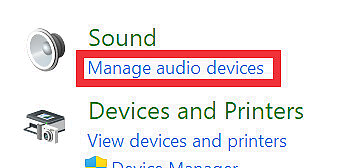
From the search results that appear, click the blue text that reads Manage audio devices under "Sound". This will be the first result that comes up.Win 11 control panel search results manage audio devices highlighted.png
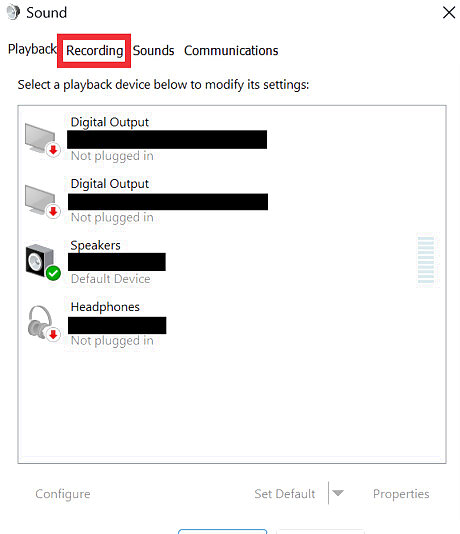
Click on the Recording tab from the top of the window that appears. It is the second tab, located in between the "Playback" and "Sounds" tabs.
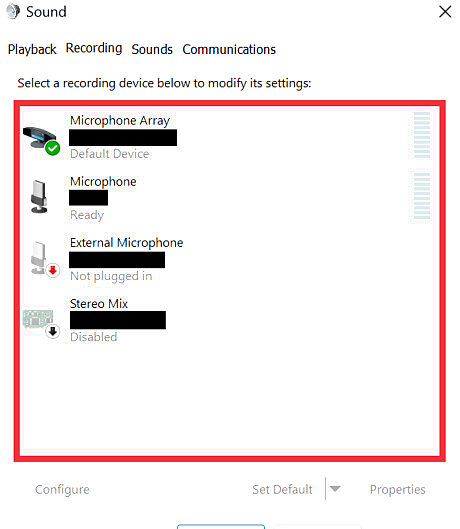
Select your preferred microphone from the list of recording devices that appears.
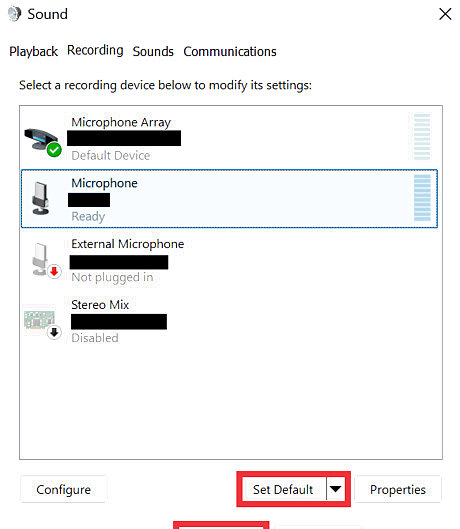
Click Set Default. When you are done, click OK. The selected microphone will be set as the default microphone.


Comments
0 comment