
Log into Windows XP with administrator rights. This makes setting up the network for you, and other users, easier as you can make all the necessary changes to settings.

Look for the Network Neighborhood or My Network Places icon in your desktop. If it is not there, try your Start Menu.
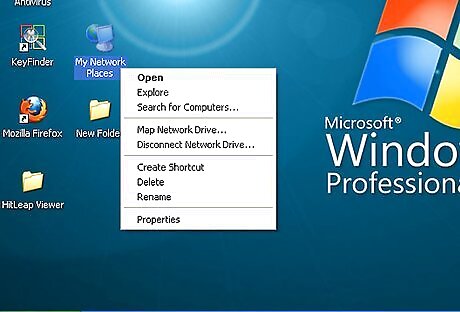
Right-click the Network Neighborhood/My Network Places icon. A drop-down menu will appear.

Choose the "Properties" option, generally found at the bottom of the menu.

Look for an icon named "Local Area Connection". The icon looks like a pair of computers connected by a link. Double-click this icon.
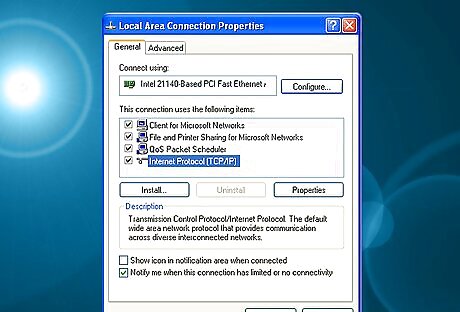
Click the "General" tab, if it is not already selected. You will see a list of protocols to choose form.
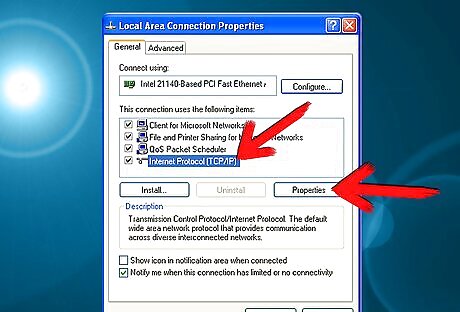
Scroll down and choose Internet Protocol (TCP/IP), and then click the button that is labeled "Properties".

Again, click the "General" tab, if it is not already selected. You will see two choices: "Obtain an IP address Automatically"Configure DHCP in Your PC Step 8Bullet1.jpg "Use the following IP address..."Configure DHCP in Your PC Step 8Bullet2.jpg
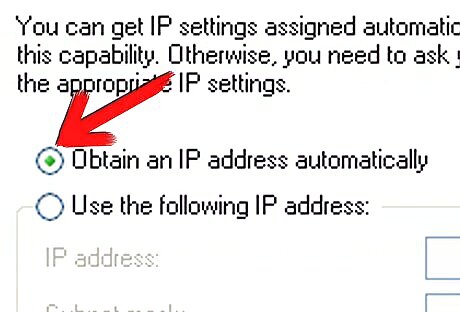
Choose option 1.
You have effectively configured DHCP for your PC. When your computer obtains the IP address, it will also obtain DNS server information automatically. This is provided by your DHCP server.


Comments
0 comment