
views
Using the Rectangle Tool
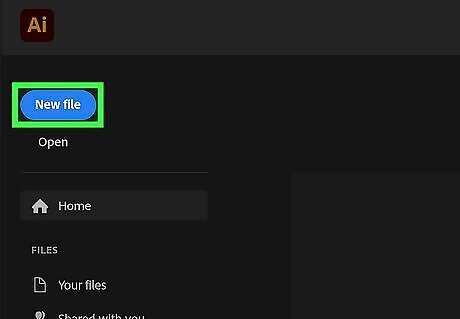
Open or create a new project. To do so, open Illustrator and either click New to create a new project, or click Open and select a saved Illustrator file you want to open. When creating a new file, you will need to either select a template or enter the dimension sizes for your paper or project.
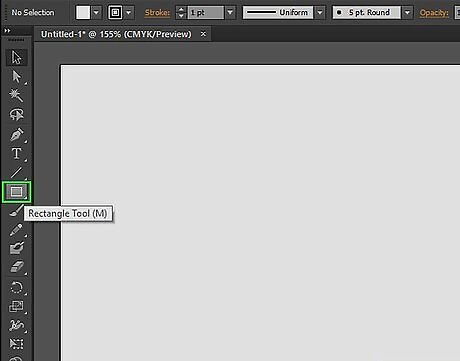
Select the rectangle tool. It's in the toolbar which is to the left by default. The rectangle tool has an icon that resembles a shaded rectangle.
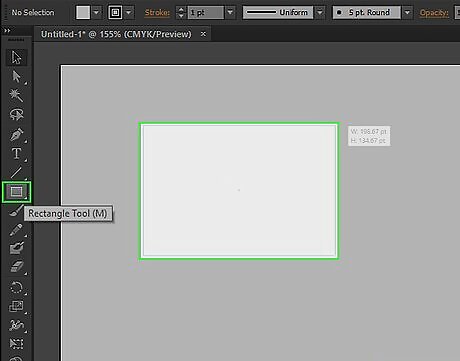
Click and drag to create a rectangle. It can be any size you want. You can resize the rectangle by clicking and dragging the square nodes on the sides of the rectangle outline. To create a uniform square, hold Shift while you click and drag. It may be easier to add a fill color to your rectangle. This allows you to select a cell by clicking the inside, rather than the edges of the cell. It can be the same color as your paper.
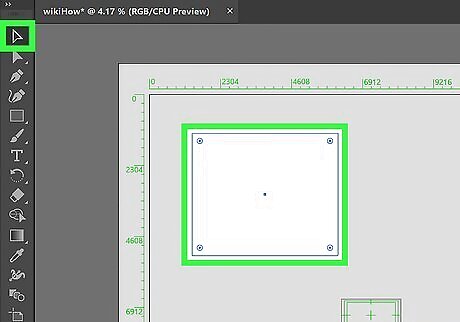
Select the rectangle. To do so, click the selection tool in the toolbar. It has an icon that resembles a black arrow. Then click the rectangle.
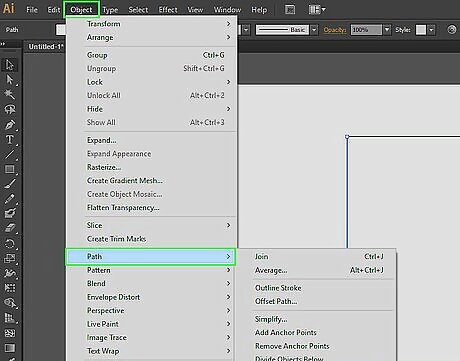
Open the "Split Into Grid" dialogue box. You can use this dialogue box to split your rectangle into a grid that resembles a table. Use the following steps to open the "Split Into Grid" dialogue box: Click Object in the menu bar at the top. Click Path. Click Split Into Grid.
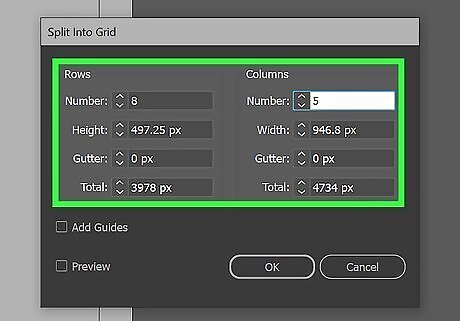
Enter the number of rows and columns you want. Simply type the number of rows and columns you want in the boxes next to "Rows" and "Columns." You can also click the up or down arrows next to the boxes to adjust the number. To see how the table looks, click the checkbox next to "Preview."
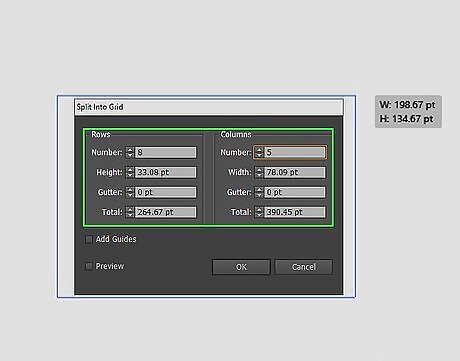
Adjust your table. To adjust the space between Table Cells, set the “Gutter” values to however many units wide you want the space. You can also adjust the total sizes of your rows and columns.
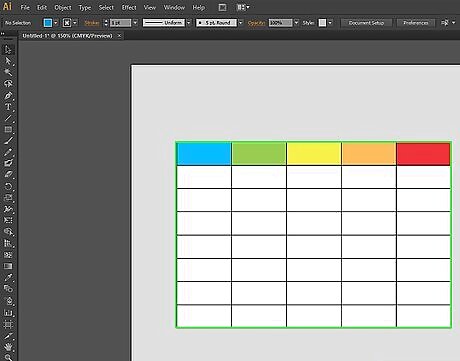
Customize the table. The table will be created, and you can change the color, stroke, or add text in each box. Click the edge of any cell with the selection tool. This will allow you to change its fill or stroke color using the swatches palette. The fill color is the inside color. The stroke color is the outline around the cell. You can add text to your table by using the text tool.
Using the Rectangle Grid Tool
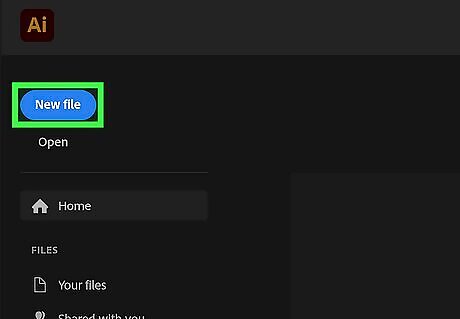
Open or create a new project. To do so, open Illustrator and either click New to create a new project, or click Open and select a saved Illustrator file you want to open. When creating a new file, you will need to either select a template or enter the dimension sizes for your paper or project.
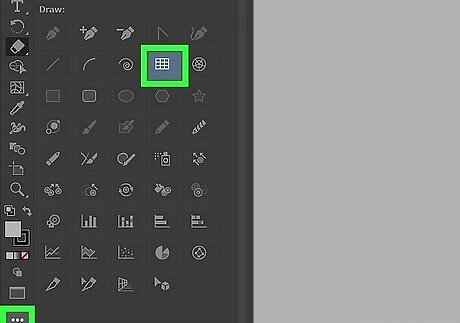
Double-click the rectangle grid tool. The rectangle grid tool is in the "lines" submenu. To display it, click and hold the line segment tool in the toolbar. It resembles a straight line. Then double-click the icon that resembles a grid in the fly-out menu to open the rectangle grid options menu.
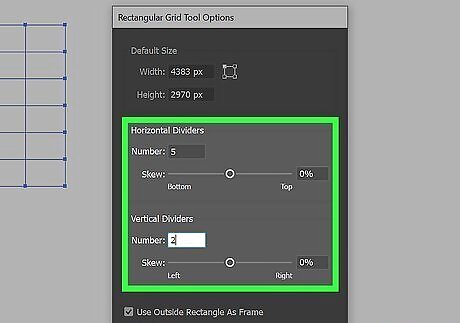
Enter the number of vertical and horizontal dividers you want in your grid. This will determine how many rows and columns you have in your table. To determine how many vertical and horizontal dividers you need, enter the number of rows or columns you need and subtract one. Then click Ok. For example, if you need three columns, you would enter "2" for the vertical dividers. If you need 6 rows, you would enter "5" for the horizontal dividers.
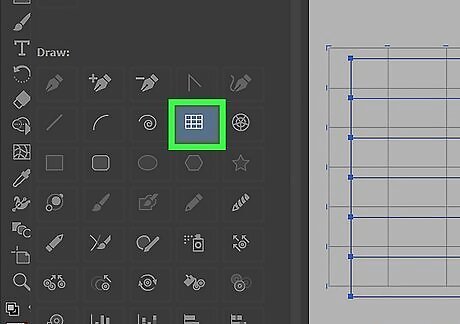
Select the rectangle grid tool. It's in the "lines" submenu. Click and hold the line segment tool in the toolbar, then click the rectangle grid tool.
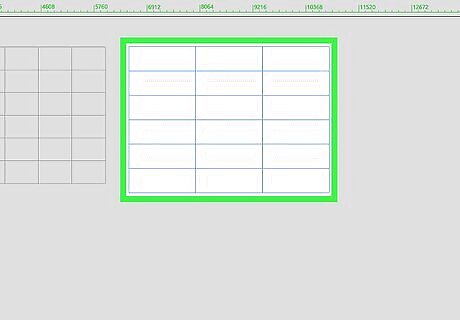
Click and drag to draw a table. Doing so will create a grid the size of the rectangle that you draw. This will create a grid that looks like a table. You can add text to your table by using the text tool.





Comments
0 comment