
HTML is one of the most open-sourced and creative markup languages. No matter how complicated a web page seems to be, HTML is always required as the base of your web page. However, creating different hyperlinks that connect your web pages as a whole can be confusing, especially as a beginner. This article includes different methods that can allow you to create redirects/hyperlinks in HTML.
Creating a Redirect Button
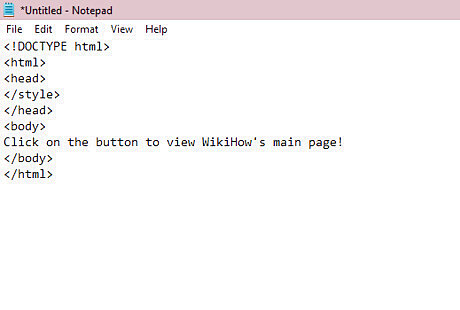
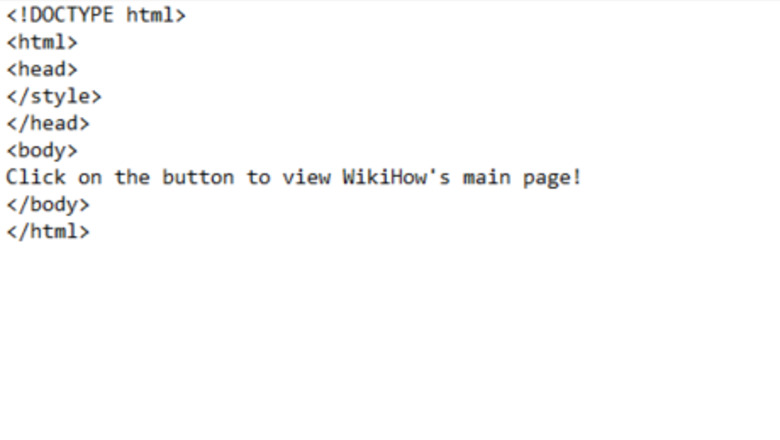
Create a basic HTML webpage using any text editor tool. For example, you could be using Notepad, a free Windows system application. If you've already done this, you may skip this step. You should include the basic structure of an HTML document.
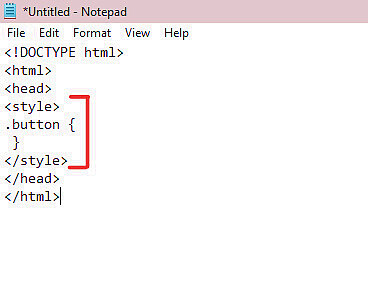
Create your button using CSS. Under the
Click on the button to view wikiHow's main page!