views
Darning Holes in Clothing and Other Items
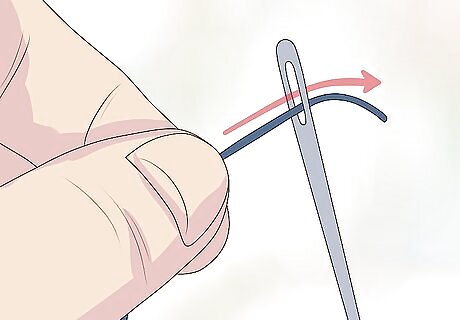
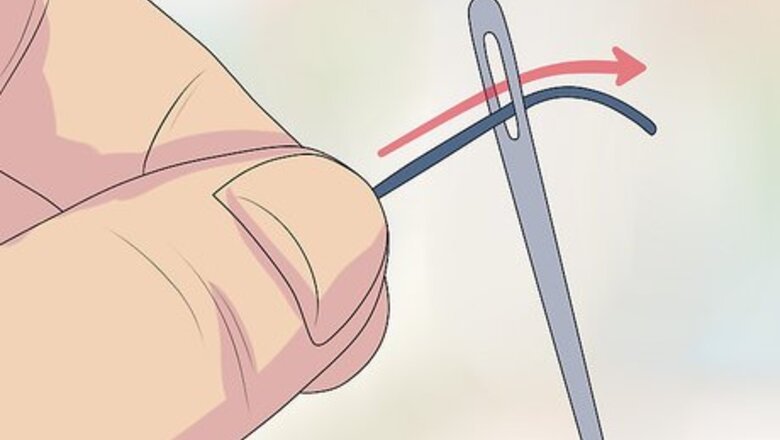
Thread your needle. Begin by threading your needle with your matching thread or yarn. Thread the thread or yarn through the eye of the needle, and then pull the thread or yarn through so that most of the thread is on one side and the other side only has a few inches (about 5cm). Grip the needle at the eye to prevent the thread from coming undone as you sew. Keep in mind that you will need more or less thread or yarn depending on the size of the hole. For example, a small hole may only require about 12” (30.5cm) of thread or yarn, while a large hole may require 24” (61cm) to cover it. Thread your needle with more thread or yarn than you think you will need. The size of the needle you use will depend on the item and type of yarn or thread you are using. Use a needle with a large enough eye to fit your thread through.
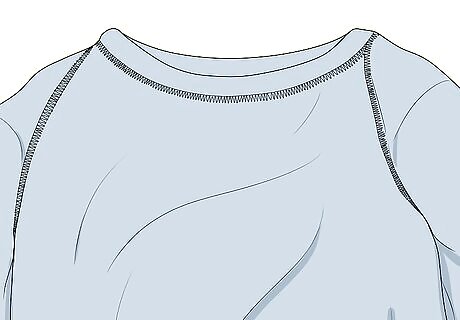
Turn the garment inside out or to the wrong side. It is important to work on the side of your project that will not be visible. If your item is a piece of clothing, then turn the clothing inside out. If your item is a flat piece of fabric, such as a blanket or tablecloth, then flip it over to the wrong side.
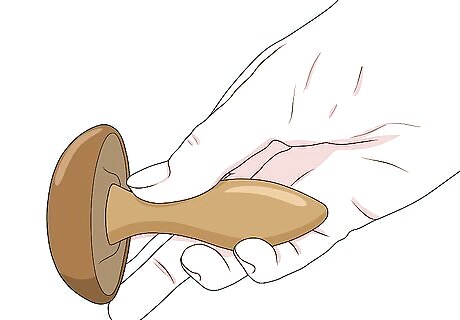
Use a curved object as a guide. To ensure that your clothing and other items retain their natural shape and stretch, it is a good idea to use a curved object as a guide, also known as a darning mushroom. You can purchase a darning mushroom in craft supply stores, or simply use an item from around your house. For example, you can use a standard light bulb as a guide for darning socks, or you can use the curve of a large bowl as a guide for darning a sweater or blanket. For some items, such as cloth napkins and tablecloths, using an embroidery hoop may be a better option.
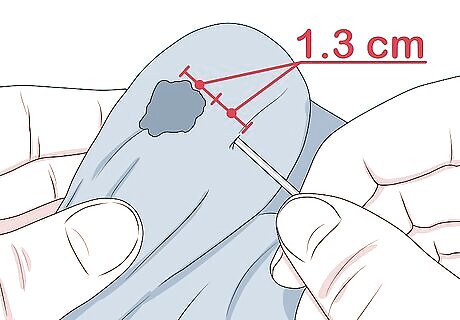
Stitch across the hole going in one direction. Insert the needle about ½” (1.3cm) before the hole begins and stitch to ½” (1.3cm) beyond the hole. Then repeat this stitch going in the opposite direction. Make sure that you stitch ½” (1.3cm) beyond the edges of the hole on both sides to ensure that the hole is well covered. Do not pull on the thread or yarn to tighten the stitches. Doing this will cause puckering. The goal is to use your curved object or the tension of the embroidery hoop as a guide to ensure that the darning will blend with the rest of the fabric.
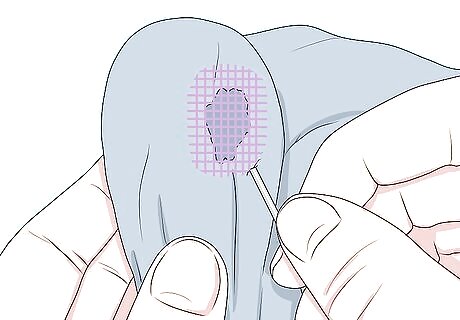
Weave the thread or yarn through the stitches. After you have covered the entire hole one time with stitches going in one direction, you will need to weave through these stitches to form a net. Insert your needle under the first stitch on one end going perpendicular (like you are forming “T” shape) to the stitches. Then, weave the thread or yarn over the next stitch. Keep going to the end of the stitch and then weave back in the opposite direction. Do not pull on the woven stitches either. This will cause puckering. Keep using your darning mushroom or embroidery hoop as a guide. Try to create the same weave tightness as the garment you are darning. For example, if you are darning a loose knit, then the stitches will need to be somewhat spaced out. If you are darning a tight knit, then the stitches will need to be tight.
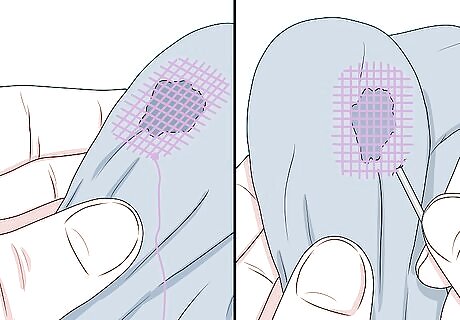
Tie a knot to secure the yarn or weave it through a few more times. When you have finished weaving through your first round of stitches, you can secure the thread or yarn to finish darning. Secure the thread by tying a knot through the last stitch, or by weaving the thread through the item a few more times. If you decide to make a knot, make sure not to pull on the thread or you may end up with puckering. Also, make sure to tie the knot so that it is on the inside or wrong side of your item. Keep in mind that a knot may feel uncomfortable in the bottom of a pair of socks, so it is best to weave through a few extra times instead. This will be enough to hold the darning in place.
Getting the Best Results
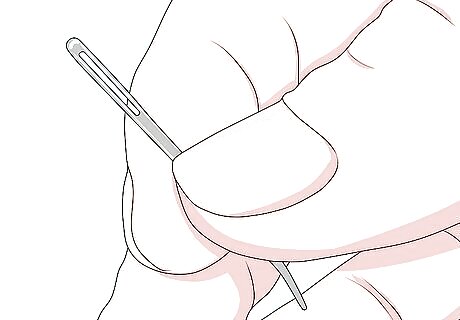
Use an appropriate sized needle. It is important to choose a needle that will work for your project and that will work with the thread you are using. You can find needles made especially for darning, which tend to have larger eyes. If you need a needle with an extra large eye to fit yarn through it, then you can use a yarn needle. If your garment is a medium or bulky weight knit item, then you will need to use a darning needle or yarn needle with a large eye. If your garment is a lighter weight item, such as a jersey, linen, or fine knit, then you will need to use a needle with a smaller eye. You may also consider using a tapestry needle for an item with delicate fabric. A tapestry needle has a blunt tip, so it will be less likely to snag while you are darning it.
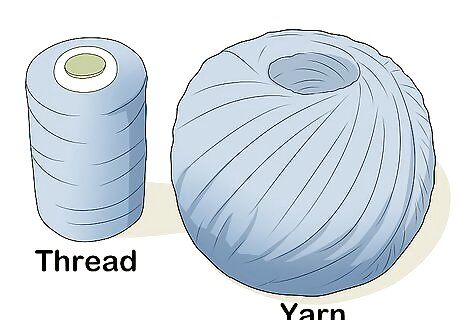
Choose a matching thread or yarn. It is important to choose a yarn or thread that is roughly the same diameter and color as the yarn or thread that was used to make your item. Compare your item to different types of thread or yarn to find the one that will blend in best. Keep in mind that a darned hole will have a slightly different texture than the rest of your item, so it may still be noticeable even if you use the same color and size thread or yarn. However, the darned hole will stand out much less if you find a good thread or yarn match for your item.
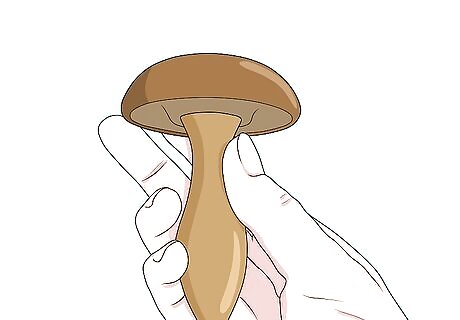
Consider getting a mushroom for darning. A darning mushroom is a special item that is made specifically for darning. It is a curved piece of wood that is attached to a rod. You can hold the rod between your knees while the item rests over the mushroom. Check local craft supply stores if you are interested in buying a mushroom for darning. Darning mushrooms are sometimes referred to as darning eggs. Darning mushrooms or eggs may come with or without a stand. Having a stand will make it possible for you to darn sitting or standing while your item rests on a table. Remember that some projects, such as cloth napkins and table cloths, may be easier to darn if you use an embroidery hoop to hold your work in place. You can also find embroidery hoops of different sizes in craft supply stores. Evaluate your item before choosing a mushroom or an embroidery hoop.

Darn items as soon as you notice a hole in them. It is important to check your clothing and other items for holes regularly and repair any holes that you find as soon as possible. The longer you go without darning a hole, the more likely it will be to develop into a larger hole, which will take more time and material to repair. Check for holes in socks, sweater, blankets, and other items each time you wash them.




Comments
0 comment