
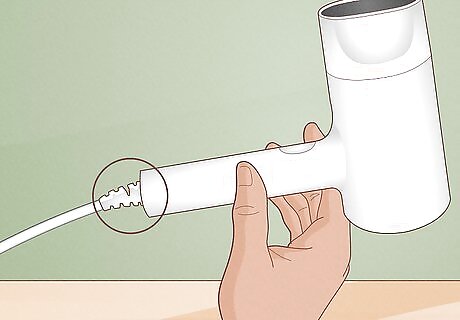
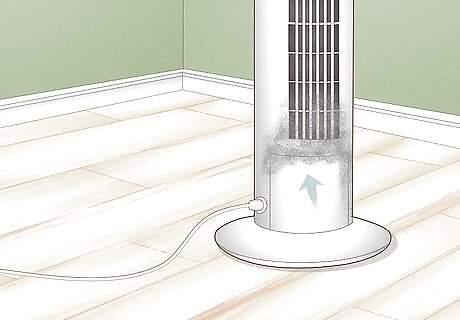
Check for obvious signs of physical damage. Accidental contact with energized parts can cause shocks, burns and even death. Manufacturers design and build electrical products to shield users from these parts with either insulated or grounded barriers. When these barriers become compromised due to exposure, age, cracks or removal, the potential for serious injury grows exponentially. These insulating barriers include: plastic or rubber jackets on cords, non-conductive cases or bodies of tools and appliances that are "double insulated"; or have ground wires from cords extended to a metal case or body.
Check for signs of tampering. Manufacturers spend a great deal of time and money safeguarding people from their products in design, manufacturing and independent testing - such as "UL" (Underwriter's Laboratories), "FM" (Factory Mutual), etc. Fasteners are designed to remain in place and often designed not to come out at all and show obvious tampering. Appliances, tools and equipment that have a large amount of metal on the exterior are often wrapped in an insulator or provided a 3 wire grounding cord set that connects to the case. Missing ground pins, screws and other parts are indicators of possible tampering - and should be replaced for the safety of the user.
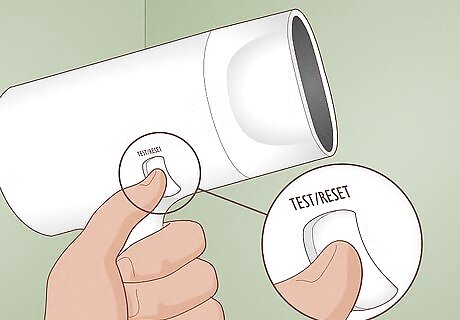
Devices shipped with integral Ground Fault Interrupting cords (such as blow dryers, etc.) should be checked before each use by pressing the TEST and RESET buttons. If the RESET button fails to extend after pressing test, if it extends but the device can be operated still, or the RESET button will not latch back "in", it it needs to be repaired or replaced.
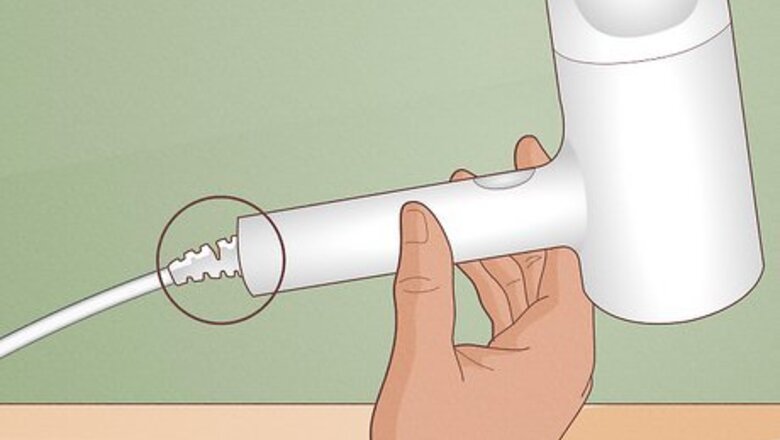
Check for signs of misuse. Misuse can be easy to see as damage and more difficult to see as in the case of prolonged overloading. Some overloading can be brief and severe, too. Severely overloaded equipment can have sooty, black carbon deposits on or near electrical wires, windings, terminals, etc. Some equipment may show extra "play", or "slop" between mating or moving parts. Removed ground pins on cords are a major concern. These devices may fail during use or cause injury to the user.
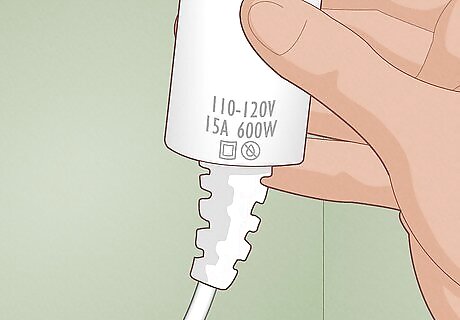
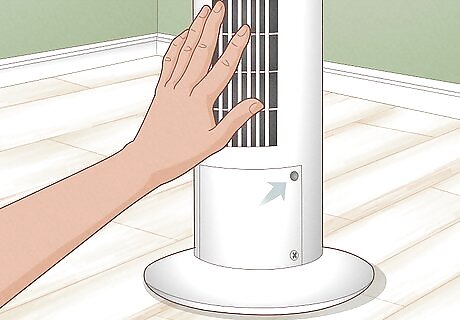
Check the electrical rating of the equipment. All electrical tools and devices leave the factory with a label that states the voltage and amperage requirements (and more). Cords are provided that prevent accidental connection to circuits that provide the wrong voltage or current. Many "residential use" items are 120V / 15A types that will fit 99% of the 120V plugs in your home. Make sure you're not trying to connect to one of the other 1%.
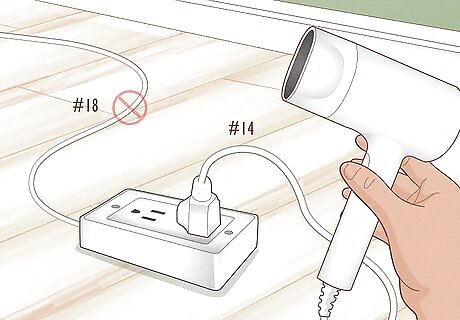
Understand how long lengths of extension cords can cause electrical devices to over heat, run slowly and even fail completely. Resistance is the opposite of conductivity and is the enemy of electricity. Two common variables that contribute to resistance are length as mentioned above and size or diameter of the conductors in the cord. Most tools and small appliance cords have small diameter copper wires inside thick insulated jackets. Larger appliances have larger size conductors. Nearly all cords will have the size of these wires inside printed or otherwise indicated on the outer jacket of the cord or cable. Typical sizes are 14 & 16 gauge - but there are others, too. A cable might indicate 18-3 (or 18/3) followed by a few letters (the letters identify the type of insulation material). The 18 is the size and the 3 is the number of wires as would be needed for a 3 prong cord. An 18 gauge wire is smaller than a 16 gauge wire, which is smaller than a 14 gauge wire, and so on. Never use an extension cord made with wires that are sized smaller than those used in the cord of the tool or appliance. Always use the same size or larger if a short length; or a larger size if a longer length. A 50' (or longer) extension cord with 18 gauge wires may only be suited for a simple 100W drop light. The higher the amperage rating of the device the more easily it can be damaged when powered by a long extension cords or those with small wires. Typical current capacity values for short cords: #12 wire 20 Amps, #14 wire 15 Amps, #16 wire 10 Amps, #18 wire less than 5 Amps.
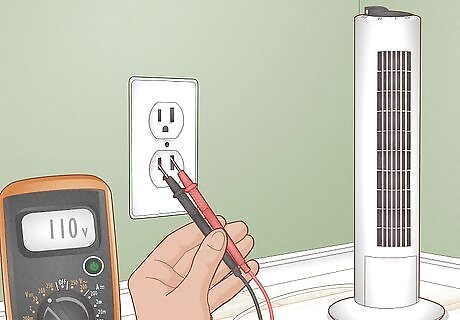
Check voltage and resistance with a meter. You must know how to set up and use your meter properly, furthermore you'll need to be able to interpret the display. Meters provide the most accurate measurement of voltage, amperage and resistance. A device other than a meter falls into the category of a "tester". Testers will provide the user with very broad information, and should only be used by those that can properly interpret the indications they provide. Some common testers are the "wiggy" voltage tester, test lights, continuity lights / or probes, continuity probes that provide a tone, etc. A continuity light or tone probe may give a very similar indication or alert for a zero ohm circuit as it does for a 40 ohm circuit - but you may not be able to tell the difference. A meter of the other hand will provide the precise information. It is impossible to differentiate a wiggy that is connected to a 90 volt source versus when connected to 125 volt source. There are also 12VDC test lights that are popular for motor vehicle voltage probing - these too can be a source of aggravation with newer vehicles have data bus voltages of 8VDC or more.
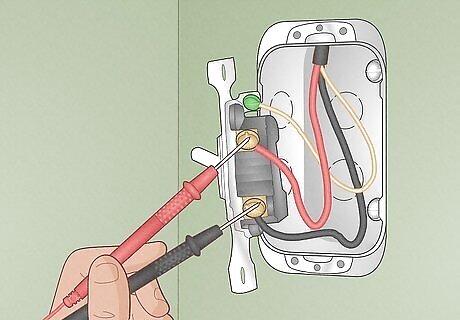
Know what to expect. Switches - have only two states: open or off and closed or on (resistance checks must be made with the circuit powered off). Open or off should indicate an infinite amount of resistance and closed or on should indicate zero (or as close to 0 as possible) ohms resistance. Readings anywhere between indicate a need for replacement. Unless... If the switch is still in the circuit (you didn't disconnect the wires connected to the switch's terminal screws), you may be reading everything that is connected to the switch - the light bulb filament, etc. Such a reading would suggest the switch is bad when in reality it may be fine. Remove the device (switch, heating element, etc.) from the circuit for testing. Loads - have one state and should never indicate infinite or zero ohms resistance. If the load does show infinite - it has "blown" or opened. Keep in mind that some appliances or cord connected devices (see below) may have very high resistances to DC (the battery in your ohm meter) or, may need to be powered to complete circuit. If it does, you won't be able to measure resistance with the meter as this can only be done only with power off. If the load shows zero ohms, it has likely "shorted out". A light bulb may indicate open if it has blown while in use a circuit; if damaged in transit - might even show as shorted out (but when connected to 120 volts it would likely "pop" inside the glass and then indicate as open). Do not confuse zero ohms with very low resistance values such as one or two ohms - or less. The difference between zero and "anything" regardless of how low - is significant. That is not to say that everything that is at 1 or 2 ohms is still good however. This is when knowledge of Ohms Law comes into play, and then - it applies to DC circuits only (but can be loosely adapted to many AC components too). TVs, refrigerators, microwave ovens, etc. - can not be resistance checked "as a whole". There is no single or range of resistance values that the meter will indicate to the user if the device is "good" or "no good". This is where troubleshooting training and skills help a technician quickly track down and repair the cause of a device that does not work.


Comments
0 comment