
This tutorial was written about OpenOffice version 2, but most, if not all, should apply to version 3.
Steps
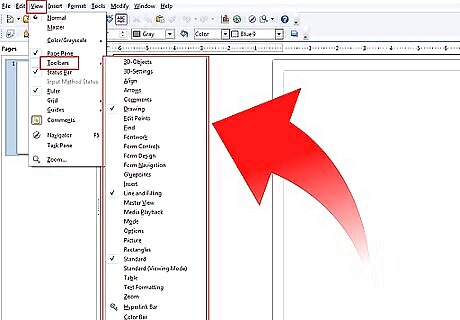
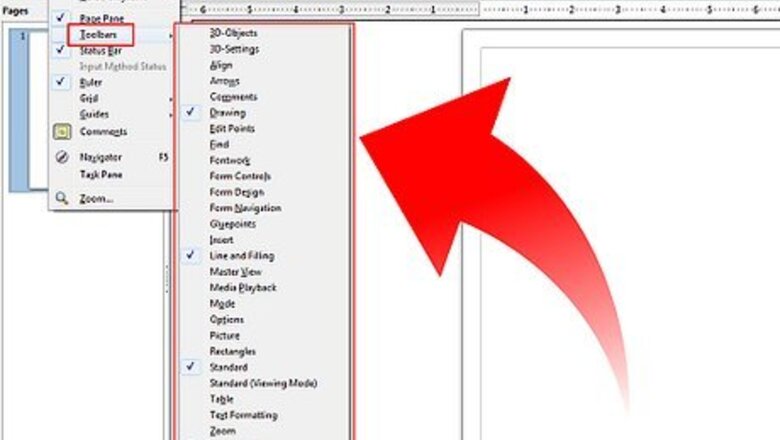
Become familiar with the Drawing tool bar. The Drawing toolbar is normally located at the bottom of the window. If you do not see it, activate it from the View > Toolbars menu. As in all OpenOffice components, you can place the toolbar on the Draw window wherever you wish.
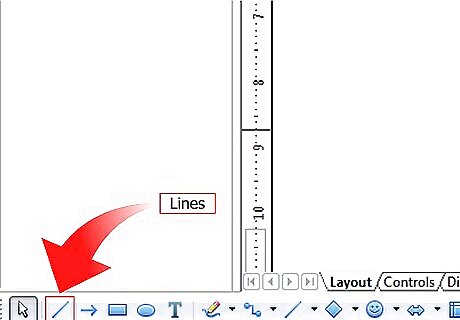
Learn about the custom shapes in Draw, below are the basic shapes. Lines LinesDraw Basic Shapes Using Open Office Draw Step 2Bullet1.jpg Arrows ArrowsDraw Basic Shapes Using Open Office Draw Step 2Bullet2.jpg Rectangles and Squares Rectangles and squaresDraw Basic Shapes Using Open Office Draw Step 2Bullet3.jpg Ellipses and Circles Ellipses and circlesDraw Basic Shapes Using Open Office Draw Step 2Bullet4.jpg Curves and Polygons Curves and polygonsDraw Basic Shapes Using Open Office Draw Step 2Bullet5.jpg Gluepoints and Connectors Gluepoints and ConnectorsDraw Basic Shapes Using Open Office Draw Step 2Bullet6.jpg Geometric Shapes Geometric Shapes and ArrowsDraw Basic Shapes Using Open Office Draw Step 2Bullet7.jpg Note: If you draw a basic shape or select one for editing, the Info field in the status bar changes to reflect the action taken: Line created, Text frame xxyy selected, and so on.
Flowcharts, Stars and Banners
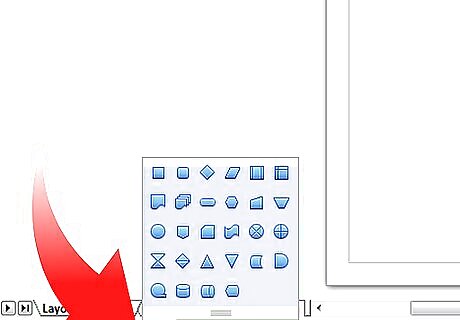
Get the tools for drawing flowcharts by clicking on the icon.

Use callouts by clicking on this icon . It open the Callouts toolbar. Note: These new callouts replace the old ones in Version 1. If you still need the old ones, you can add them manually to this or another toolbar.
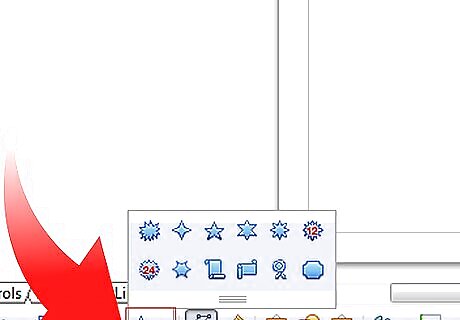
Access the Stars and banners by clicking on this icon. You can add text to all these shapes.
Add Text to Objects
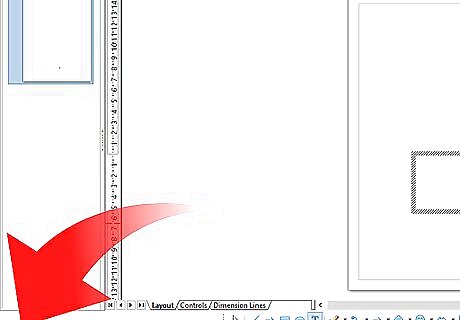
Know that there are two ways to add text to a drawing; A dynamic text frame as an independent Draw object or as text in a previously drawn object. In the latter case the text is integrated with the object. Use dynamic text framesDraw Basic Shapes Using Open Office Draw Step 6Bullet1.jpg
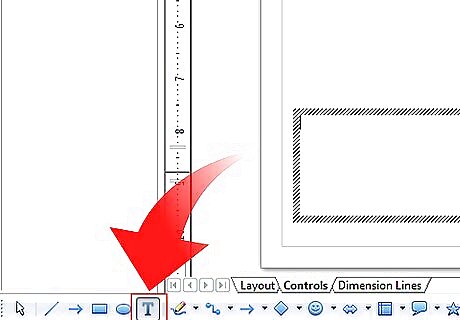
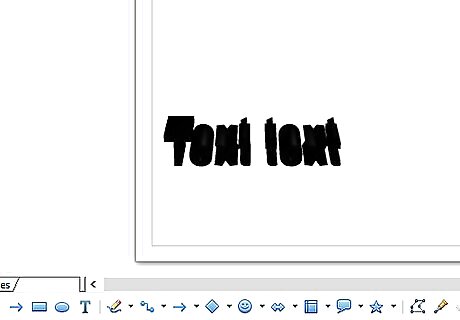
The text tool is activated by clicking on the icon Text for horizontal or for vertical script (to be able use this latter option you must activate support for Asian languages under Tools > Options > Language Settings > Languages).Draw Basic Shapes Using Open Office Draw Step 7Bullet1.jpg Text frames can be moved and rotated like all draw objects.Draw Basic Shapes Using Open Office Draw Step 7Bullet2.jpg
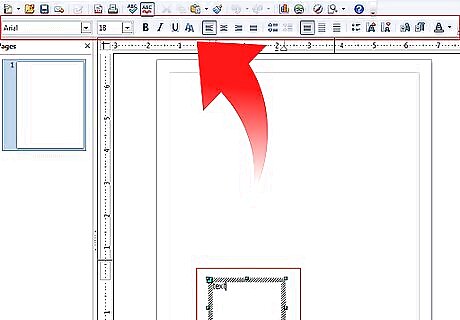
After activating the Text command mode, click at the location where you want to position the text. A small text frame appears. It contains only the cursor. You can move the frame if desired. The Text Formatting toolbar appears and you can choose the font type, font size and other text properties and begin to type in your text. The text frame grows with the text. You can insert a line break with the Shift+Enter key combination.Draw Basic Shapes Using Open Office Draw Step 8Bullet1.jpg The Enter key begins a new paragraph. Neither line breaks nor new paragraphs terminate the text frame.Draw Basic Shapes Using Open Office Draw Step 8Bullet2.jpg
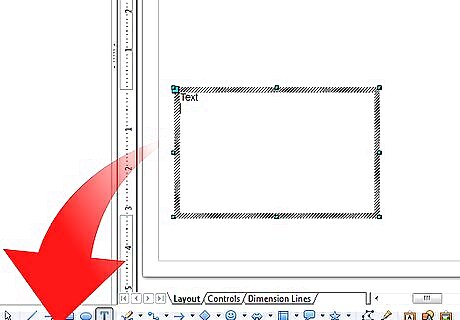
Observe the information field in the status bar: it shows that you are editing text and also provides details about the current cursor location - paragraph, line, and column numbers. Text properties can also be changed during text input. Any changes will be reflected from the cursor position onwards.Draw Basic Shapes Using Open Office Draw Step 9Bullet1.jpg
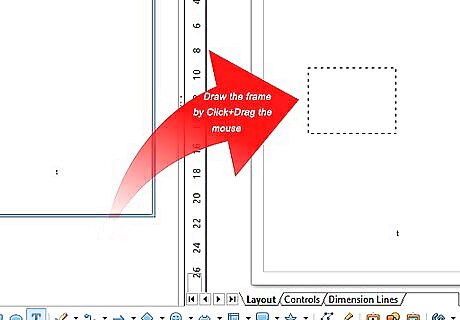
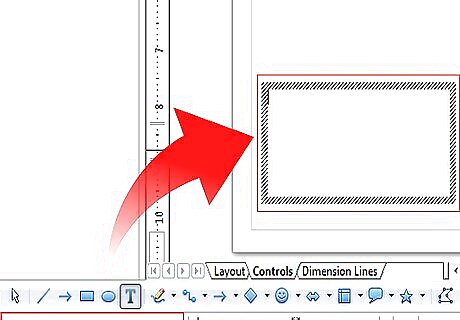
After choosing the Text icon, you can also draw a frame with the mouse to contain future text. Line breaks are inserted automatically at the right edge of the frame when the text fills the frame width. You can however—just like when editing other text—insert your own line breaks, begin new paragraphs or change any of the text properties.
Use text elements in Draw objects
Be aware that a text element is associated with most Draw objects. By means of these elements text can be added to an object. The exceptions to this are control elements like buttons or list boxes, as well as 3D scenes and their associated elements and groups.Draw Basic Shapes Using Open Office Draw Step 11Bullet1.jpg
In the middle of the Draw object you will see a black bar as the text cursor; start typing to input text. The status bar shows at lower left “Text Edit” and the position of the cursor within the text. Text can contain paragraphs and these can be in the form of bulleted or numbered lists. For a new line without beginning a new paragraph, use (as in text documents) the key combination Shift+Enter. To end the text input, click next to the object or press the Esc key.Draw Basic Shapes Using Open Office Draw Step 12Bullet1.jpg


Comments
0 comment