views
Cleaning Glue off Glass with a Razor
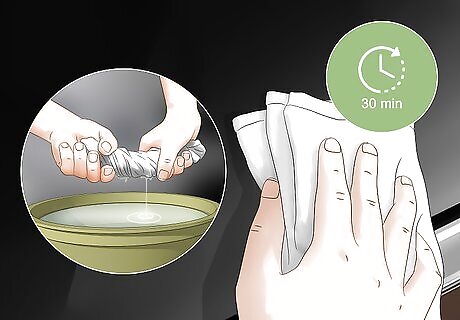
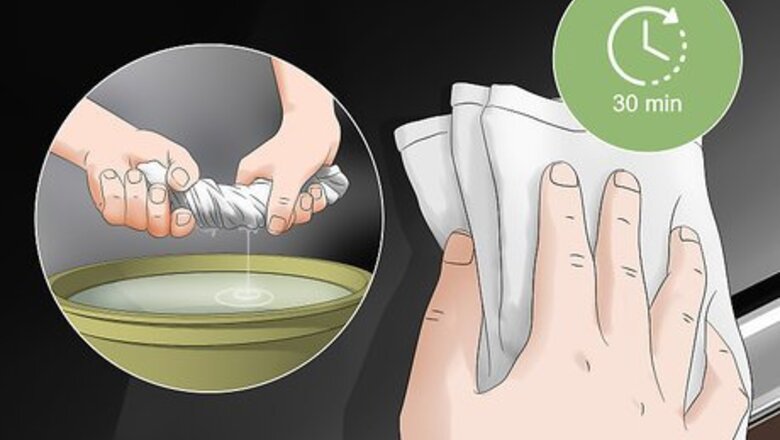
Use a wet cloth to soak the glue. Many kinds of glue will loosen up if you let them soak in some warm water for 30 minutes or so. If the glue is on a window, you may need to hold the wet rag against the glue to allow it to soak.
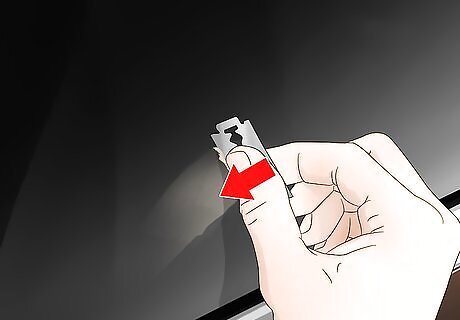
Slide a razor blade into the glue at a 45-degree angle. While you shouldn’t use razor blades on paint, you can often use them effectively to scrape glue from glass. Press the blade into the window about 1 inch (2.5 cm) from the glue, then slide it into the glue repeatedly to peel it up. Be careful to maintain the 45-degree angle, because if you press the blade directly into the glass, you could still scratch it. Wipe away chunks of glue as you scrape them off. You may be able to remove all of the glue just using the razor blade.
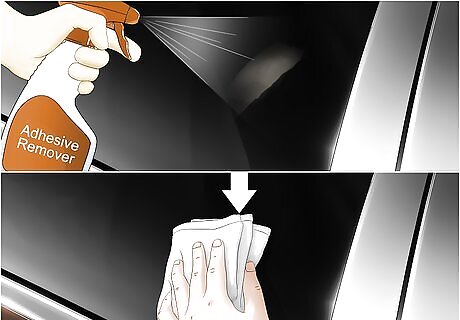
Use an adhesive remover if the razor doesn’t get it all. With most of the glue removed, there may still be a residue or a thin layer of glue left behind. The best way to remove it is to use a commercial adhesive remover you spray on and then wipe away. You can purchase adhesive remover at most hardware and even many grocery stores. Be sure to follow the directions on the bottle.
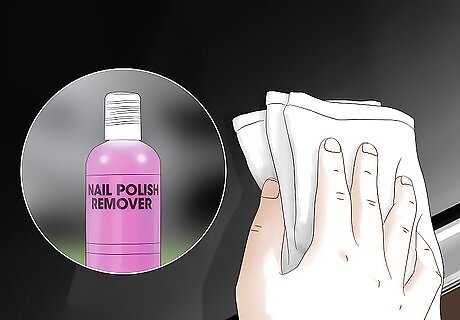
Use nail polish remover if you don’t have adhesive remover. In a pinch, the acetone found in nail polish remover can be an effective way to break up the glue on your window. Be careful not to get any on the paint of your vehicle, however, as it will also remove the wax. Put the acetone nail polish remover on a cloth and then use the cloth to apply it to the window. Scrub the glue with the cloth until it comes off.
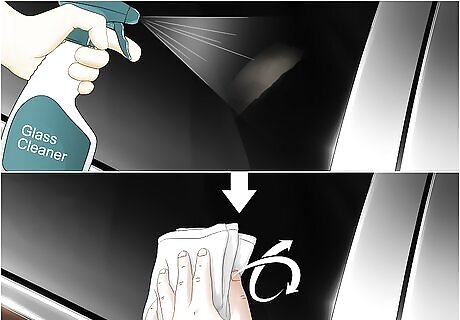
Spray glass cleaner on the glass to remove any residue. Whether you used a chemical to help break up the glue or not, you should wash the window to clean any last bits of glue or debris from it. Spray on the glass cleaner and then simply wipe it away with a paper towel or clean rag to clean the window. Wipe the cleaner away in a circular motion to avoid streaks.
Removing Glue from Paint with a Hair Dryer and Scraper
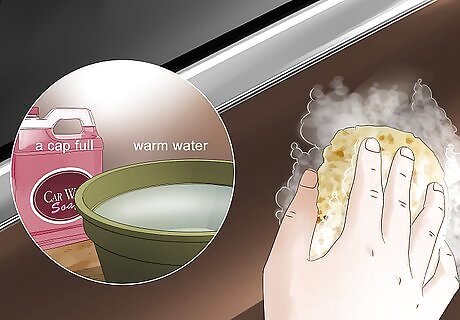
Wash the area with soap and water. It’s important to make sure you’re not scraping any dirt or debris into the paint of the car as you remove the glue, so the area around the glue needs to be clean before you begin. Use a capful of car wash soap mixed with a bowl of warm water to wash the area. Make sure the area is thoroughly rinsed with clean water after you’re done. You can use a towel to dry the area faster if you wish.
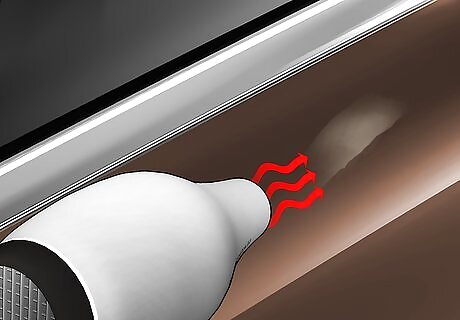
Warm up the glue with a hairdryer. Warming the glue before you scrape it will make it softer and easier to work with. Set the hair dryer to its hottest setting and then move it back and forth over the glue until it becomes soft and tacky. Depending on the kind of glue and hair dryer, this may take several minutes. You may use a heat gun instead of a hairdryer. Be especially careful if you do, as you can glaze the clear coat on the paint if you heat it too much.
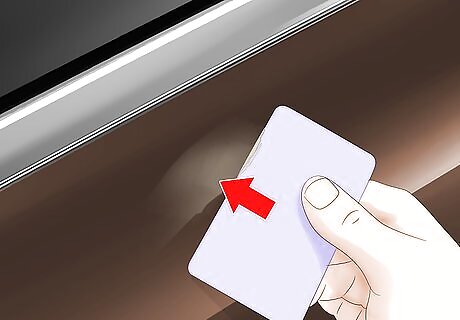
Scrape the glue off with a card or scraper. Once the glue is warm, place a credit card or plastic scraper down on the vehicle about 1 inch (2.5 cm) from the glue. Keep the card or scraper at a 45-degree angle and slide it into the glue repeatedly to make it come up. Do not use a razor blade on any painted surface. Pay close attention to the paint as you scrape. If you notice light scratches starting to appear, it’s because of dirt or debris. Wash the area and start the process over again to avoid adding more scratches if that happens.
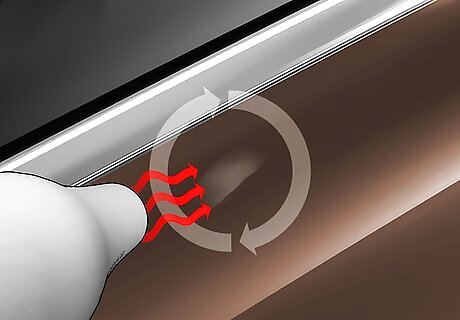
Reheat the glue as necessary. If there’s a lot of glue to remove or you’re working in an area with a cold climate, the glue may harden again before you’re finished removing it. Keep the hair dryer handy and reheat the glue if it starts to harden up. Continue to scrape and reheat the glue until it’s all been removed. You may need to wipe away bits of glue with a rag or paper towel as you scrape them off.
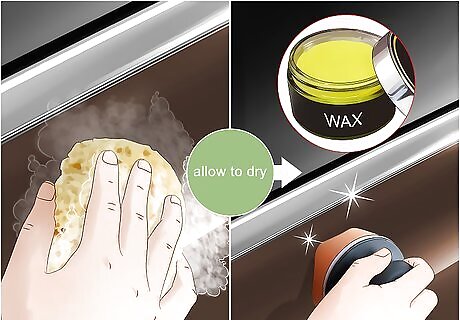
Wash and wax the area you scraped. Chances are good that the glue removed the wax and possibly even some of the clear coat on your vehicle’s paint. First, wash the area with car wash soap and water, allow it to dry, and apply a layer of wax using the supplied applicator. Once the wax is completely dry, buff it off the paint with a chamois cloth. Follow the instructions on the wax you used to know how long it will take for it to dry.
Getting Glue out of Upholstery with Soap
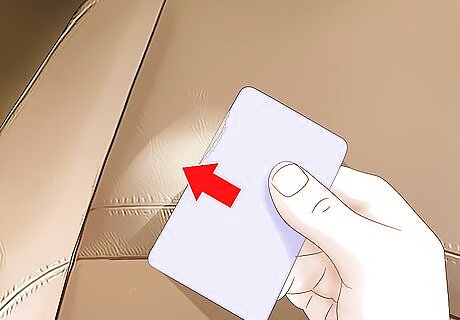
Scrape dried glue off with a credit card or scraper. If there are any loose chunks of glue, or bits of glue you can peel off with your fingers, doing so can really speed up the process. Often, hardened glue will peel away from cloth or upholstery. You can use a plastic scraper to try to remove some glue but don’t use anything sharp or you could tear the upholstery.
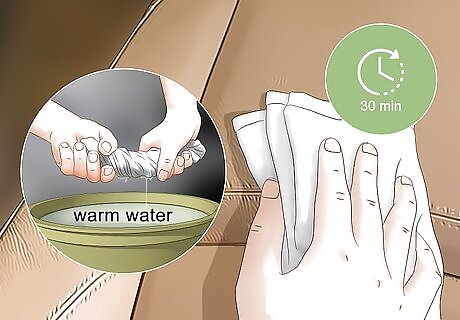
Soak any glue that’s left in warm water. With the loose chunks removed, you can loosen up the remaining glue by placing a warm, wet cloth over the glue and letting it soak in for 30 minutes or so. You may want to ring out the rag, wet it again, and place it back on the glue about halfway through the 30 minutes to keep it warm.
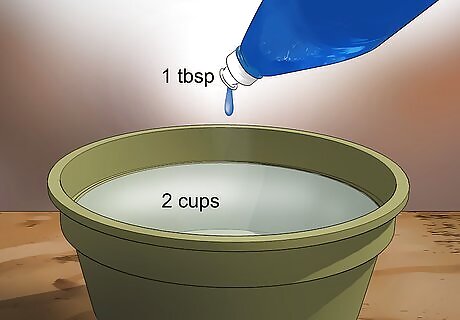
Mix 2 cups (0.47 L) of water with 1 tablespoon (15 mL) of dish soap. You can use upholstery cleaner to help remove the glue and stain, but dish soap will actually do a pretty good job of it. Mix the soap and water in a medium-sized bowl so you can bring it with you into the car. Add more soap if the solution doesn’t seem to be doing the trick.
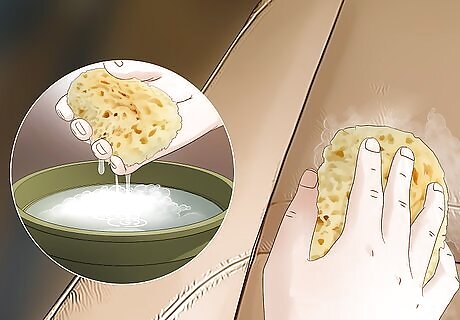
Scrub the glue stain using the mixture and a clean sponge or rag. It helps to use circular motions or to scrub the glue stain from multiple angles, to make sure you thoroughly remove all of it. Dip the sponge back in the water repeatedly as you scrub. Make sure to scrub from the outside of the stain to the center so that you don't spread the stain around. The soap and water should also remove the dark stain left behind by the glue.
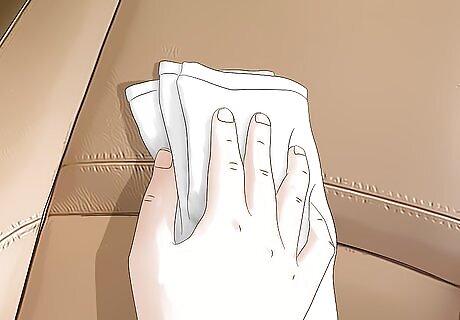
Blot the spot dry with a towel. Once you’re satisfied with the glue removal, press a dry towel into the upholstery to soak up the water. Scrubbing the wet area may not be as effective as blotting it, because you want to soak up the water beneath the upholstery as well. You can also use a hair dryer to dry the upholstery more quickly. Once the upholstery is dry, look it over. You may want to repeat the process for better results.




Comments
0 comment