
Attaching Your Lights with Glue
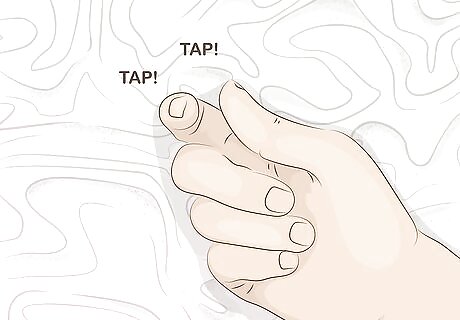
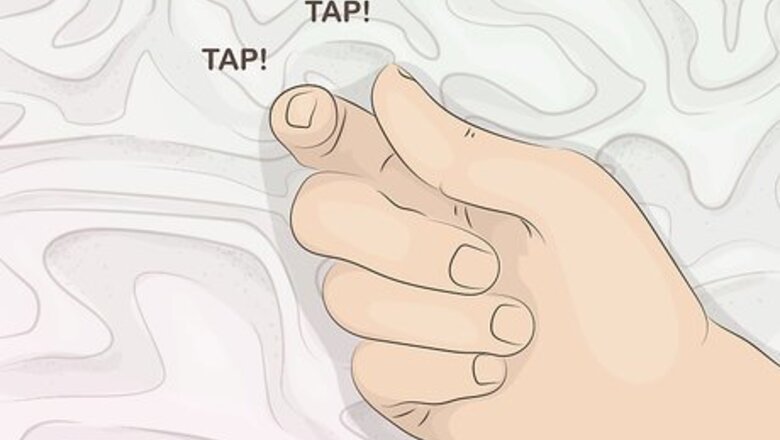
Tap lightly on your stucco to see if it has Styrofoam backing. Hot glue can melt Styrofoam backing. If the tap makes a muffled sound, your stucco likely has Styrofoam backing and you should avoid using hot glue. If it sounds loud, you're good to go! If your stucco has Styrofoam backing and you still want to try using hot glue, purchase a glue that melts at a low temperature and use a glue gun with low-temperature settings. You should also avoid glues that have strong adhesive properties.
Avoid using hot glue if your stucco is painted. Hot glue is great for attaching your Christmas lights to stucco but will cause peeling on painted surfaces. Whenever possible, run your Christmas lights along unpainted areas for the best results. If you can't find a location that's non-painted, hang some or all of your lights using plastic roof clips.
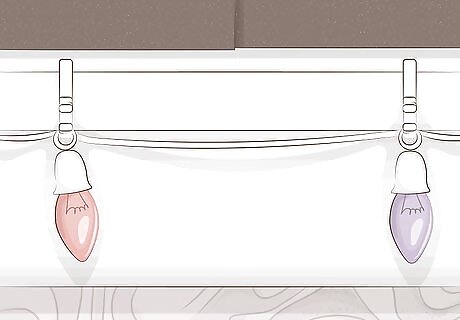
Remove the light bulbs prior to installing your strings. This will make the process of attaching the light string much easier. It also helps you avoid getting glue on the bulbs. Once the line is firmly in place, you can screw the bulbs back in quick and easy. Gently unscrew the bulbs by turning them counterclockwise.
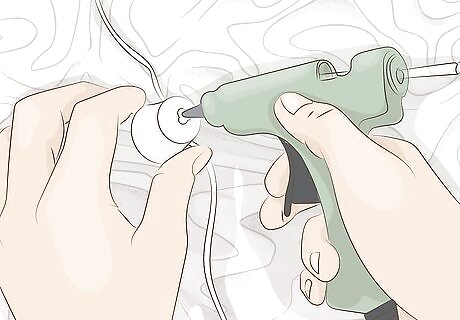
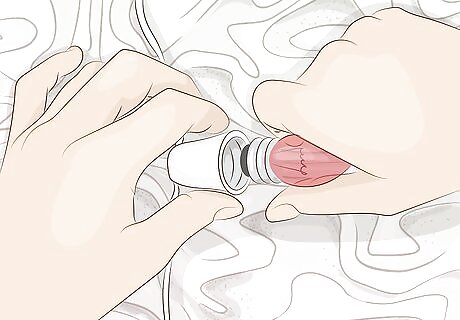
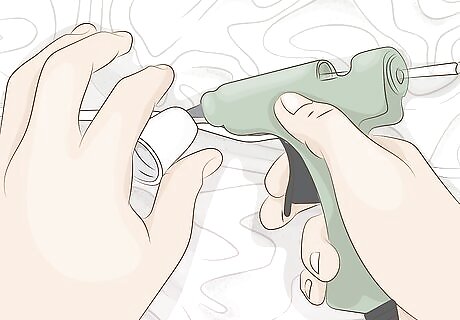
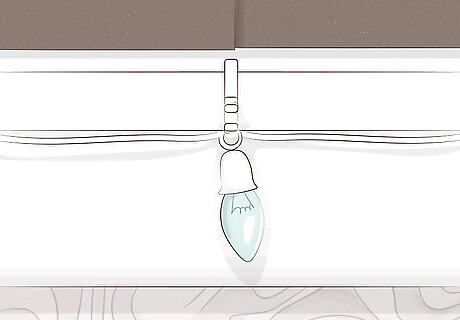
Apply a small bead of glue to the side of the first empty bulb socket. Be sure to do so to the side opposite from the socket's clip. Never apply glue to the base of the socket or you'll experience problems during removal and can cause the socket to detach from its cord. Wait 2 minutes for the glue gun to heat up before applying glue. Lightly squeeze the glue gun's trigger to apply glue.
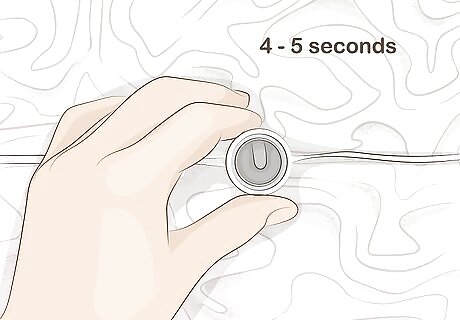
Hold the light socket to the wall for 4 to 5 seconds. Once you apply a bead to the first socket, press it firmly in place to the wall. Remove it after 4 to 5 seconds or when the glue dries. Gently press on the socket after gluing it to ensure that it's stuck firmly to the wall.
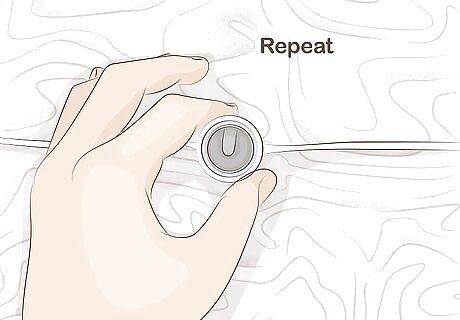
Continue attaching the light sockets to your home. Work your way around your home in a clockwise or counterclockwise direction. Take care not to skip any lights on the way. Space each light socket an equal distance from each other for the best results.
Soften the glue with a heat gun to remove the light sockets. If you make a mistake and need to remove a light socket from the wall, heat the glue with a heat gun. Once it's soft, scrape it off gently. Just remember that this will likely leave some glue residue behind, so try your best to place each socket as accurately as possible the first time around. Remove light sockets at the end of the season, or keep them up year-round to avoid the removal process. Purchase a heat gun from a home hardware store or online supplier.
Using Double-Sided Tape
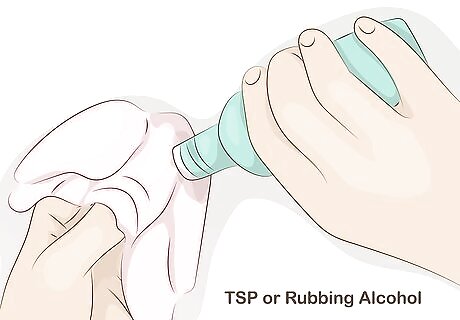
Clean the surface of your home where you plan to install your lights. Use tri-sodium phosphate (TSP) or rubbing alcohol for the best results. Apply a small amount to a dry microfiber cloth and wipe down the surface of your stucco wall. Purchase TSP and rubbing alcohol from pharmacies, big-box stores, or online suppliers.
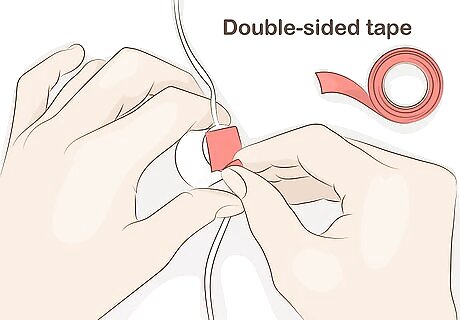
Attach double-sided tape to your Christmas lights. Remove the back of the tape and attach it to the back of your first light. Make sure to press firmly against your light for 30 seconds to ensure a proper seal. Be sure to purchase a product that can hold as much weight as possible for the best adhesion. For windy areas, double-sided tape holds up well compared to plastic roof clips.
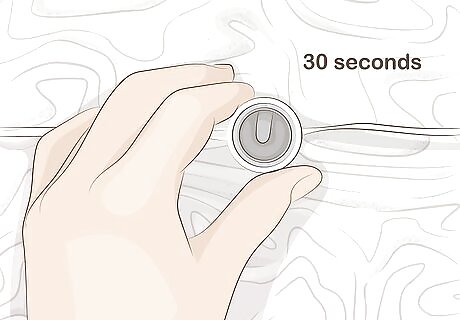
Press your Christmas light against your home. Remove the cover on the remaining side of the tape and press your Christmas light against the stucco wall. Again, hold it firmly in place for 30 seconds to ensure a proper seal. Continue attaching double-sided tape to your Christmas lights and pressing the lights to the wall. Work around your home in a clockwise or counterclockwise direction and be sure not to skip any lights along the way.
Attaching Your Lights with Plastic Roof Clips
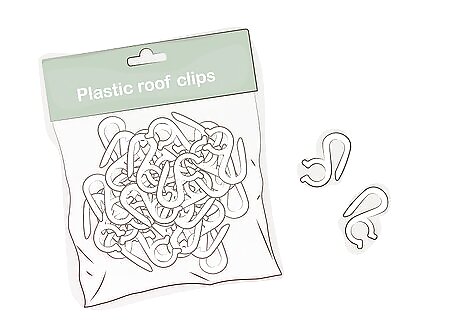
Purchase plastic clips or hooks. Head to a home hardware store or visit an online supplier and purchase plastic light hooks or clips. If you want to connect your lights directly to the gutter edges, purchase simple hooks. If you want to clip your lights tighter—which is ideal for rope lights or icicle lights that don't have bulbs—purchase clip types. Clip types also attach over the edge of the gutter. Make sure there are enough clips or hooks for the length of your lights.
Clip your light to a shingle, gutter, or eave. Regardless of the type of plastic hook you use, always start by connecting the first one over the edge of the gutter. For areas that don't have gutters, fasten it to the shingle or drip edge—just be careful not to lift the shingle and break its bond to the shingle below it. Take care not to puncture holes in your siding or shingles.
Continue attaching your Christmas lights to your home. After the first light is secure, work your way around your home in a clockwise or counterclockwise direction. Check that each clip or hook is secure after attaching it. Take care not to skip any lights along the way.


Comments
0 comment