

Improving Your HDD Performance on a PC

Restart your computer. Restarting your computer clears the RAM, which can make your computer perform faster. Though this doesn't directly affect the hard drive, it should improve your overall speed if your apps feel sluggish.
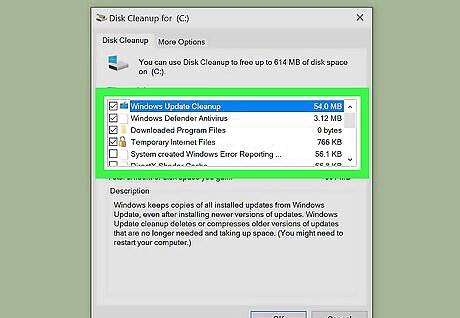
Use Disk Cleanup. You can use this built-in utility to clean excess files from your hard drive. Here's how: Type Disk Cleanup into the Windows search bar, and then click Disk Cleanup when it appears. Select the files and folders you want to remove, like Temporary Files and Downloaded Program Files. You'll see how much space will be freed below each option. Click Ok.
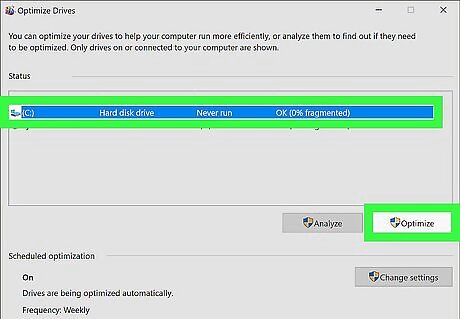
Defragment your hard drive. Sometimes pieces of a file will be scattered around like a jigsaw puzzle. Each time you use that file, your computer has to access all of these pieces from various locations, which can degrade your hard drive's performance. To defrag your drive: Type defrag into the Windows search bar and then click Defragment and Optimize Drives in the search results. For older versions of Windows, you’ll find this in My Computer by right-clicking on your C drive and clicking Properties. Select your hard drive and click Optimize.
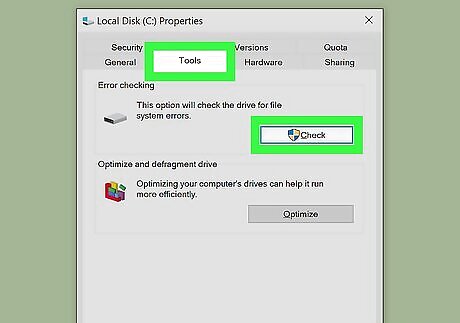
Check your hard drive for errors. Any errors will confuse your hard drive as it will spend resources trying to find a fix. Press ⊞ Win+E to open the File Explorer. Click This PC in the left panel. Right-click your hard drive and select Properties. Click the Tools tab. Click Check under the “Error checking” header. Follow the on-screen instructions.
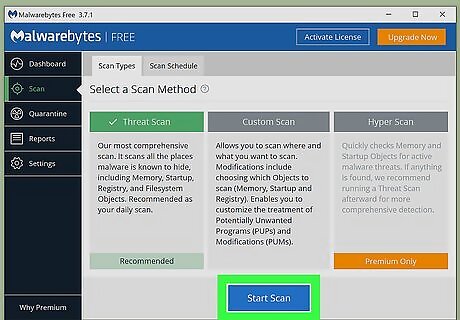
Check your PC for viruses and malware. If any rogue apps have been installed on your computer, they may be affecting your hard drive's performance. See How to Remove Malware to learn how to check your PC for problematic apps.
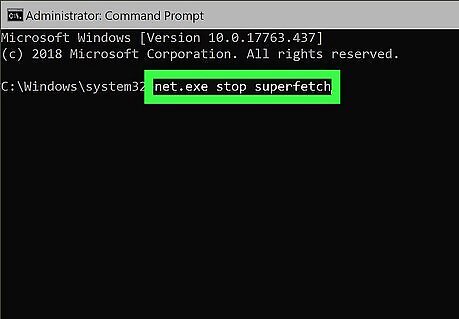
Disable Superfetch. Windows introduced Superfetch back in Windows Vista to manage and maintain high performance within your computer’s memory. However, this system function has been known to clog performance on Windows computers. Type cmd into the Windows search bar. Right-click the Command Prompt app and select Run as administator. Type “net.exe stop superfetch” and press ↵ Enter.
Improving Performance on a Mac
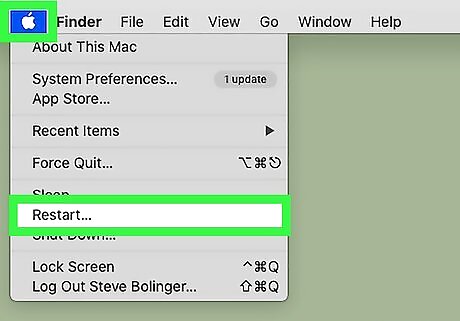
Restart your computer. Restarting your computer clears the RAM, which can make your computer perform faster. Though this doesn't directly affect the hard drive, it should improve your overall speed if your apps feel sluggish.
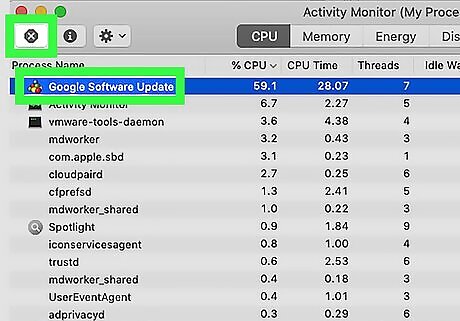
Use Activity Monitor to find resource-hogging processes. When all your resources are used, your computer will slow down. To locate these processes: Open the Applications folder. Click the Utilities folder. Click Activity Monitor. If you see an app using a lot of CPU or Memory, select it and click the X to shut it down.
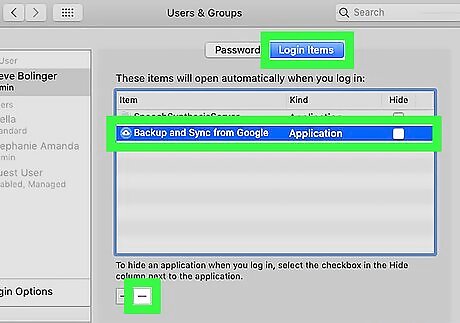
Prevent apps from starting up automatically. If your Mac is set to launch multiple apps upon startup, you may notice that it takes a long time to get things done. Here's how: Click the Apple menu Mac Apple and select System Preferences. Click Users & Groups. Click your username. Click Login Items to see a list of apps that start automatically. Select an app and click the - button to remove it.
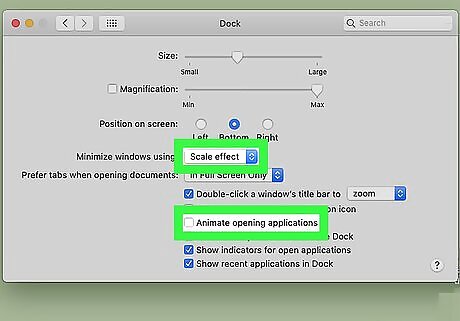
Turn off visual effects. While animations and other effects look cool on the screen, they can be detrimental to your computer's overall speed. Though this doesn't necessarily impact the hard drive, it should improve overall performance: Click the Apple menu Mac Apple and select System Preferences. Click Dock. Remove the check marks from “Animate opening applications” and “Automatically hide and show Dock." Change the “Minimize windows using” from “Genie effect” to “Scale Effect."
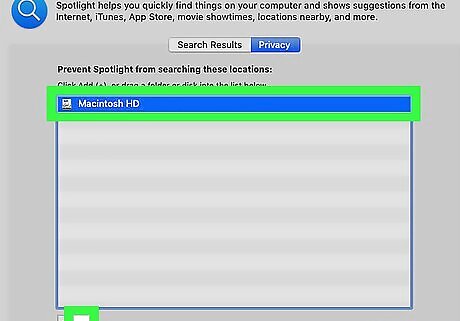
Reindex Spotlight. Forcing Spotlight to re-index the files on your hard drive makes it easier and faster to find what you're looking for. Click the Apple menu Mac Apple and select System Preferences. Click Spotlight. Click the Privacy tab. Drag your hard drive from Finder to this window. Remove the added hard drive by clicking the minus icon (-). This will force your computer to index again, and it may take a few hours to complete.


Comments
0 comment