views
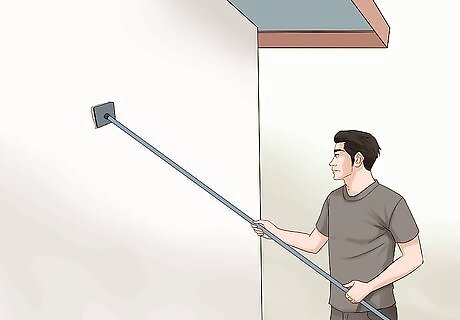
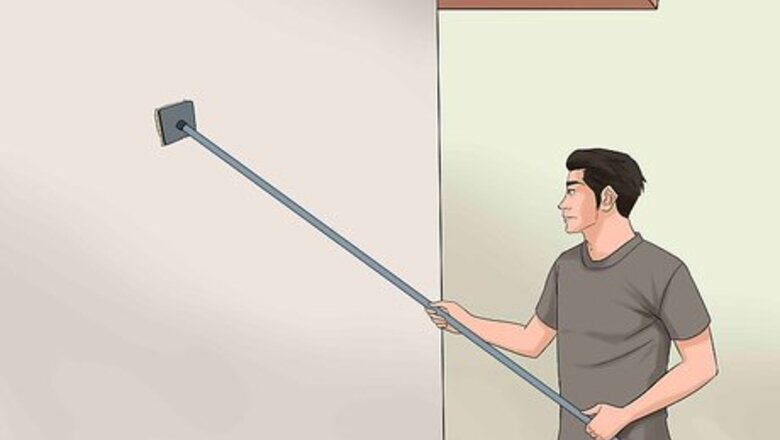
Prepare the area. Once the old siding has been removed, clean the exterior walls thoroughly, removing any old paint, putty or caulking. Any stray nails should be hammered flat or removed. Fill any dents or depressions left in the wall with wedges (small pieces of scrap material).
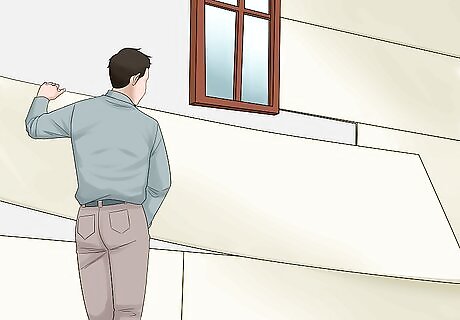
Install the underlayment. Foam board is the most commonly recommended underlayment application for aluminum siding. Install each sheet with nails, laying every sheet straight and being sure to leave no gaps between the sheets.
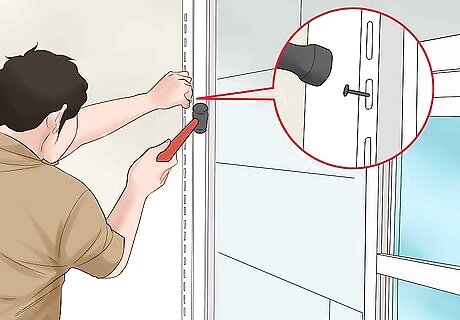
Add the corner posts. At each corner, suspend the posts, using two nails in each of the upper nail slots. If you have to use more than one post (referred to as stacking) in a single corner, be sure that there is an overlap of 1 inch (2.54 cm).
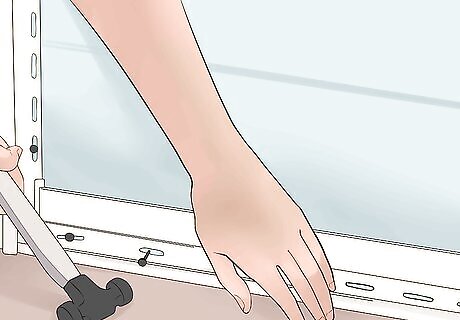
Install the footer. This refers to the piece of trim that is placed at the bottom of each of the exterior walls. This is where the starter strip will be installed.
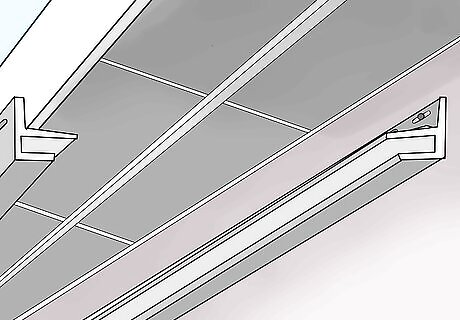
Place a strip of F-channel trim under the eaves. The top sheets of siding will be installed to slide under this piece.
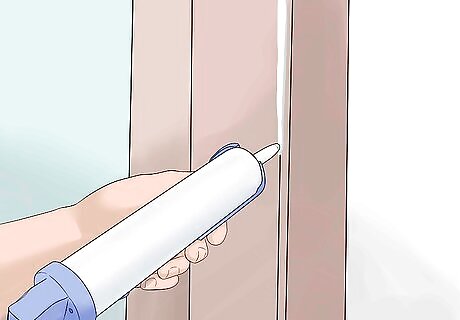
Apply caulk around any openings, such as doors and windows, to create an airtight seal.
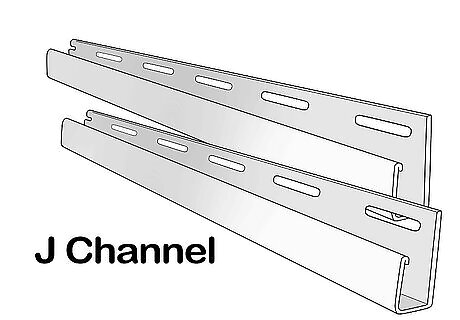
Prepare the window and door trim. This is referred to as a J-channel. Measure each piece of trim so that it will be two channel widths longer than the opening itself. Cut notches in the ends of each section of J-channel, so that they will fit together.
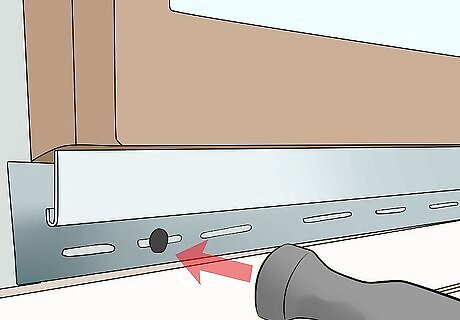
Install the trim so that it buts up against the tops and sides of the doors, and surrounds each window frame. Nail it at 12 inch (30.48cm), increments. When installing the trim at the windows, start at the bottom, then move to the sides and install the top portion last. This will help control water flow and prevent leakage. Each sheet of siding has a nail strip at the top. Attach the siding to the wall with a nail in each section of the nail strip. Siding is intended to hang from the nails, not to be nailed flat.
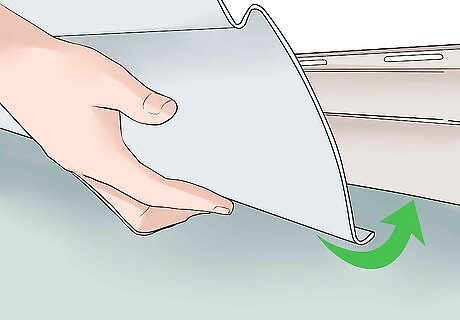
Add your starter sheet of siding. Slide the bottom of the siding into the footer, being sure to leave enough space to allow for expansion. Slide the end, that meets the corner, in the same way.
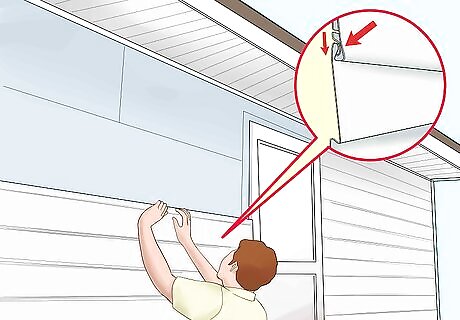
Continue up the wall, interlocking the bottom of each sheet with the tops of the previous sheets. Always be sure to complete one wall before moving on to the next. When it is necessary to use more than one sheet of siding to complete a row, be sure to overlap successive panels by 1 inch (2.54 cm). For the best results, try to create seams as far away from the focal point of the wall as possible.
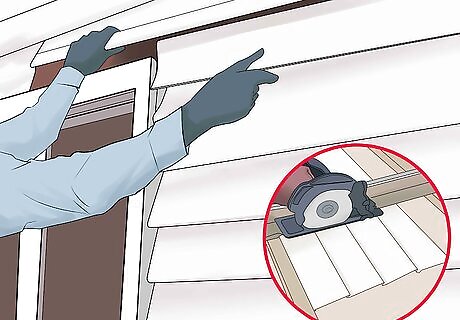
Use a circular saw to trim the siding panels that will be installed at windows, doors, and corners. Use gutter-seal adhesive to finish the installation at window sills and at sections of soffit.
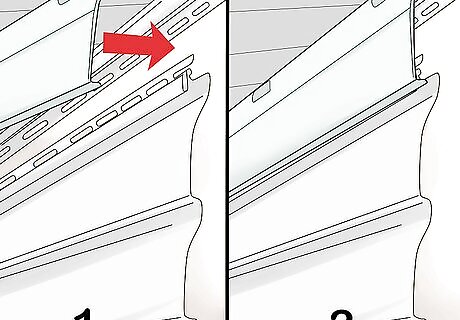
Install the top panels of siding by cutting any extra width from the top of the sheet. Lock the bottom into place at the top of the preceding panel, and slide it under the trim that you've installed under the eave.





Comments
0 comment