
Banding
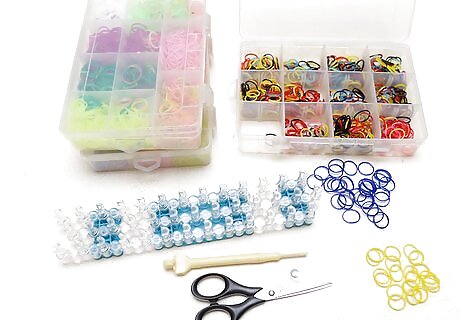
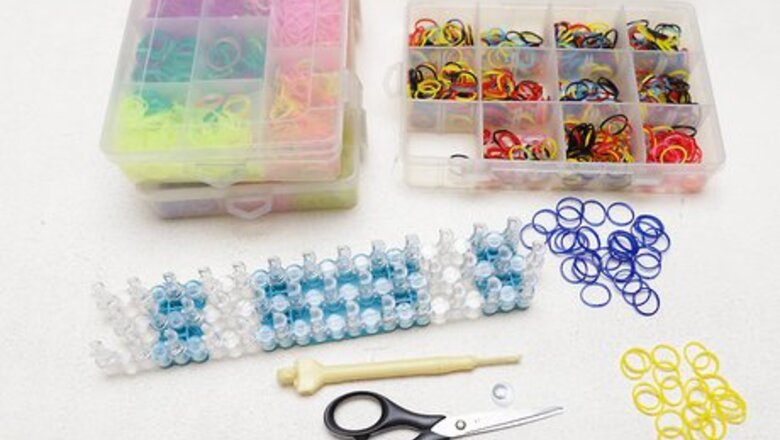
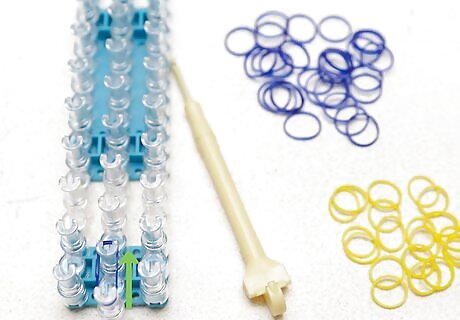
Gather your materials. If you want to make a Despicable Me minion loom band you’ll need some specific materials. You want 30 blue bands, 20 yellow bands, your loom hook that comes in the kit, a googly eye from a craft store, and scissors.
Make sure the arrow on the loom kit is facing away from you. This is the correct way to start stringing your bands through the loom. It won't work if you try to do it the wrong direction.
Move the blue band over the first clear peg. Take your blue band and place one end around the very first clear peg in the middle.
Place the other end of the blue band around the other peg. The second peg should be found directly in front of the other end of the blue band. The tension of the band will hold the two sides onto the pegs.

Create vertical and diagonal bands. Now, using that first peg as a starter point, place bands connecting the middle peg to the pegs to the right and left of where you put your original band. So you want one vertical band and two diagonal bands.
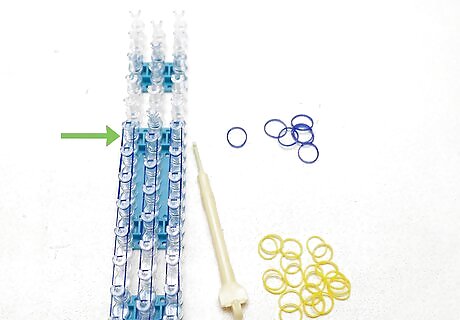
Continue putting bands on until you have only 5 pegs left at the top of your loom. Don’t follow the same pattern described in the previous step while moving up your loom. Just connect each band to the peg right in front of it vertically. This means you should have two straight line of bands. One line will be on the right pegs and the other line will be on the left pegs. You won’t move diagonally again until the end.
Adding Minion Colors
Take two rubber bands off. Starting at the top of your loom where you left off, remove two of the blue bands connecting the middle pegs to one another. This will start taking you down your loom.
Replace these bands with yellow bands. The colors are important to make the band look like a minion.
Add two more yellow bands on the left and right. Take off the two blue bands to the left and the right of the bands you just replaced. You should be taking off four bands total. Now replace these blue bands with yellow bands too.
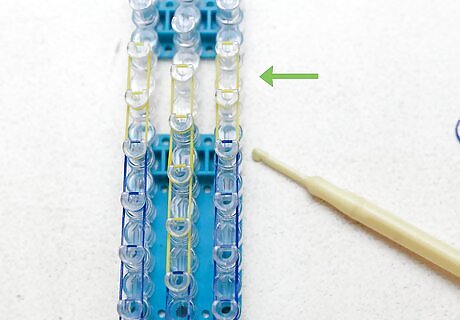
Add the black bands. The black bands should be at the very top of your loom. Once you add the three black bands, you'll have six more pegs remaining. Add one black band each to the left, right, and middle pegs at the top of your loom using pegs you have not yet connected any bands to. These bands should just connect to the peg directly above them.
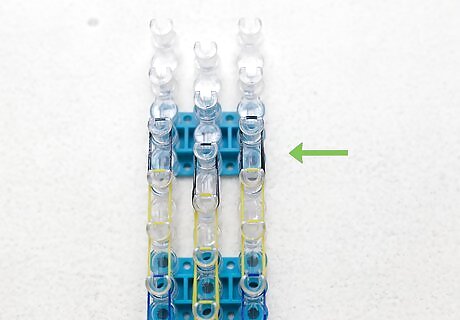
Finish with six more yellow bands. These bands should be in a shape like your original band formation. Do it the same way you placed the bands when you started. You want one band going vertically and two going diagonally. Three of the bands will connect to the middle peg at the very top of the loom. Each of the bands will now be connecting to another peg in a line. Add one more yellow band to each of these pegs going straight down.

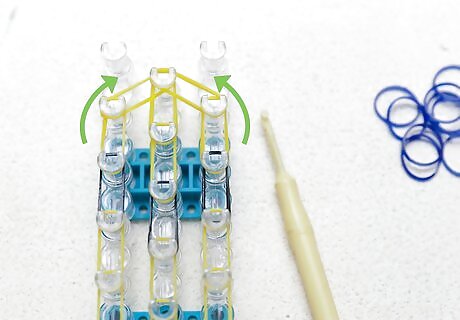
Take one black band and put it across all three of the beginning pegs. Go all the way down to where you started and stretch a black band across all three of the first pegs. It should form an upside down triangle.
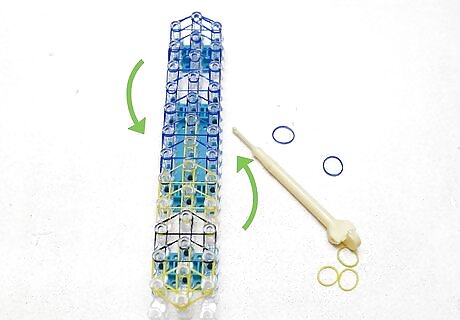
Flip the loom over. Take the loom and turn the whole thing on its other side. Don’t worry, you won’t break anything.
Make a cap band. You make a cap band by looping one band around the first peg that you started with a number of times. Imagine tying a hair tie. It’s the same idea.
Hooking
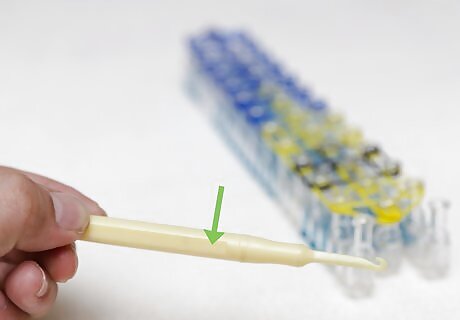
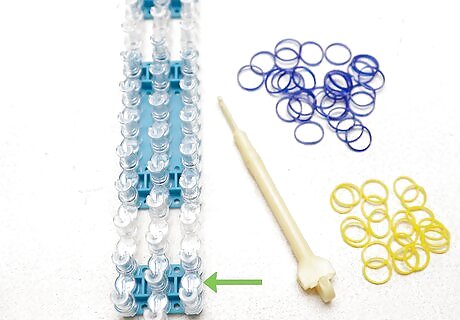
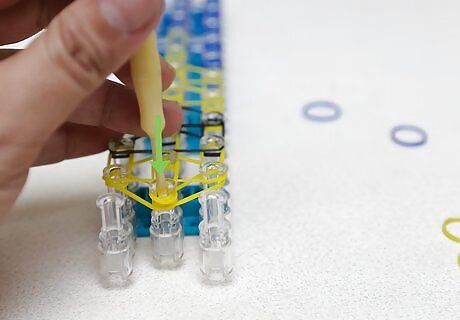
Get your hook. You’ll find your hook inside your loom kit. It will have a hook on it, so you should recognize it pretty easily. It’s a long thing piece of equipment like a pencil.
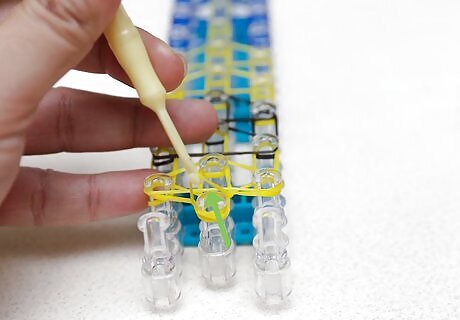
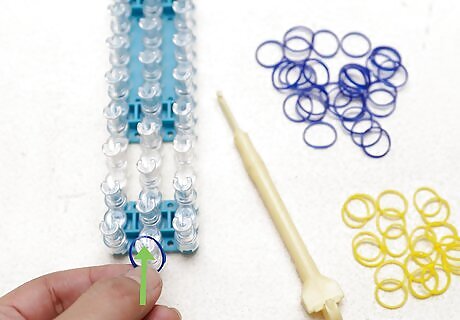
Hook the bottom loop of the band you started with. This will be from the first middle peg. Pull it up, being careful not to dislodge the other bands on the peg.
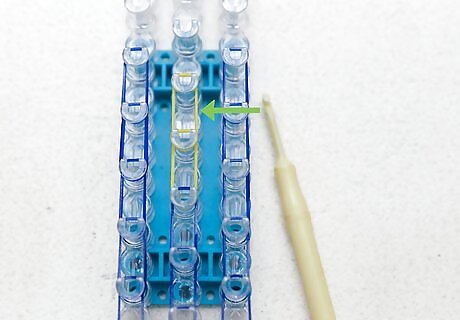
Loop the bottom loop onto the center peg in front of it. Now, carefully move the bottom loop forward. Loop it around the center peg in front of it. Go slowly as to not dislodge any of the existing bands.
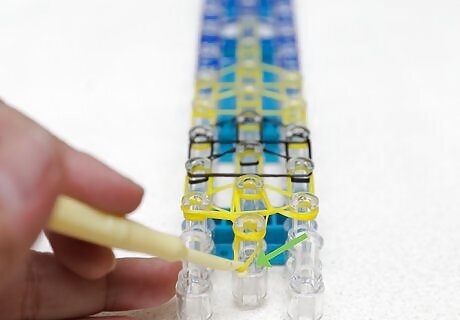
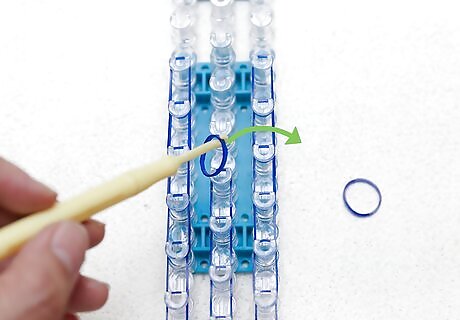
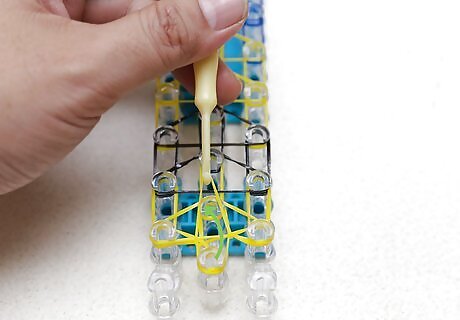
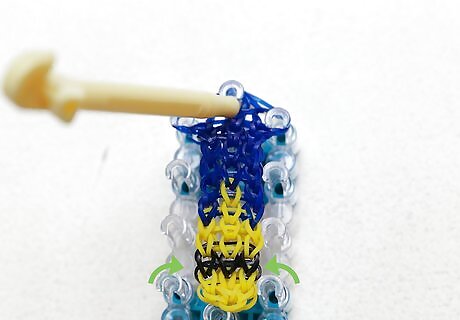
Start hooking the perimeter bands. Starting with the bands connected to the bottom center peg, grab the end that's wrapped around the bottom center peg and pull it down. Make sure not to dislodge the other bands.
Pull the end up and toward the left. The idea is to have the band wrap over the band moving diagonally and connect to the bottom left peg, so that both ends of the band are on that peg.
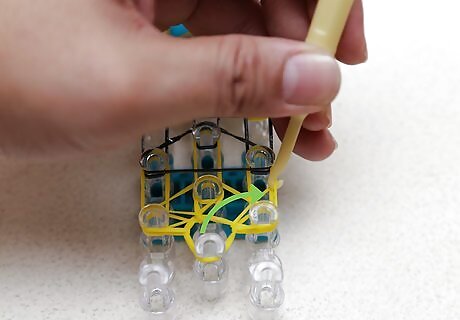
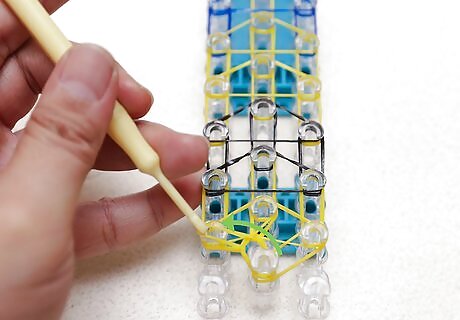
Repeat the process. Do the same for the band that wraps around the bottom right and second to left pegs.
Finishing Up
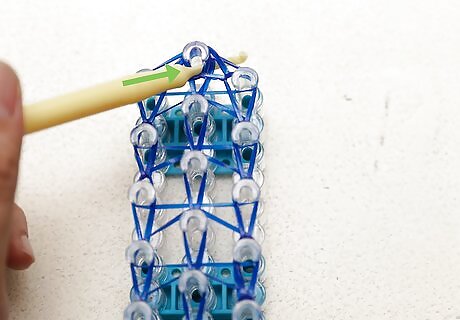
Put your hook in the last blue band at the very top. You should stick your whole stick in there, not just the hook part.
Pull through a band and pull off. The whole thing should come off if you’ve done it right. You want a band to be wrapped completely around your hook. This will give you the leverage to pull it all off. They shouldn’t stick to the loom. Don’t force it.
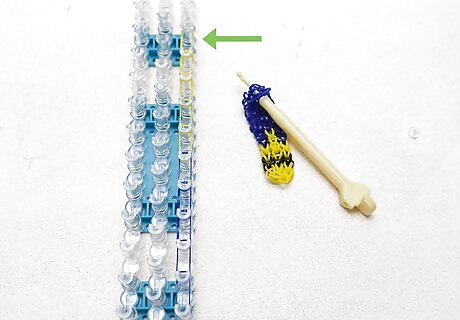
Go back to the loom. Add 5 blue and 5 yellow bands on the loom on the right side going vertically up and down. Add 5 yellow bands going vertically, and then 5 black bands. The black bands will not be on top of the yellow bands, just vertically above them on the loom. This is how you add the final part of your minion pattern.

Put the main piece back on the loom. Only attach the very end, the part you pulled off, and connect that to the bottom of the ten bands you just put on the loom.
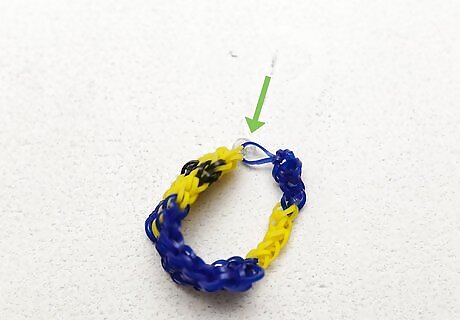
Add a "c" clip. This is a clip that comes in your kit. It will act as a way to secure the loom on your wrist.
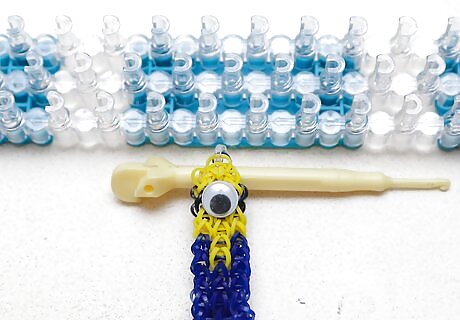
Add googly eye. Using normal household glue, add a googly eye in a position that you prefer. This will really bring the minion to life.


Comments
0 comment