
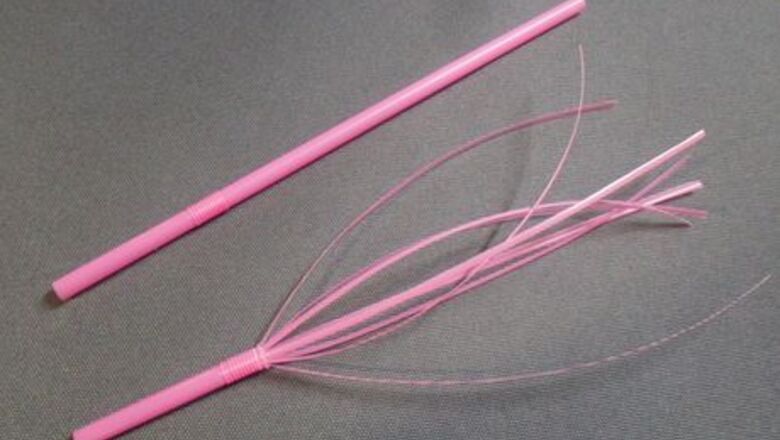
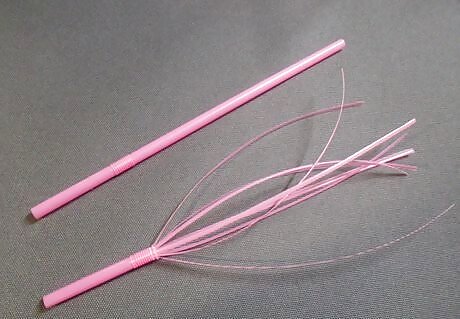
Cut a flexible straw into 8 equal parts lengthwise, as shown in the image. Only cut down to the concertina flex part of the straw and not beyond.Para2_742.JPG
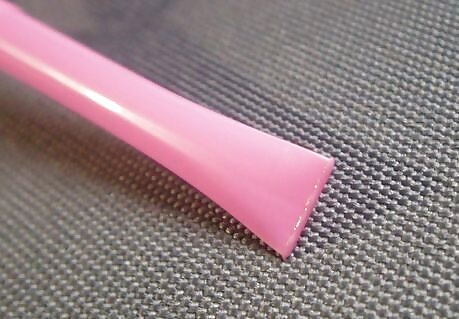
Fold over the other end of the straw (the uncut portion) slightly and hold in place with pliers. Seal this end together using a flame: Hold the end in place with the pliers.DVC00195_45.JPG With care, use the naked flame to heat seal together.DVC00194_713.JPG
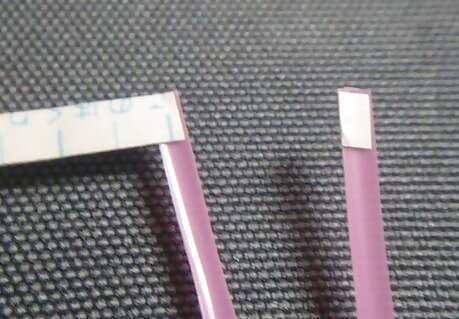
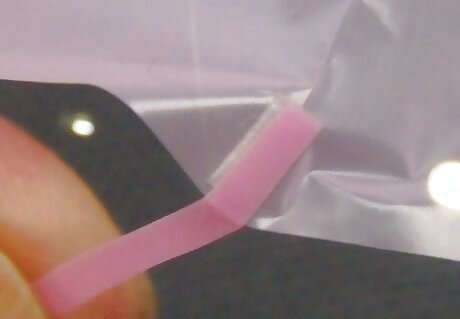
Stick double-sided tape on each of 8 cut ends of the straw. Bend over the end, with the double-sided tape intact.Para4_701.JPG
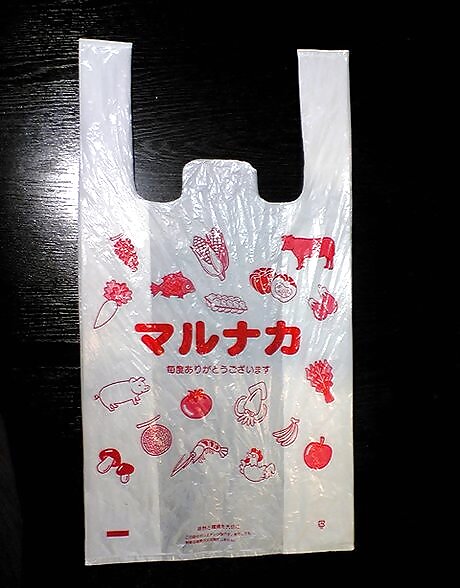
Find a plastic bag and smooth it out to remove wrinkles. Cut off the handles and the base, as shown in the image.DVC00012_903.JPG Cut out a rough square shape as shown in the image. The square should measure about 35 centimeter (13.8 in) x 35 centimeter (13.8 in) / 13.7" x 13.7".DVC00013_88.JPG Fold like origami. Fold in half, then a quarter, then an eighth, and then a sixteenth (1/2>1/4>1/8>1/16).DVC00014_87.JPG Once folded, cut the folded piece a length of 15 centimeter (5.9 in) / 5.9" radius. Cut off this excess, so it'll form an isosceles triangle.DVC00015_438.JPG Unfold the circle. You'll see that the fold lines remain clearly, indicating suitable positioning of the parachute strings to ensure even balance.DVC00016_953.JPG
Attach each of the eight cut straw pieces with double-sided tape. Stick the sticky side alongside one fold line. Continue working your way around the entire parachute using even positioning, as shown in the image. It's helpful to click and enlarge this image to follow it more easily.Para6a_30.JPG The appearance at this stage.Para6b_911.JPG Para7_532.JPG
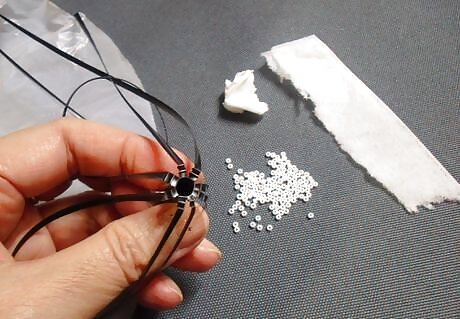
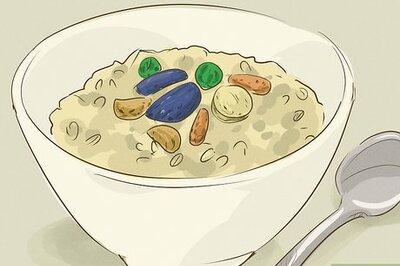
Weight and stopper the open portion of the straw. Where the cut lengths of the parachute meet the concertina flex of the straw, there remains an open hole. In order to weight the parachute for smooth floating, you'll need to fill this with some small beads. Carefully funnel the small beads into the hole.Para9_833.JPG Seal the beads in by corking it with tissue pieces. Make sure it is firm so that the beads don't come tumbling out.Para10_705.JPG
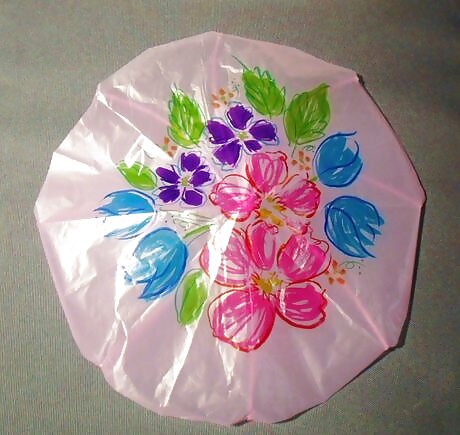
Decorate the parachute if wished. While this step isn't necessary, it's also fun and it personalizes the parachute. A great activity for kids during the holidays or on rainy weekends!
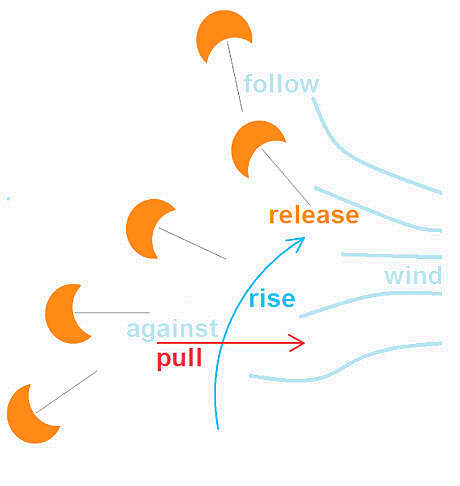
Play with your newly made parachute. Throw it into the air on an angle. It should go up like an umbrella. Release and watch it drop.


Comments
0 comment