
Using a Template

Open Microsoft Word. It's a dark-blue app with a white "W" on it.
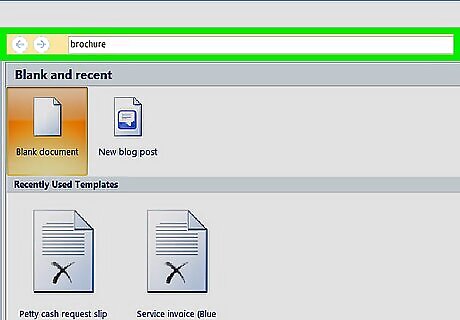
Type brochure into the top search bar, then press ↵ Enter. Doing so will search the database for brochure templates. On Mac, if you don't see the Template page, click File in the top menu bar and select New from Template… in the drop-down menu.
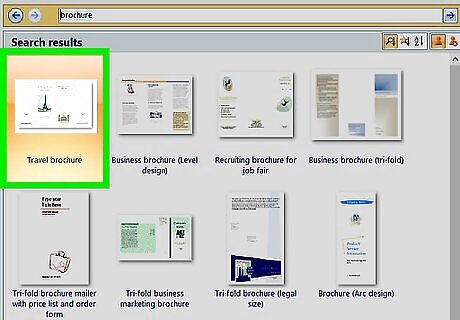
Select a brochure template. Find a brochure template that you like and click on it. The brochure's preview page will open. Most brochure templates will be formatted roughly the same, so you should choose a brochure based on appearance.
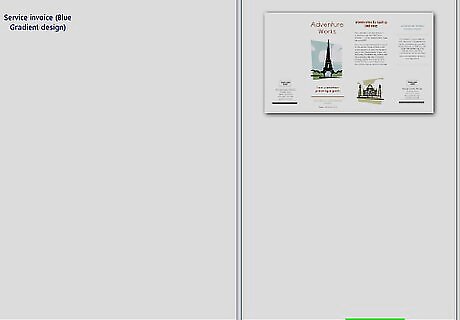
Click Create. It's to the right of the brochure's preview. Doing so will prompt Word to begin loading the brochure, which should only take a few seconds.

Enter your brochure's information. Depending on the template that you chose, this step will vary; however, for most brochures, you can replace the placeholder text in each spot with your company's information. Most brochures have several pages of information, including a testimonial section. You can replace the photos in the brochure by clicking a photo, clicking the Format tab, clicking Change Picture, clicking From a File, and selecting a file from your computer.

Save your brochure. To do so: Windows - Click File, click Save As, double-click This PC, click a save location on the left side of the window, type your brochure's name into the "File name" text box, and click Save. Mac - Click File, click Save As..., enter your brochure's name in the "Save As" field, click the "Where" box and select a save folder, and click Save.
Creating a Brochure from Scratch

Open Microsoft Word. Its app icon resembles a white "W" on a dark-blue background.
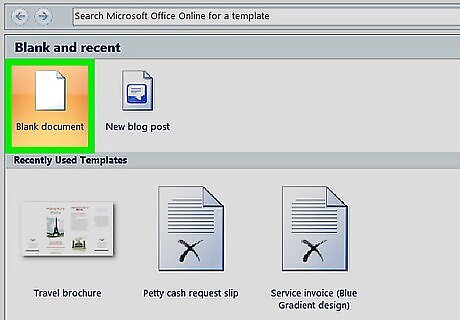
Click Blank document. It's a white box in the upper-left side of the window. Doing so opens a blank Word document. Skip this step on Mac.
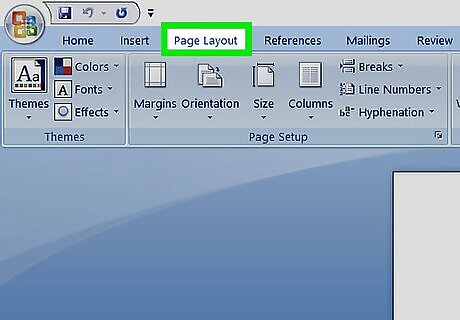
Click the Layout tab. You'll find this at the top of the Word window. A new toolbar will appear below the row of tabs here.
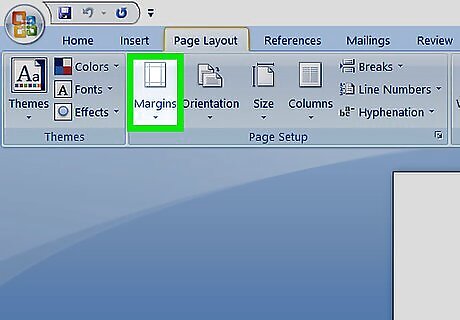
Click Margins. This option is on the far-left side of the Layout toolbar. A drop-down menu will appear.

Click Custom Margins…. It's at the bottom of the Margins drop-down menu. Doing so opens a new window.
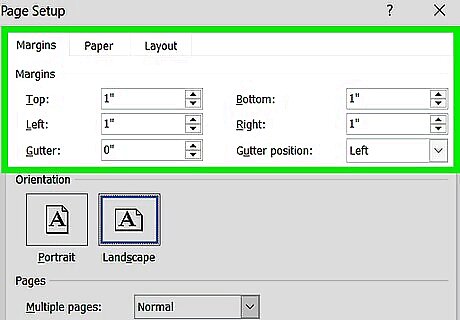
Lower each margin. In the "Margins" section at the top of the window, you'll see several different margin options (e.g., "Left"), each of which has 1 in a text box to the right of it. Change the value in this text box to 0.1 to ensure that your brochure's margins are wide enough to accommodate your content.
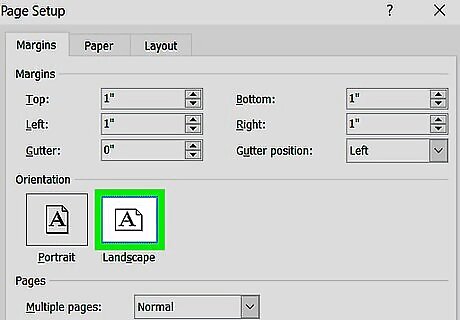
Click Landscape. It's in the middle of the window.
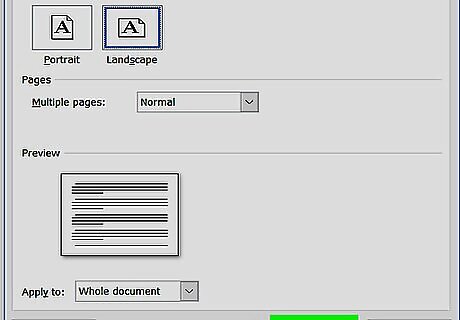
Click OK. This is at the bottom of the window. Doing so saves your changes and reformats your Word document.
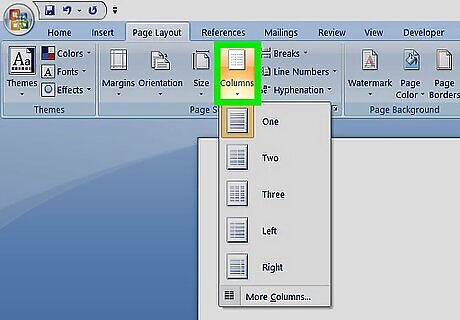
Add columns to your document. To do so: Make sure that you're still on the Layout tab. Click Columns Select a number of columns in the drop-down menu.
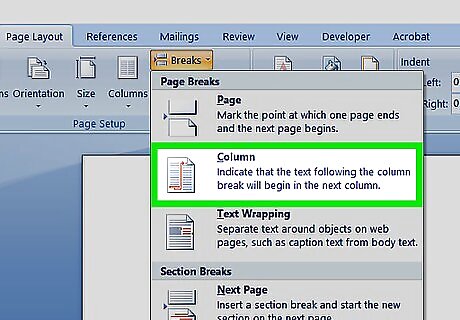
Add column breaks. This will ensure that each column (i.e. panel) of your brochure holds separate paragraphs of information. To do so: Make sure that you're still on the Layout tab. Click Breaks Click Column in the drop-down menu.

Enter your brochure's information. There are two main types of information that you can add to your document: Text - Type in your brochure's information on a per-column basis. You can edit the text that you type by clicking the Home tab and then selecting options in the "Font" section while the text that you want to edit is highlighted. Images - Make sure that your cursor is at the point on the page in which you want to insert a photo, then click Insert, click Pictures, select a picture, and click Insert or Open.
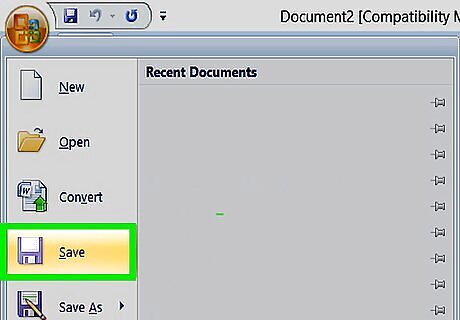
Save your brochure. To do so: Windows - Click File, click Save As, double-click This PC, click a save location on the left side of the window, type your brochure's name into the "File name" text box, and click Save. Mac - Click File, click Save As..., enter your brochure's name in the "Save As" field, click the "Where" box and select a save folder, and click Save.


Comments
0 comment