
Choosing the Chemicals

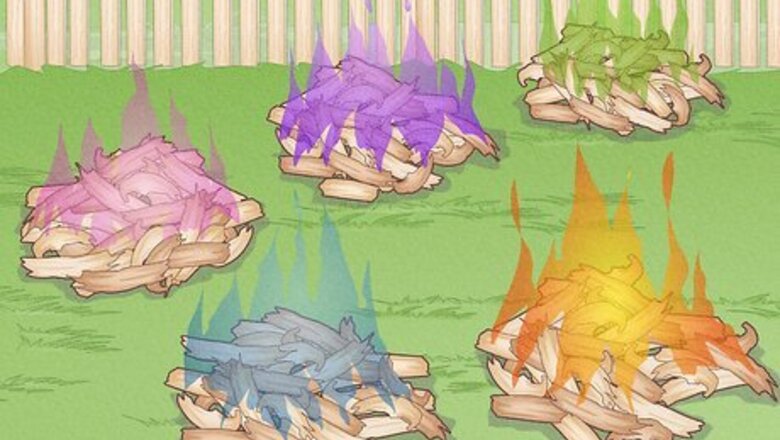
Decide what color(s) you want the fire to be. While you can change the flames' color to a variety of shades, it's important to identify which you are most interested in so you know the right chemicals to use. You can change the fire's color to blue, turquoise, red, pink, green, orange, purple, yellow, or white.
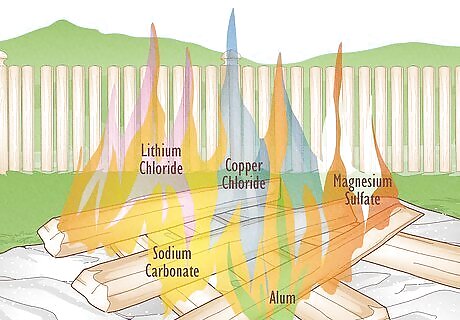
Identify the proper chemicals based on the color they produce. To color the flames in your desired shade(s), you must choose the appropriate chemical(s). You should use them in powdered form, and don't substitute chlorates, nitrates, or permanganates, which produce harmful byproducts when they're burned. To create blue flames, use copper chloride or calcium chloride. To create turquoise flames, use copper sulfate. To create red flames, use strontium chloride To create pink flames, use lithium chloride. To create light green flames, use borax. To create green flames, use alum. To create orange flames, use sodium chloride. To create purple flames, use potassium chloride. To create yellow flames, use sodium carbonate. To create white flames, use magnesium sulfate.
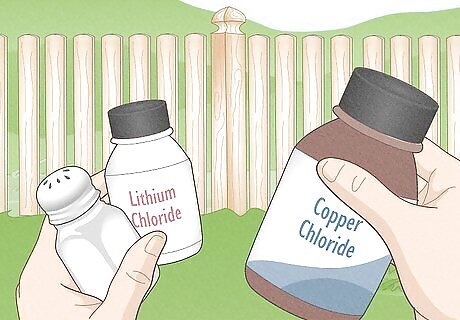
Purchase the chemicals you need. Some of the fire-coloring chemicals are common ingredients in household products, so you can find them in grocery, hardware, or garden supply stores. You can buy other chemicals at chemical supply stores, fireplace shops, fireworks suppliers, or from online stores. Copper sulfate is used as a tree root killer for plumbers, so you can find it at most hardware or home improvement stores. Sodium chloride is table salt, so you can purchase it at any grocery store. Potassium chloride is used as a water softener salt, so you can purchase it at many hardware stores. Borax is often used to wash clothing, so you can find it in the laundry section of most grocery stores. Magnesium sulfate is found in epsom salts, so you can purchase it at most drugstores and pharmacies. Copper chloride, calcium chloride, strontium chloride, lithium chloride, sodium carbonate, and alum must be purchased from chemical supply stores, fireplace shops, fireworks suppliers, or online retailers.
Making Wax Cakes
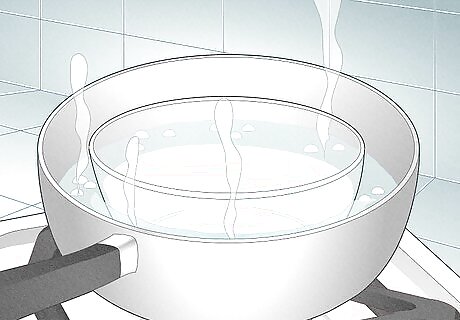
Melt paraffin wax in a double boiler. Place a heatproof bowl over a pot of water that's simmering on medium on the stove. Add several pieces of paraffin wax and allow them to heat until they're completely melted. You can use blocks of canning wax from the grocery store or stubs from old candles for the wax. Don't melt the wax over an open flame or near any open flames or you may start a fire. Do not heat the container with the paraffin directly with a heat source, this can cause the paraffin to spontaneously ignite or explode! Using a double boiler keeps the temperature at a safe level.
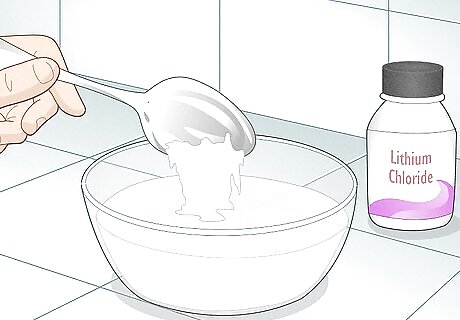
Stir in the chemical powder. Once the wax is fully melted, remove it from the double boiler. Add 1 to 2 tablespoons (15 to 30 g) of the chemical, and mix well until it is fully incorporated into the wax. If you don't want to mix the chemicals directly into the wax, you can instead fold them into a used dryer sheet, and place the resulting bundle in the bottom of the container you plan to pour the wax into.
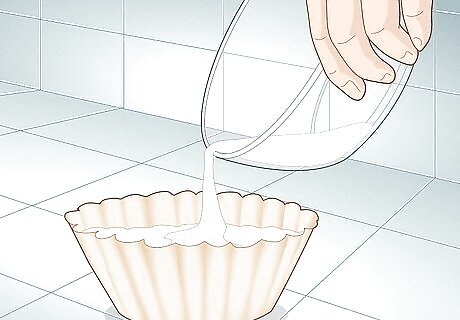
Cool the mixture slightly and pour into paper cups. After you've mixed the chemical into the wax, let it cool for 5 to 10 minutes. While it is still liquid, pour it into paper cupcake wrappers to form the cakes. You can also use small paper cups or cardboard egg cartons to form the wax cakes.
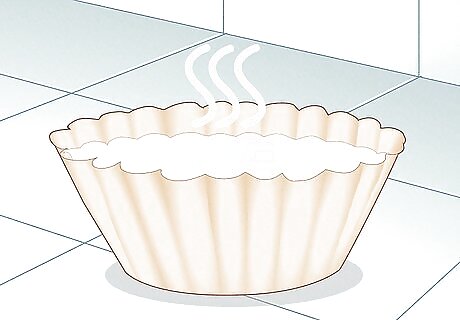
Allow the wax to set. Once the paraffin wax is in the paper cupcake wrappers, let them sit out until the wax solidifies again. It should only take about an hour for them to fully set.
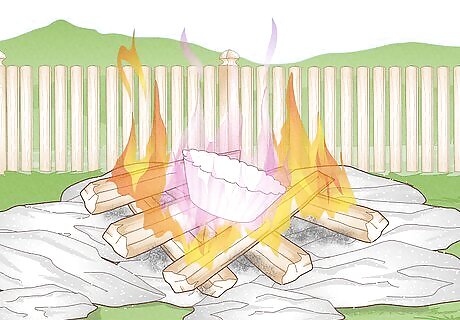
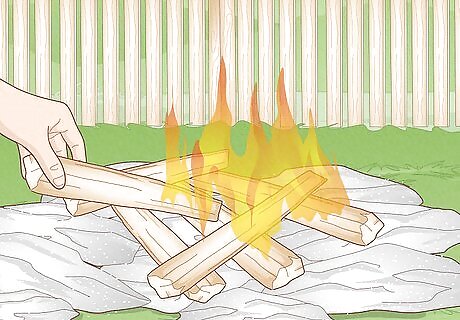
Add a wax cake to a burning fire. When the wax cakes are set, peel one out of its paper wrapper. Throw it onto the hottest part of a burning fire, and as the wax melts, the flames will change color. You can add more than one wax cake with different chemicals to the fire at a time, but toss them on different parts of the fire. The wax cakes work well in a campfire or a fireplace.
Sprinkling Chemicals on a Fire
Build a campfire. Sprinkling the chemicals directly on the fire typically works best on campfires. Allow your fire to burn until there is a bed of red embers beneath it and the flames have died down a bit. For the best results, the flames should be approximately 1 foot (30 cm) high.
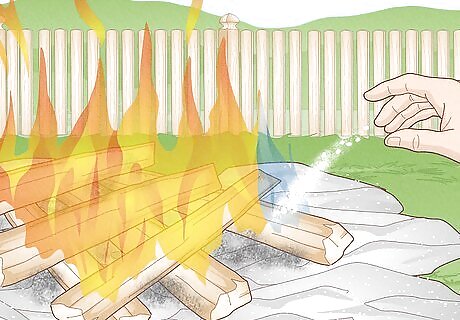
Sprinkle a small amount of the chemical on the embers. Start with just a pinch to test the chemical and ensure that no adverse reactions occur. Be sure to stand back a bit as you add the powder to the fire to protect yourself. Sprinkle the chemical on the edge of the fire rather than just tossing it into the middle. This will decrease the chance of a large and dangerous flare-up. Wear safety glasses and fire-resistant gloves when you add the chemicals to the fire. The smoke produced by many of these chemicals can be a serious irritant, especially for people with breathing problems. Wear a protective breathing mask while adding chemicals to the fire, and be mindful of which way the smoke is going.
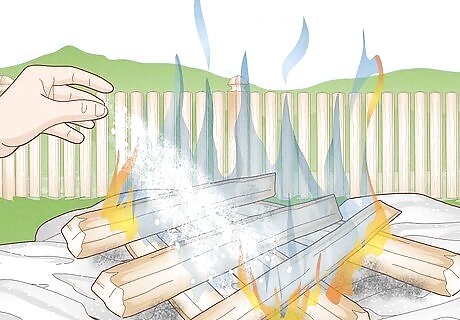
Continue adding the chemicals until the color changes. The first sprinkle of the chemical will likely not change the flames' color, so you should keep adding more until you notice a change. In many cases, it can take up to a minute for the color change to be visible.
Soaking Wood in Chemicals
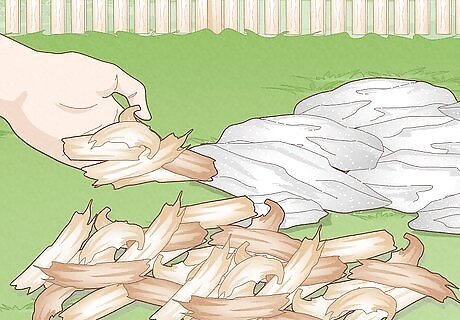
Collect dry, lightweight fire materials. Wood items like chips, scraps of lumber, pine cones, and kindling are all good options. You can also use rolled-up newspapers.
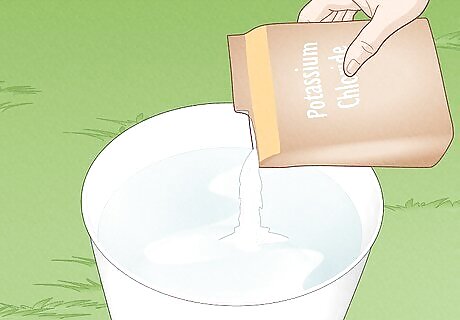
Dissolve the chemical in water. Mix 1 pound (454 g) of your chosen chemical per every gallon (3.78 liter) of water in a plastic container. Stir well to help the powder dissolve more quickly. For the best results, use a single chemical per container of water. You can use a glass container, but avoid metal containers, which may react with the chemicals. Take care not to drop or break any glass containers in your campsite or near the firepit or fireplace. Be sure to wear safety glasses, rubber gloves, and a protective mask or respirator when mixing the chemical solution. It's best to mix the chemical solution outdoors because some of the chemicals may stain your work area or create hazardous fumes.
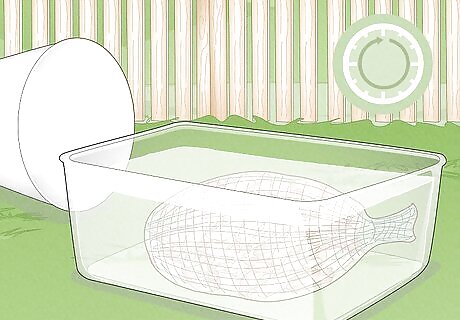
Soak the wood materials in the chemical solution for a day. Pour your chemical solution into a large container, such as an old ice cooler or plastic storage tub. Place the wood materials in a mesh bag (such as an onion or potato bag) before submerging them in the solution. Weigh the bag down with a brick or other heavy object, and allow the wood to soak for 24 hours.
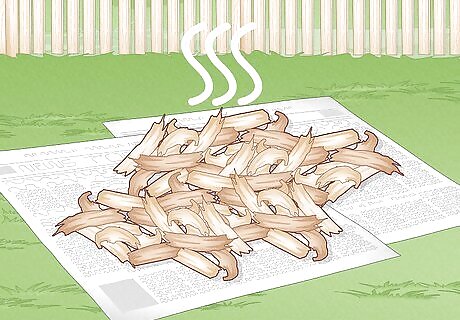
Remove the mesh bag from the mixture and allow the wood to dry. Lift the bag out of the chemical solution, allowing it to drain for a moment over the container. Next, dump the wood pieces onto a sheet of newspaper or hang them up in a dry, breezy location, and allow them to dry for another 24 hours or more. Be sure to wear protective gloves when lifting the wood out of the chemical solution. If you don't allow the wood pieces to dry out, you'll have a hard time getting them to burn in your fire.
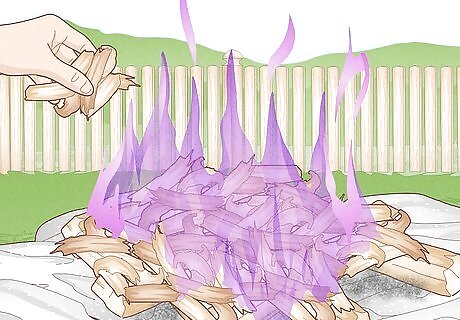
Burn the treated wood in your fire. Build a campfire or ignite a fire in your fireplace. When the fire has burned down to a low flame, toss the treated materials onto the fire and allow them to burn for several minutes until the colored flames appear. If you are burning the wood in an indoor fireplace or campfire tent, make sure the chimney, flue, and dampers are in good working condition, so that you can get good ventilation.


Comments
0 comment