views
Making Glue-Based Mod Podge
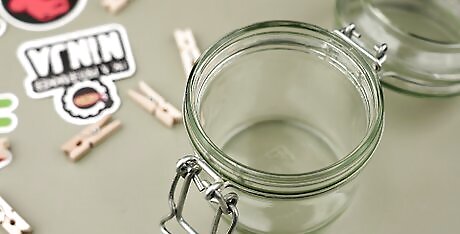
Wash out a jar with a tight-fitting lid. You will need a clean jar with a tight-fitting lid that can hold 12 ounces (355 milliliters). The jar can be made out of glass or plastic. If you plan on making glossy or glittery Mod Podge, you will need a slightly-larger jar.
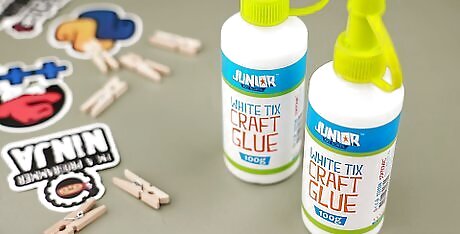
Find some craft glue. You will need about 8 ounces (225 milliliters) of white, liquid glue—the sort kids use in school. If your bottle already contains 8 ounces/225 milliliters (or close to it) then you will not need to measure it out. If your bottle contains more glue, however, then you will need to pour the glue into a measuring cup to make sure that you have the right amount. Consider using an acid-free scrapbooking glue. It is more durable and less-likely to yellow than regular glue. Elmer's glue will work just fine.
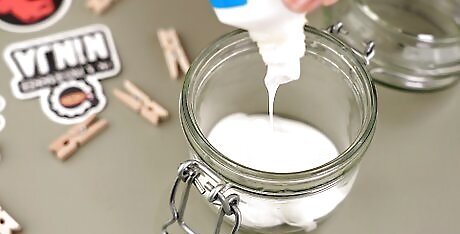
Open the bottle of glue, and pour it into the container. You can simply rest the glue bottle over the rim of the jar and let the glue drain on its own, or you can squeeze it out. If the glue is thick and will not come out easily, you can pour a little bit of hot, boiling water into the glue bottle, close the cap tightly, and shake. The hot water will help loosen the glue. Open the glue bottle again and pour it into the jar—it should come out easier now. Consider warming the glue in a microwave for about 30 seconds (or fewer, depending on the strength of your microwave). This will help the glue bottle empty easier and faster.
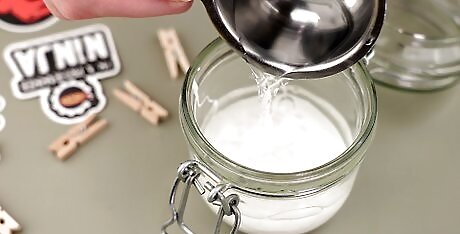
Add the water into the container. Once the glue has completely drained, pour 4 ounces (112.50 milliliters) of water into the jar and stir to combine it.
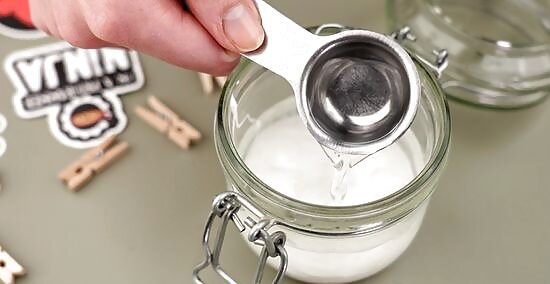
Add gloss or varnish to make it shiny. Your Mod Podge will be matte by default, but you can make it shiny by adding 2 tablespoons of a water-based gloss or varnish. Simply add the gloss or varnish after you have added the water.
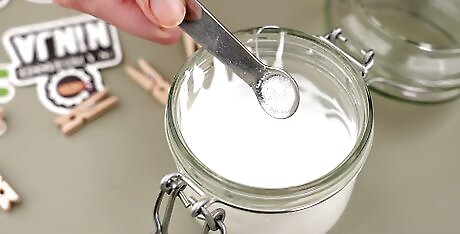
Consider making sparkly Mod Podge. If you wish to make glittery Mod Podge, add 2 tablespoons of glitter into the mixture. This is most effective when combined with the water-based varnish or gloss.
Close the lid tightly and shake it. Once you have added everything into the jar, close the lid tightly and shake it to mix everything together. If any of the Mod Podge seeps out from under the lid, simply clean it off with a damp cloth. Mod Podge won't yellow over time whereas Elmer's Glue will, so be aware of that.
Making Flour-Based Mod Podge
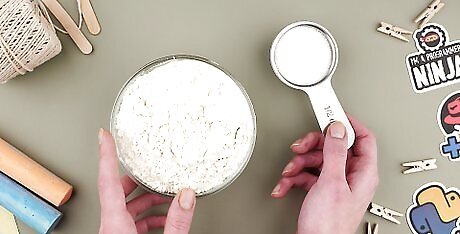
Consider the requirements of your project. Because the Mod Podge you will be making in this section uses flour and sugar, the finished texture may be a little grainy. Keep this in mind when using this version as a sealer.
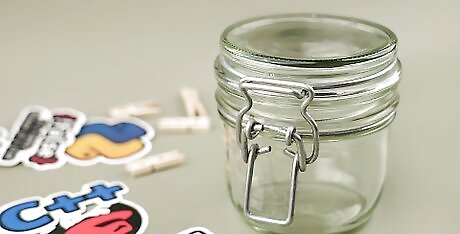
Find a clean jar with a tight-fitting lid. You will need a clean jar with a tight-fitting lid. It should be able to hold 12 ounces (355 milliliters). The jar can be made out of glass or plastic.
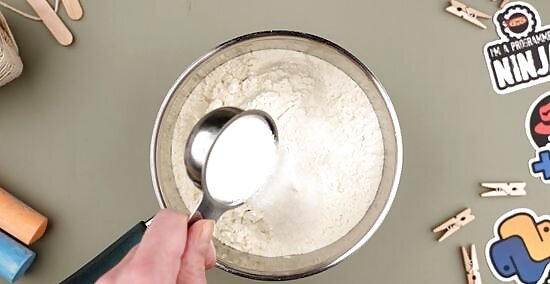
Combine flour and sugar in a pot. Sift 1 ½ cups (210 grams) of flour and ¼ cup (56.25 grams) of granulated sugar into a pot. Do not place the pot on the store, and do not turn the stove on just yet.
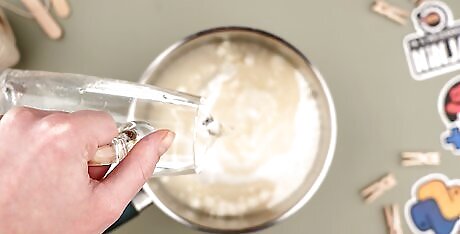
Add the water and stir. Pour 1 cup (225 milliliters) of cold water into the pot and beat rapidly with a whisk to mix everything together and get rid of any clumps. Consider adding ¼ teaspoon of oil. This will help make the product glossier in the end.
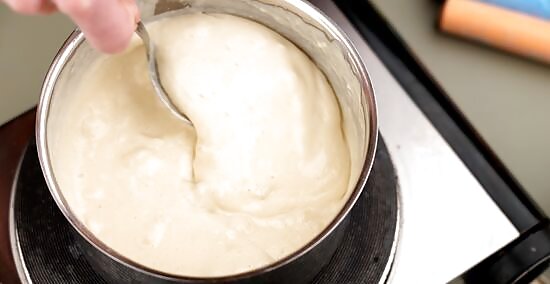
Turn on the stove and stir the ingredients. Use medium heat and do not let the contents of the pot boil. You want to end up with a thick, glue-like consistency. If the mixture starts to become too thick, then add more water and keep stirring. Consider adding vinegar. Adding ¼ teaspoon of vinegar can help control fungus and mold from developing in your Mod Podge. If you choose to add vinegar, do so after you have removed the pot from the stove, and give the Mod Podge one, final stir.
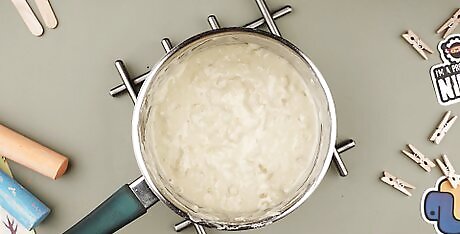
Remove the pot from the stove and let it cool. Once the mixture has thickened, turn the stove off, and set the pot down onto a heat-resistant surface. Let the mixture cool completely before proceeding to the next steps, or else the Mod Podge may begin to ferment.
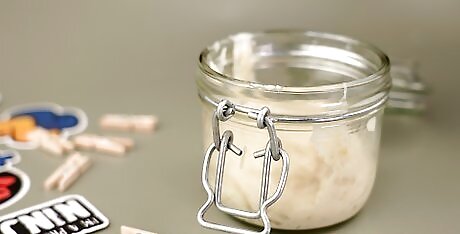
Transfer everything the mixture into a jar. Hold the pot over your jar and carefully tip the contents into the jar. You can use a spoon or spatula to help guide the mixture. If necessary, you may give the mixture a stir once everything is in the jar.
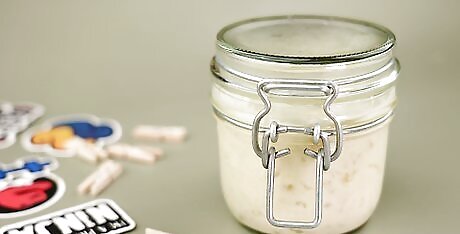
Close the lid and store the Mod Podge in a cool place. Once again, make sure that your Mod Podge is completely cool before you place the lid on. Because you have made your Mod Podge out of natural ingredients, you will need to store it in a cool place, such as a refrigerator. Use it within a week or two. If it starts to rot and mold, discard it.
Using Your Mod Podge
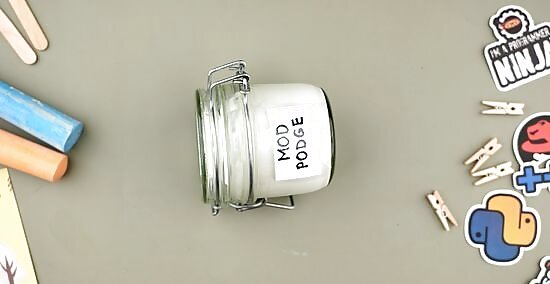
Consider adding a label the jar. You can design and print a label using adhesive paper, or you can make a label from scratch using a piece of paper and clear tape. Make the label after you have poured the Mod Podge into the container and shaken it up. Here is how you can make a label from scratch, without a computer or printer: Write "Mod Podge" or "Decoupage" on a small piece of paper. Cut a piece of clear, packaging tape that is bigger than your label. Place the label face down onto the middle of the piece of tape. Wrap the packing tape around the glass container. Smooth the tape down to rid the label of any air bubbles.
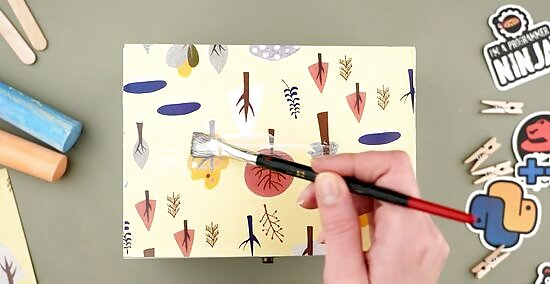
Use Mod Podge to decorate boxes and other items. Simply apply a thin layer of Mod Podge to the area you want decorated using a paint brush. You can also use a foam brush as well. Press your fabric or paper onto the wet Mod Podge, making sure to smooth out any ripples, bubbles or creases. Apply a second, thin layer of Mod Podge on top of your fabric or paper. You can always apply another coat of Mod Podge after the first one has dried.
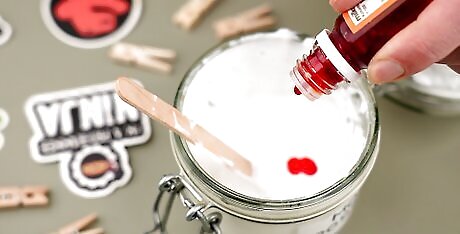
Consider tinting your Mod Podge. If you made Mod Podge out of glue and water, you can add a few drops of food coloring, and then paint it over some mason jars. This will create colored mason jars. Be sure to add 2 tablespoons of water-based gloss or varnish to your Mod Podge, or else the jars will be matte and frosted-looking. If you wish to create tinted mason jars that look like sea glass, then omit the varnish.
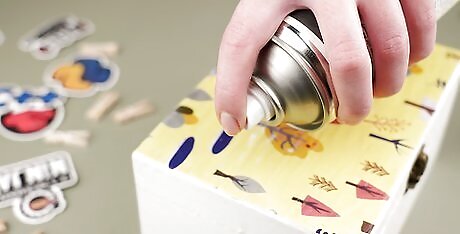
Consider sealing your project. Your homemade Mod Podge will not be as durable as the store-bought variety. You can make it more durable by wait until it has dried completely (several hours) and then applying spray-on acrylic sealer. Simply hold the can six to eight inches away from the surface and spray the paint on using light, even strokes. Once the sealer has dried, you may add a second coat, if necessary. If you added varnish or glitter to your Mod Podge to make it glossy, be sure that you use an acrylic sealer with a gloss finish.
Consider the Benefits and Drawbacks
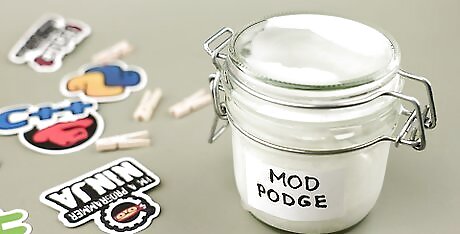
Know that homemade Mod Podge is not the same as store-bought Mod Podge. When making and using these recipes, keep in mind that homemade Mod Podge is not the same as store-bought Mod Podge. There are several differences between the two, and this section will address them.
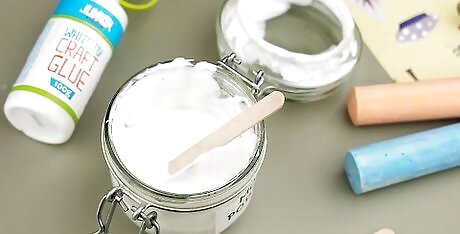
Keep in mind that homemade Mod Podge costs less than Store-bought Mod Podge. Store-bought Mod Podge can be very expensive, so it is no surprise that many crafters attempt to make their own recipes out of materials many of them already have at home.
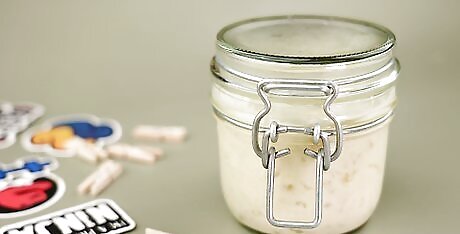
Understand that the quality between the two is different. Homemade Mod Podge is usually made using watered-down glue, so it lacks some of the properties that store-bought Mod Podge has. Store-bought Mod Podge can be used as both an adhesive and sealant, making it durable. The homemade version is less-adhesive, and lacks varnish or sealer.= To make your homemade Mod Podge more durable, consider spraying your project with an acrylic sealant after the Mod Podge has dried.#Know that the finish differs between the two. Store-bought Mod Podge comes in all sorts of finishes from glossy, to satin, to matte. It even comes in glow-in-the-dark and sparkling varieties. Unless you add varnish or glitter, your homemade Mod Podge will be matte. Flour-based Mod Podge will may leave behind some residue or a grainy texture.
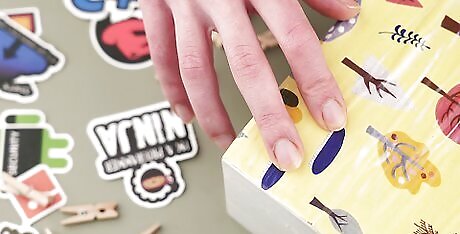
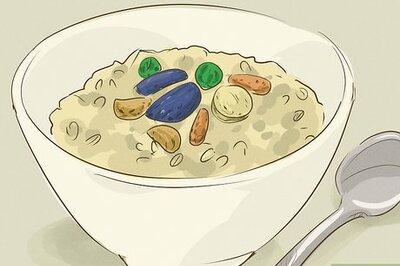
Understand that flour-based Mod Podge is perishable. It is possible to make Mod Podge out of completely edible and non-toxic materials, such as flour. Unfortunately, this also makes the final product perishable. You must store it in a cool place and use it within a week or two, or else it will expire and begin to rot.




Comments
0 comment