
Making the Posts
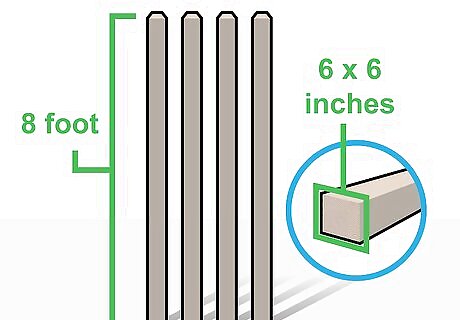
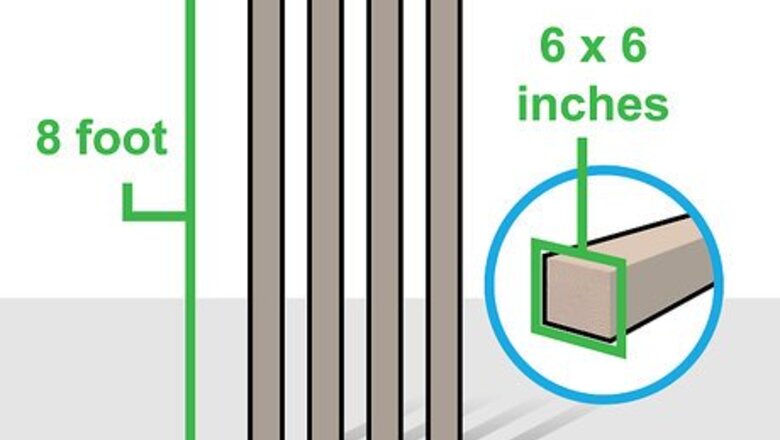
Buy four 8 foot (2.4 m) tall wooden posts. Look for posts that are around 6 inches (15 cm) wide by 6 inches (15 cm) long. These posts will serve as the corners of your wrestling ring.
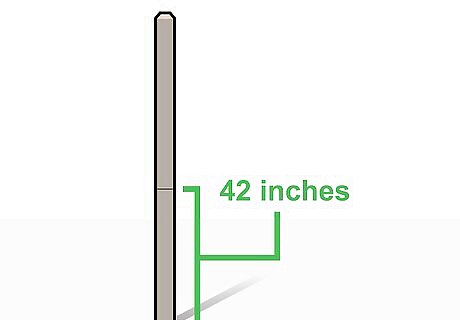
Measure and mark 42 inches (110 cm) up from the bottom of each post. That’s where the floor of your wrestling ring will be. Use a marker or pencil to draw a short line at the 42 inch (110 cm) mark on each post.
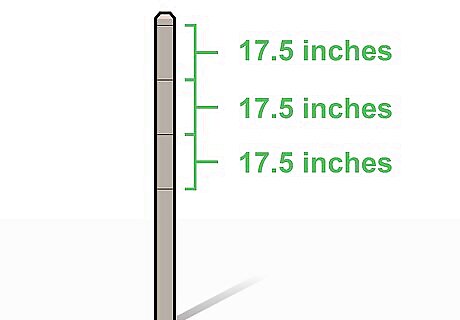
Make a mark every 17.5 inches (44 cm) along the rest of each post. Starting at the lines you just marked for the floor, measure 17.5 inches (44 cm) up on each post and make marks. Then, measure another 17.5 inches (44 cm) up from those marks. Continue until you reach the top of the post. There should be about 2 inches (5.1 cm) between the final mark and the top of the post. You'll use the marks to determine where your eye bolts need to be drilled in later on.
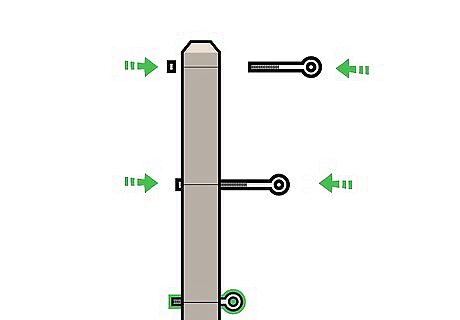
Drill eye bolts into the corners of the posts along the marks you made. First, drill pilot holes through the corners of the posts and out the other side. Then, screw the eye bolts into the posts so they’re sticking straight out from the corners. The ends of the eye bolts should go all the way through the posts and stick out on the opposite side. Secure the eye bolts with the nuts that came with them. Use eye bolts that are .5 inches (1.3 cm) wide by 1 foot (0.30 m) long. You’ll need 12 eye bolts in total — 3 for each post.
Building the Frame

Find a flat patch of ground for your wrestling ring. You want a spot that has soft dirt so you can dig holes in it. Keep in mind that if you build your wrestling ring over grass, the grass underneath the ring will likely turn yellow or die.
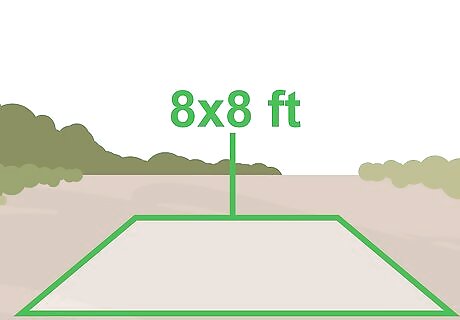
Measure and mark a square where your ring will go. The size of your wrestling ring is up to you, but try to keep it between 8 feet (2.4 m) by 8 feet (2.4 m) and 16 feet (4.9 m) by 16 feet (4.9 m). Mark the corners of the square with stakes and use a tape measure to make sure they’re evenly spaced apart.
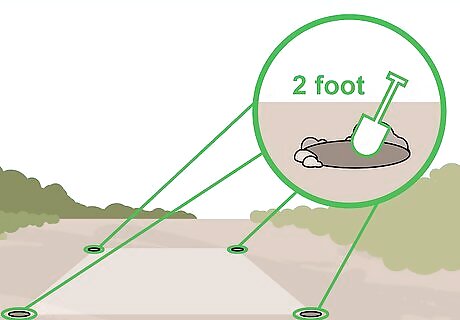
Dig a 2 foot (0.61 m) deep hole in each corner of the square. Make the holes wide enough for the wooden posts to fit in them. When you’re finished, make sure the distance between the holes is the same so your ring isn’t lopsided.

Bury the bottoms of the posts in the holes. Insert the bottoms of the posts in the holes so they’re standing up straight. Then, hold a level flat against the posts to make sure they’re not tilted. Once you’re sure they’re straight, fill in the holes with dirt and pack them down so the posts are secure.
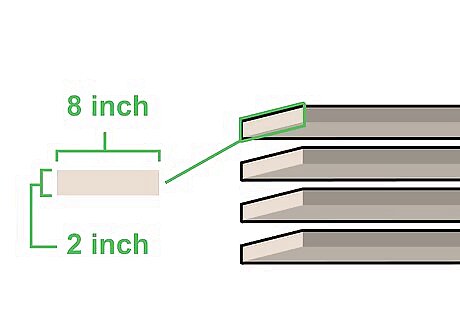
Buy four 2 inch (5.1 cm) tall by 8 inch (20 cm) wide pieces of wood. These pieces of wood will run between the wooden posts to create the frame for your wrestling ring. The length of the pieces will depend on how big your ring is. To determine the length, measure the distance between 2 of your posts and add 12 inches (30 cm). The extra 12 inches (30 cm) is so the pieces of wood extend over the sides of the posts (each post is 6 inches (15 cm) wide). You may need to cut the wooden pieces down to size, depending on the size of your ring.

Drill or hammer the pieces of wood into the posts. Set the pieces of wood on their side on the ground so they’re flush with the bases of the wooden posts. Line the ends of the pieces of wood up with the corners of the posts. Then, use a drill or hammer to fasten the ends of the wood to the posts. When you’re finished, the pieces of wood should make a square frame around your wrestling ring, with the posts in the corners.
Adding the Floor
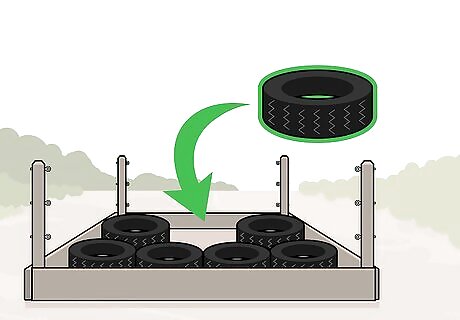
Line the bottom of your wrestling ring frame with tires or mattresses. Tires and mattresses work best because they absorb some of the shock from the floor when you’re wrestling. Lay the tires or mattresses on the ground inside the frame so they’re in a flat, even layer that stretches across the whole floor space. You can find cheap, old mattresses at your local thrift store. Reach out to your local junkyard to see if they have old tires you can use for your ring. Use only tires or only mattresses for your ring.
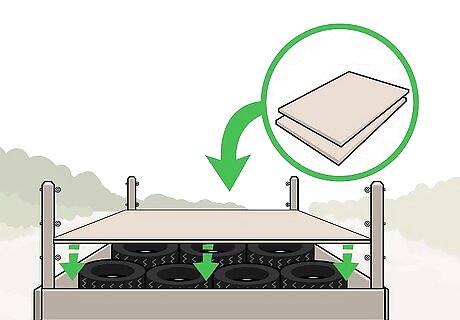
Cover the square frame of your ring with sheets of plywood to make a floor. Use plywood sheets that are at least 1 inch (2.5 cm) thick. The size and number of sheets you’ll need depends on how large your ring is. If your ring is small enough, you may be able to use 1 large plywood sheet. When you have the plywood sheets cut to size, drill or hammer them into the pieces of wood running between the posts.
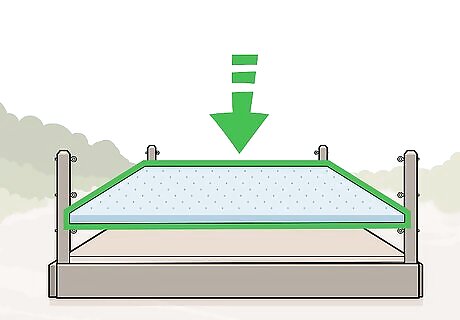
Cover the plywood floor with mattress padding. Padding the floor of your wrestling ring will soften the impact when you're wrestling on it. Use thin mattress padding that’s about 1 inch (2.5 cm) thick.
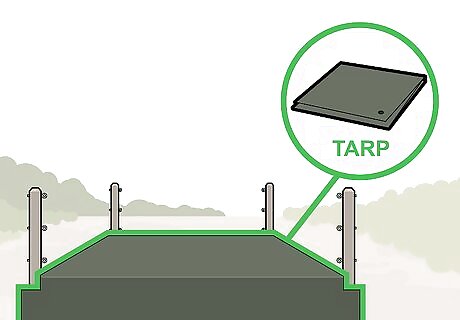
Lay a tarp over the floor and fasten it to the sides of the frame. The tarp will protect the padding and plywood from bad weather, and it will make your ring look more professional. After you lay the tarp on the floor, pull it as tight as possible and drill or hammer it into the sides of the frame.
Attaching the Ropes
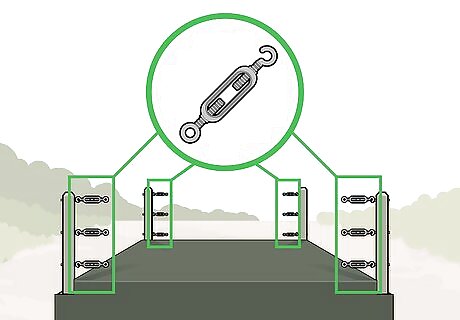
Attach a turnbuckle to each eye bolt. The turnbuckles will connect your wrestling ring ropes to the posts. Each post should have 3 turnbuckles attached to it. You’ll need 12 turnbuckles in total.
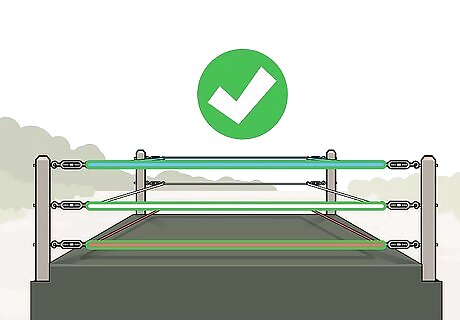
Run wrestling ring rope around the ring through the turnbuckles. Your ring will have 3 tiers of rope — 1 tier that runs through the lowest turnbuckles, a second tier that runs through the middle turnbuckles, and a final tier that runs through the highest turnbuckles. Securely tie off each tier so your ring is completely closed off by the 3 tiers of rope. You can buy wrestling ring rope online or at your local sporting goods store.
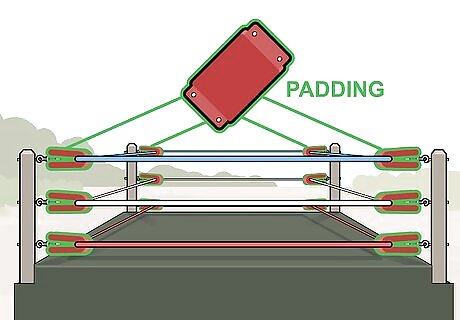
Cover the turnbuckles with padding. It’s important that you put padding over the turnbuckles so you don’t bump into them and hurt yourself when you’re wrestling in your ring. Any kind of thick padding will work, as long as it’s secure over the turnbuckles. You can buy turnbuckle pads online or at your local sporting goods store. You can make your own turnbuckle pads with pillows or pieces of mattress pad. Tie or tape the padding to the turnbuckles.
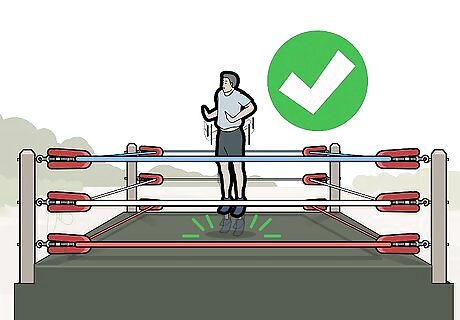
Test out your new wrestling ring to make sure it's safe. To test out your ring, walk across the floor and hop up and down a few times — if the floor bends or buckles under your weight, check to make sure it's securely fastened to the frame. You should also test the ropes by leaning into them with all of your body weight. If they don't stay taut when you lean into them, tighten the ropes and make sure they're securely tied off on the turnbuckles. It's also a good idea to double-check the padding on the turnbuckles. If any of the padding feels loose, reattach it to the turnbuckles so it's secure.


Comments
0 comment