views
Switching Apps on an iPhone or iPad
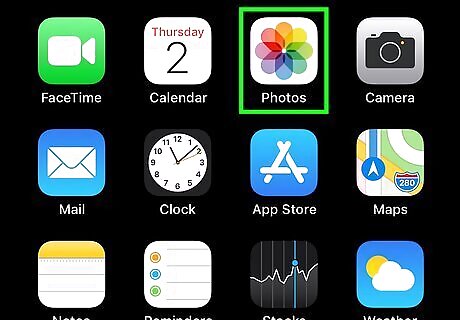
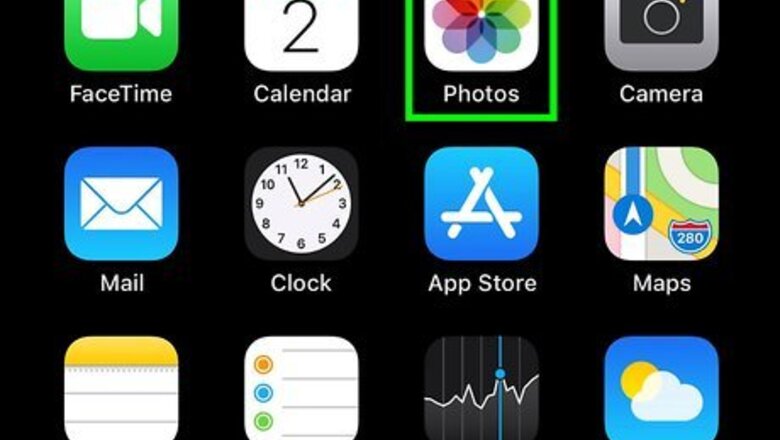
Open multiple apps on your iPhone or iPad. You can easily switch between open apps without having to go back to the home screen every time. Begin by opening at least 2 apps that you want to use at the same time.
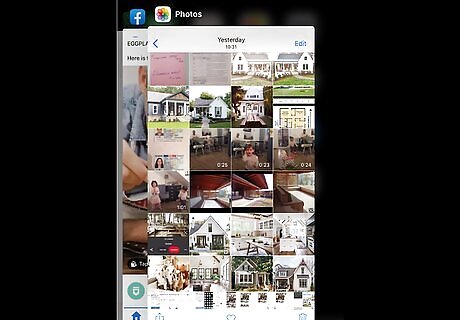
Open the App Switcher. This feature shows all of your open apps at the same time in a scrollable format. The process is a little different depending on your model: If your iPhone or iPad has a physical Home button at the bottom of the screen, double-tap it to display the App Switcher. If your iPhone or iPad doesn't have a Home button, swipe up from the bottom of the screen to about the middle, and then lift your finger when you see the App Switcher.
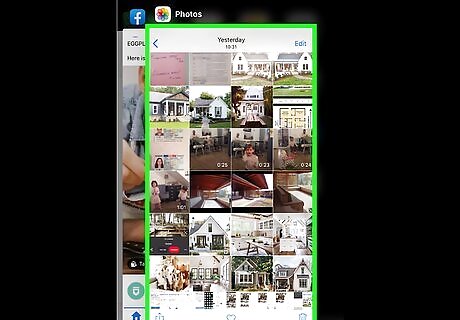
Swipe left or right to the app you want to use. A preview of each app will appear at the center of the screen as you swipe.
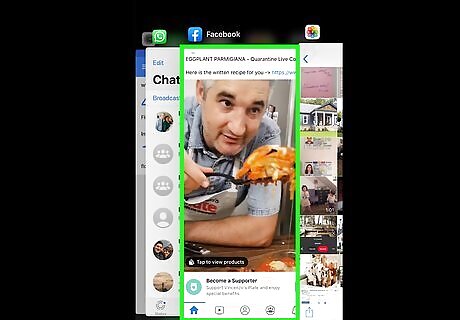
Tap the app to open it. The selected app will open full-size on the phone or tablet.
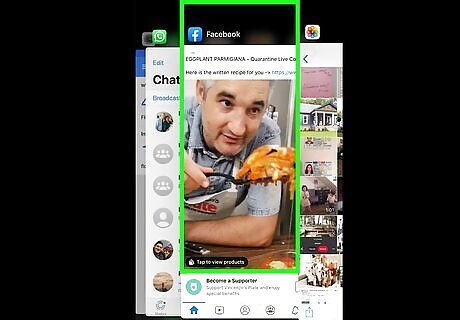
Close an app by swiping up in the App Switcher (optional). If you want to exit an app so it's no longer running in the background, swiping up instead of tapping on it will force it to close.
Using Slide Over on an iPad
Open an app. Slide Over lets you open an additional app on top of the one that's already open. This makes it possible to have more than one app open on the screen at the same time. Slide Over works on the iPad Pro, iPad (5th generation and later), iPad Air 2 and later, or iPad mini 4 and later. Slide Over is enabled by default. If you've disabled it in the past, here's how you can re-enable it: Open the Settings app and select Home Screen & Dock. Tap Multitasking. Slide the "Allow Multiple Apps" switch to the On (green) position.
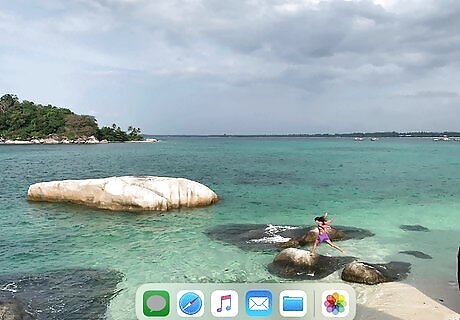
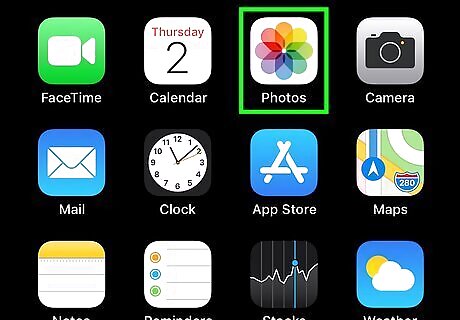
Swipe up from the bottom of the screen. The Dock will appear at the bottom-center. If you don't see the app you want to use on the Dock, open it now and then close it. This makes it so the app's icon will be added to the "recently-used" slot on the far-right side of the Dock.
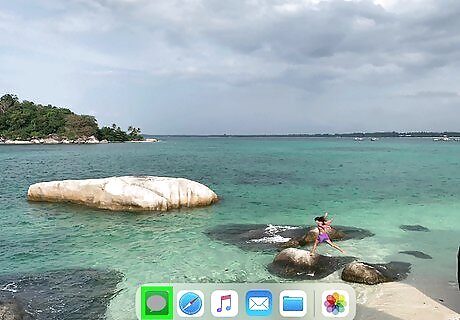
Tap and hold an app icon on the Dock. Don't lift your finger.

Drag the app icon to the middle of the screen. When you lift your finger, the app will appear in a smaller window on the right side of the screen. This is the Slide Over window.
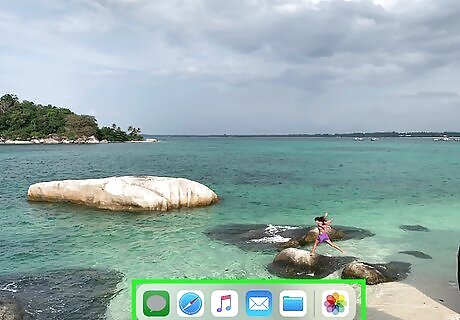
Add additional apps to Slide Over (optional). You're not limited to only one Slide Over app! To add additional apps, drag their icons to from the Dock to the Slide Over window. This adds the other apps to the "stack." Here's how you can multitask with the apps in the Slide Over stack: To cycle through open apps, swipe left or right on the horizontal line at the bottom of the Slide Over window. Stop swiping once you reach the app you want to use. To see all of the apps in Slide Over at once, swipe the horizontal line at the bottom of the window upward. You can then tap one of the apps to open it in Slide Over.

Move the Slide Over window (optional). There are a few different ways to adjust the Slide Over window's location and size: To move the Slide Over window to the other side of the screen, drag the top of the window to the desired location. To make the Slide Over window disappear, drag the top of the window off the right side of the screen. To view the Slide Over window if it's hidden, swipe left from the right side of the screen. To switch to Split View mode from Slide Over, drag the top of the Slide Over window to the bottom-left or bottom-right corner of the screen.
Using Split View on an iPad
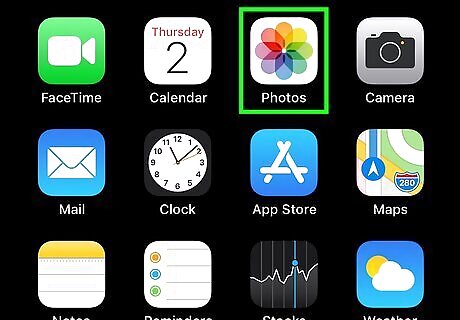
Open an app. Split View lets you have two apps open on the screen at the same time. Start by opening one of the apps you want to use. Split View is only available for iPad Pro, iPad (5th generation and later), iPad Air 2 and later, and iPad mini 4 and later. Since Split View is enabled by default, you shouldn't have to turn it on. If you disabled it in the past and aren't able to use this method, follow these steps to enable Split View: Open the Settings app and select Home Screen & Dock. Tap Multitasking. Slide the "Allow Multiple Apps" switch to the On (green) position.
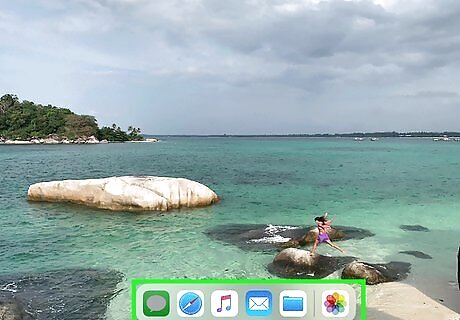
Swipe up from the bottom of the screen. This displays the Dock at the bottom-center.
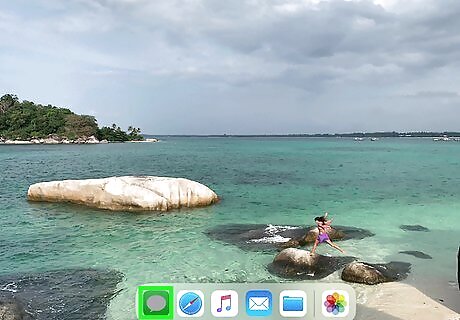
Drag an icon from the Dock to the left or right edge of the screen. To drag the app's icon, tap and hold it, and then without lifting your finger, drag it to the left or right edge. The new app will now appear on the screen beside the app that was already open. If the app you want to open isn't already on the Dock, you'll need to open the app from the home screen and then close it. This makes the app's icon appear on the far-right side of the Dock in the recently-used app slot.

Adjust Split View to meet your needs. There are a few different ways you can customize Split View: Drag the vertical app divider at the center of the two apps to adjust the amount of screen space consumed by each app. To close Split View, drag the vertical app divider to the edge of the screen over one of the apps. To switch from Split View to Slide Over, swipe down from the top of one of the open apps.
Using Picture in Picture on an iPad

Open an app that plays video. Picture in Picture allows you to continue watching a video (or using Facetime) in a smaller window while you use apps. Begin by starting your video or making your Facetime call. Picture in Picture is available on the iPad Pro, iPad (5th generation and later), iPad Air 2 and later, and iPad mini 4 and later. If you've disabled Picture in Picture in the past, you'll need to re-enable it. Here's how: Open the Settings app and select Home Screen & Dock. Slide the "Picture in Picture" switch to On (green).

Tap the Picture in Picture icon. It looks like a hollow rectangle with a downward-pointing arrow and a smaller filled-in rectangle at its bottom edge. The video or Facetime call will shrink and move to the top-right corner of the screen. If you don't see the icon, tap the screen once to show icons that are hidden.
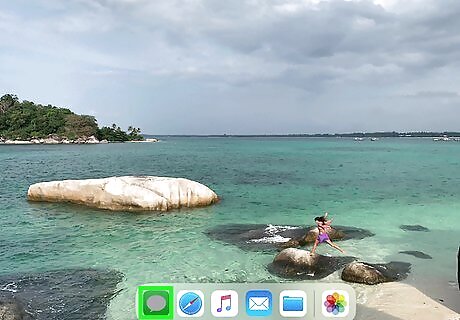
Open another app. For example, if you want to send an email while you're on a Facetime call, you can open the Mail or Gmail app. The Picture in Picture window will float over the new app at the top-right corner of the screen.

Use both apps simultaneously. You can now work in the new app without having to stop watching your video. Here's what you can do with Picture in Picture while you work: To move the smaller video window, simply drag it to another location. Tap the video window to display its controls. Pinch the video window inward to make it smaller, or spread your fingers apart on the screen to increase its size. Tap the Picture in Picture icon on the smaller window to return the video or Facetime call to its normal full-screen size. To hide the video window, drag it off of the left or right edge of the screen. You can then tap the arrow icon to bring it back. To close the video window, tap the x at the top.
Using Background Refresh on an iPhone or iPad
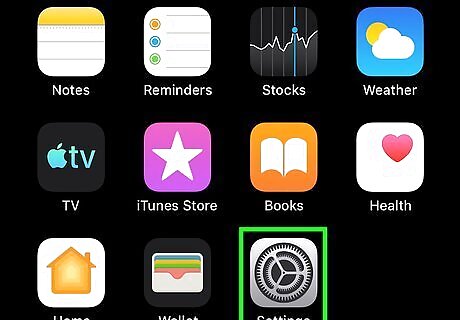
Open your iPhone's Settings iPhone Settings App Icon. You'll find it on the home screen or in a folder. If Background Refresh is enabled for an app, that app can continue to check for new content over your internet connection while you're using other apps. Use this method to control how this feature works.
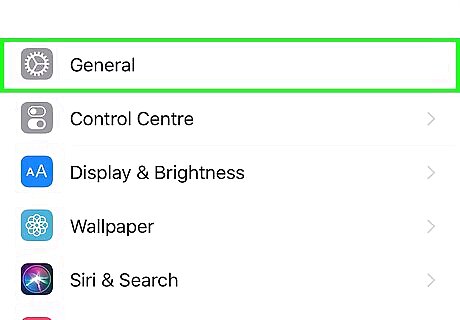
Scroll down and tap General. It's the option with a gear in the third group of settings.
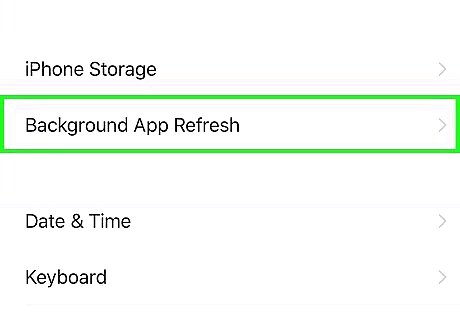
Tap Background App Refresh. It's near the middle of the menu.
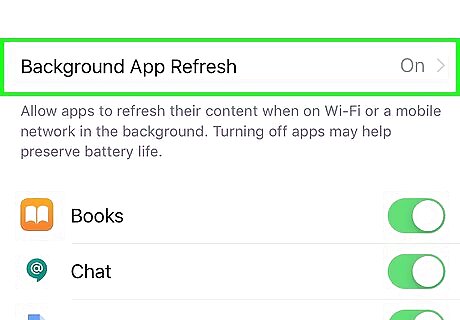
Choose when to refresh background apps. Tap Background App Refresh at the top of the menu, and then: If you only want background apps to access the internet over Wi-Fi, select Wi-Fi. To allow background apps to refresh no matter what type of connection you have, tap Wi-Fi & Cellular Data. To prevent background apps from using the internet, select Off. Tap the back button to return to the previous menu.
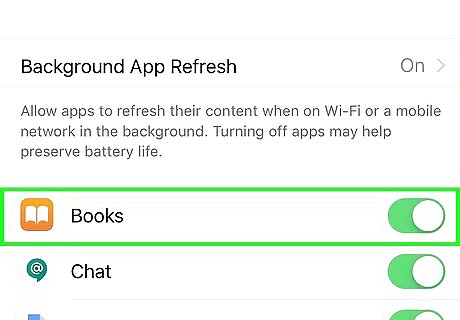
Manage background refresh by app. If you selected Wi-Fi or Wi-Fi & Cellular, all apps will be able to refresh in the background. You can disable this feature for any app in the list by sliding its corresponding switch to the Off (grey) position.


Comments
0 comment