
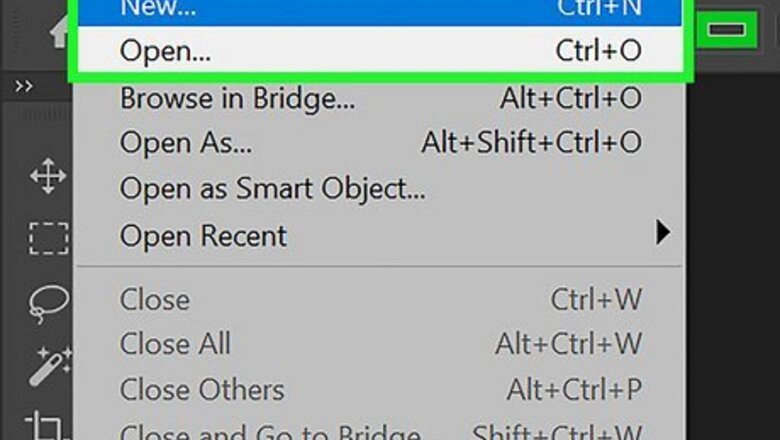
- You can create an outline from text by using the Path Selection Tool.
- After adding your text, click "Type" in the top toolbar, then "Convert to Shape".
- Set your Fill to "None", then adjust the stroke color and size.
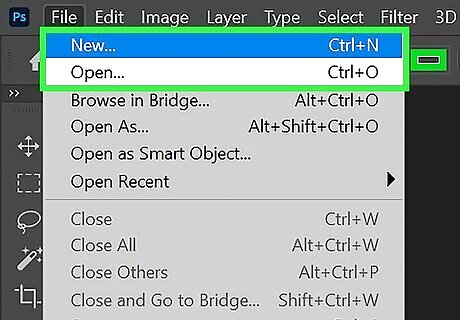
Open a new or existing Photoshop file.
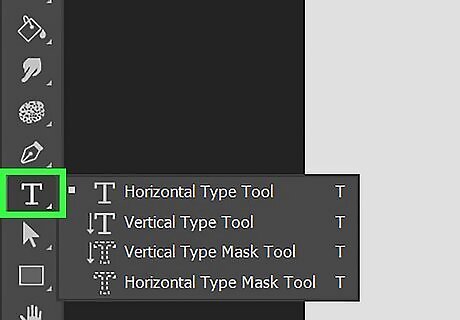
Select the text tool and insert your text. Customize your text to your liking. You can center the text, change the text color, or use an added font.

Click Type on the top toolbar. This will open a drop-down menu.

Click Convert to Shape. Alternatively, you can right-click the text layer in the Layers menu and select Convert to Shape.
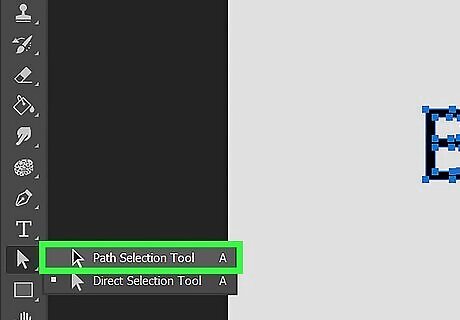
Select the Path Selection Tool. This will be the cursor icon filled in with black. Points will appear and select your text outline.
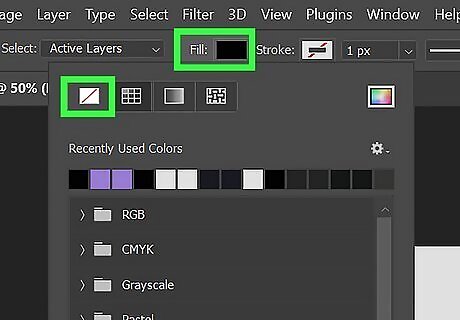
At the top of the page, click Fill and set it to "None". None is represented by the white box with a diagonal line running through.
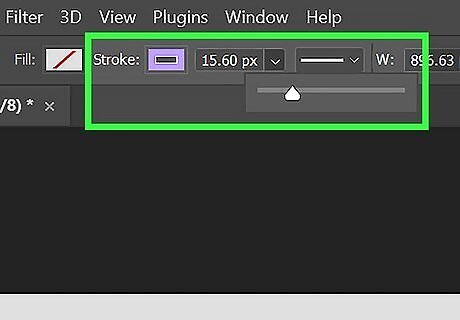
Set the stroke color and size. You can choose from Recently Used Colors or select from a saved palette. To change the size, click the line icon and set the thickness. You can also manually input the size in pixels beside the thickness presets.
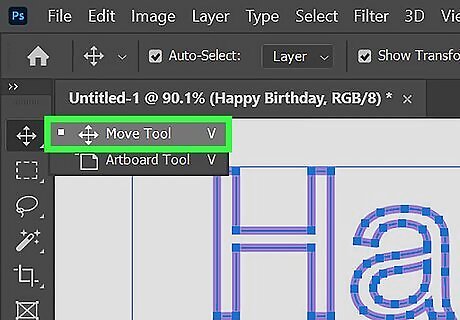
Select the "Move" tool to see your new outline. If you need to make any adjustments, use the Path Selection Tool again. If needed, you can resize the image or change the background color.


Comments
0 comment