

Learning the Steps
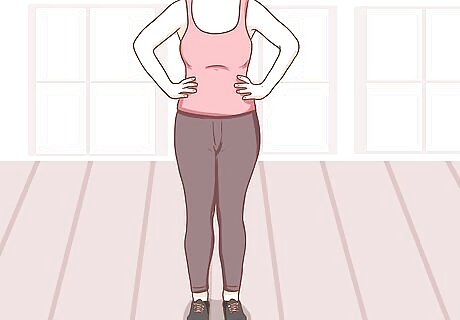
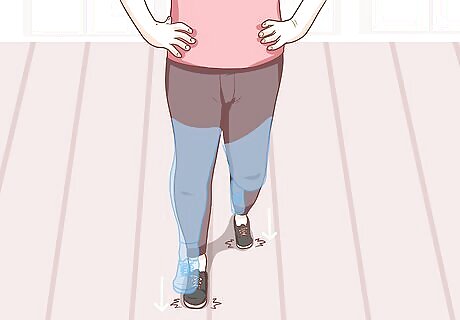
Put your hands on your hips and set your feet shoulder-width apart. When you’re first starting to learn the single time step, don’t worry about adding in hand movements just yet. Instead, keep your hands on your hips to help you keep your balance while you’re practicing. Wear clothes that are easy to move in and that won’t fall down easily. A pair of athletic shorts or pants and a T-shirt would be perfect. If you have tap shoes, wear those; if you don’t, regular tennis shoes will be fine!Tip: Try practicing the single time step in front of a mirror. This will help you see what you look like and can also help you have better posture as you dance.
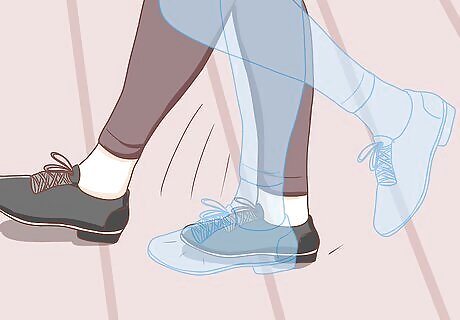
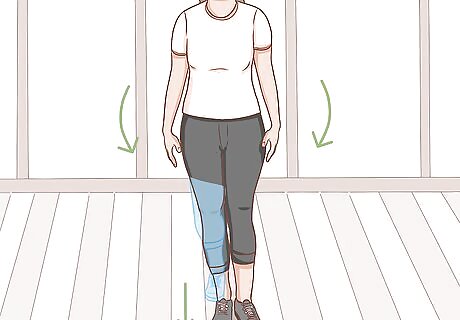
Stomp the ground with your right foot and bring it back up off the floor. Stomp your foot straight up and down; don’t move it forward, back, or sideways. When you stomp, don’t switch your weight off of your left foot; otherwise, you won’t be ready for the next movement. When you bring your foot back up, keep your knee bent at a near 90-degree angle. This is the first official move of the single time step. It’s almost always referenced simply as “stomp.”
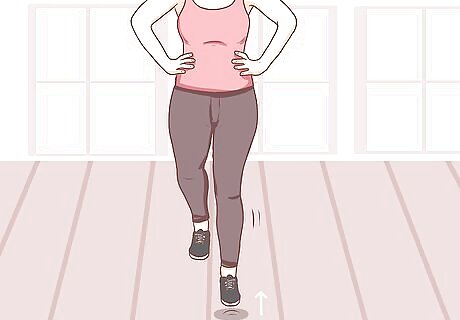
Hop on your left leg while your right leg is still lifted off the floor. Try really hard to not let your right foot touch the ground when you hop. Keep your left leg slightly bent as well to help absorb the movement so you don’t injure your knee. It’s okay if you can’t hop very high—you’ll get better at it as time goes on. This is the “hop,” the second move of the single time step.
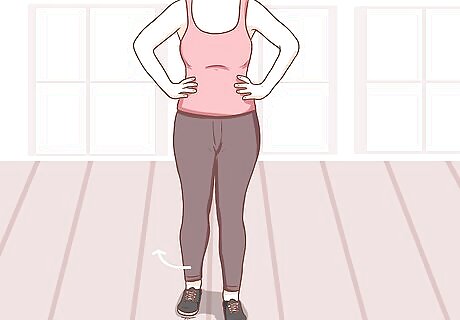
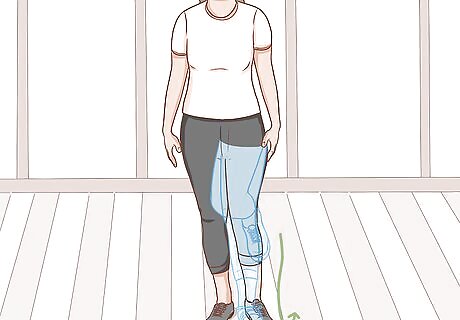
Bring your right foot down onto the ground slightly behind you. After your left foot has landed from the hop, step back with your right foot and transfer your weight from the left leg to the right leg. You don’t need to step very far back; about the length of one foot should be fine. This move is most often called “step.”
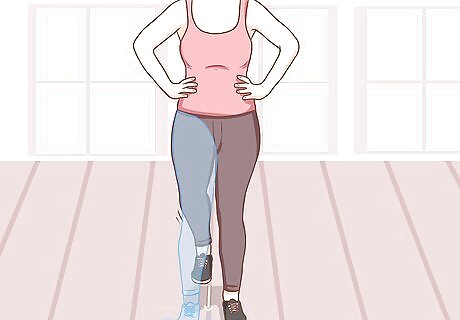
Do a flap with your left leg. To flap, pick your left foot up off the ground about 6 inches (15 cm) and sweep it forward on the ground, kind of like you are kicking at some dust. Then, set your foot back down on the ground with a firm step so that your left heel is lined up with your right foot’s toes. As you end the flap, shift your weight from the right leg to the left leg. In tap dancing, “flap” is often pronounced as “fuh-lap,” since that is essentially the sound your foot makes during the movement. This is the fourth move of the sequence. So far you’ve had “stomp,” “hop,” “step,” and “flap.”
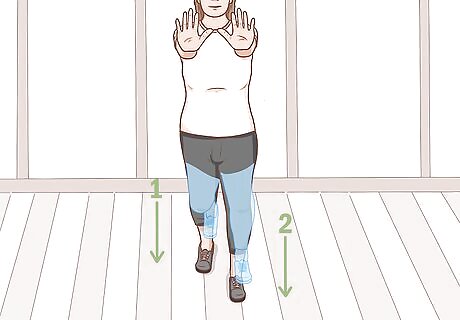
Perform a ball change by stepping with your right then left foot. After ending the flap, stamp each foot on the ground, starting with your right foot and then your left foot. Your right foot should still be slightly behind your hips at this stage and the left foot should be slightly ahead of your shoulders.Tip: A great way to remember the movements of a single time step is to say “stomp, hop, step, flap (fuh-lap), ball change.” The rhythm of the words mimics the steps you take with each foot.

Switch to the left foot on the “ball change” to single step on the left side. When switching to the other side during your single step, the ending “ball change” also counts as the “stomp” on the left-hand side that kicks off your next set of movements. So instead of doing a ball change and then an additional stomp, you’ll just ball change, and then move right to a hop. This rhythm allows you to keep switching back and forth from side to side. Practice changing sides until you can seamlessly transition from one to the other.
Adding in Arm Movements
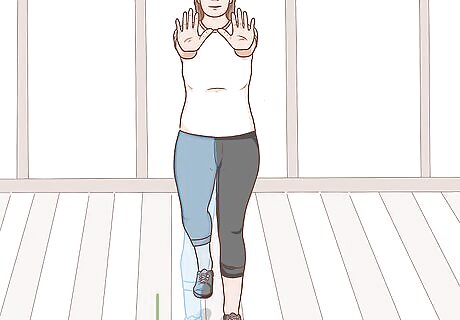
Extend both of your arms into in a “stop” motion on the first stomp. Keep your arms held out straight in front of you. Position your hands so your palms are parallel to your body. When you’re first starting to add in arm movements, it will help to slow down each of the 5 steps of the single time step so you can keep track of what you’re doing. It may seem overwhelming at first, but it’ll quickly become a habit.
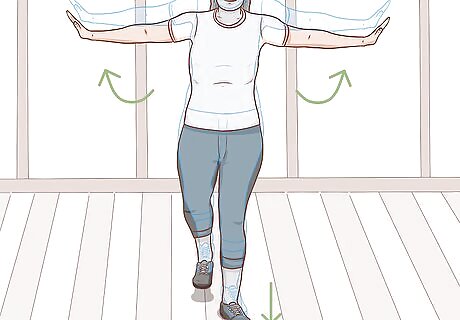
Put each arm out to the side simultaneously on the hop. When you hop, extend each arm out to the side, keeping your palms parallel to your body. When your foot lands on the hop, your arms should be fully in their side position. If you’re auditioning for something, pay close attention to the arm movements that they want you to do. There can be slight modifications from style to style that you need to mimic (like lifting your arms into the air instead of out to the side on the hop). The instructor will most likely demonstrate what they want you to do; feel free to take notes so you can remember exactly what you need to replicate.
Bring your arms down to your sides on the “step”. On the third move of the single time step, simply place your arms down at your sides at the same time your foot hits the ground. You can release your hands from their position, too, so that they are flush against your body. Rather than keeping your arms pin-straight, try to keep them slightly relaxed and fluid. Tap dancing is all about keeping the momentum going, and you don’t want to look too rigid.
Keep your arms at your side on the flap. It’s okay if they swing a little bit as you work on maintaining your balance. Work in front of a mirror so you can adjust how they hang so they look as natural as possible.
Put your arms back out in front of you on the ball change. After the flap, put your arms back out in the “stop” motion in front of your body. This prepares you to keep moving right into the stomp for your next move. Before long, you’ll be able to put all the steps and arm movements together with ease!


Comments
0 comment