
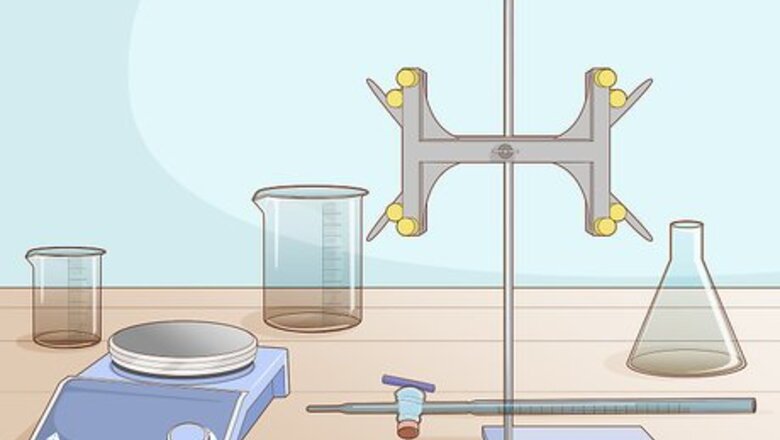
Setting up Your Equipment

Gather all the necessary equipment before starting. Performing a titration requires that you have all your equipment together before you start. Make sure you have a calibrated burette, a burette stand, multiple beakers and/or Erlenmeyer flasks, a measured amount of your analyte, and a large quantity of your titrant before you begin. While a magnetic stir plate isn’t required, it can be very useful. Your analyte is the sample in which you are looking for a specific chemical quantity. That chemical is your titrand. For example, if you are checking the chloride levels in your local water supply, tap water would be your analyte, and the chlorides would be your titrand. Your titrant is the chemical that you add to your analyte in measured quantities to help you calculate the amount of your titrand. You want enough of your titrant that you can repeat your titration at least 3 times. If you are unsure of how much of your titrant you need, you can look online or consult your lab’s director.
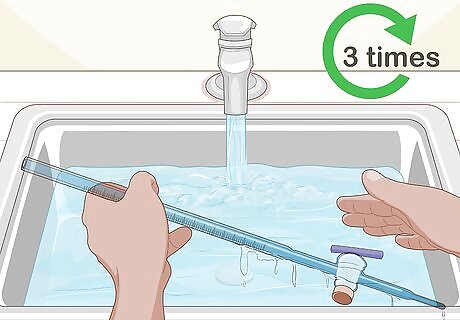
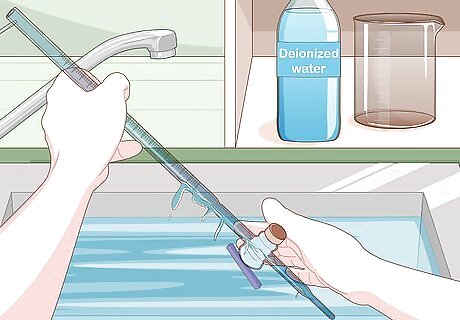
Rinse and purge your burette. To get an accurate reading from your titration, your burette must be completely clean. Purge your burette completely of any solutions remaining from previous use. Then, close the stopcock (the valve near the burette’s tip) and fill the burette with deionized water. Swirl the water around a few times before opening the stopcock and allowing it to drain. Repeat the rinsing process at least 3 times with water to completely clean your burette. After you’ve rinsed the burette with water, perform the same rinsing process at least 2 times with your analyte.
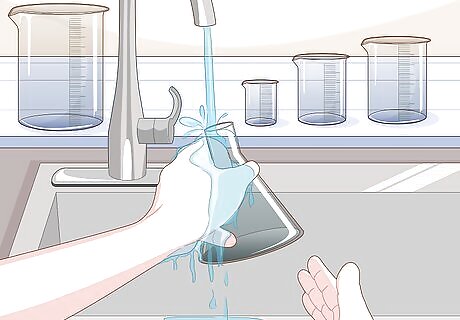
Clean and rinse all glassware. Rinse out all glassware you will be using, including any beakers or flasks, with deionized water. Depending on what your glassware was last used for, you may also need to wash them with a mild detergent. Then, rinse all your glassware with distilled water and allow it to dry completely. If you do not have deionized water, available, tap water will work. However, the distilled water rinse will still be necessary as this lowers the chances of contamination for your analyte.
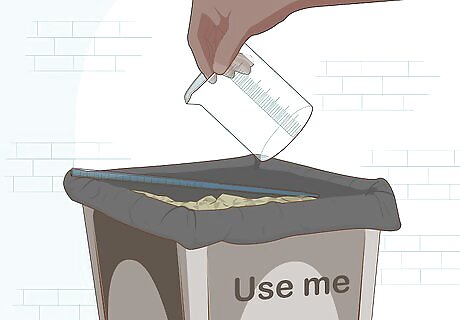
Fill the burette with an excess amount of titrant. The titrant should be in a liquid form. Pour it in until you reach the zero point on the burette using a graduated cylinder or a small flask or beaker. If you overfill your burette, open the stopcock slightly and let the excess titrant flow out until it reaches the zero mark.
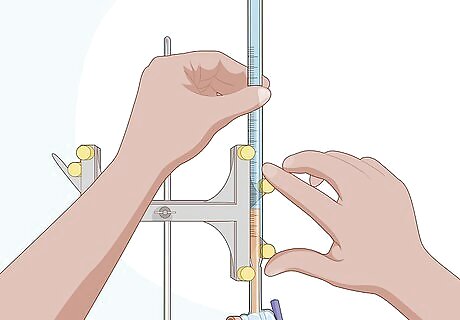
Clamp the burette carefully to a burette stand. The burette should be secure enough so that it does not move or slide. Tighten the clamp slowly, though, to avoid cracking or breaking the burette. Make sure there is enough space between the tip of the burette and the bottom of the stand for your beaker or flask.

Tap the burette to remove any air bubbles. With the burette in the stand, carefully tap it with your index finger in order to remove any gas bubbles inside the liquid. Then record the initial volume of the burette at the meniscus (the lowest part of the dip in the liquid).
Conducting Your Titration
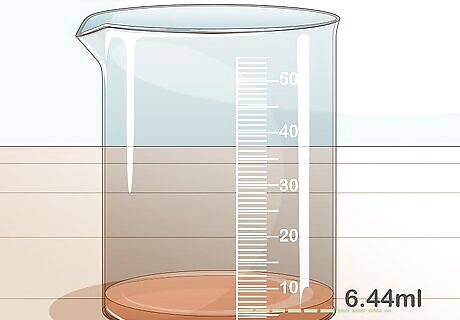
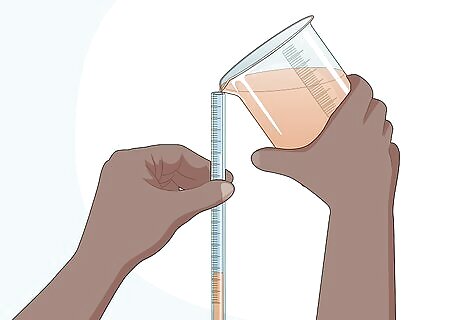
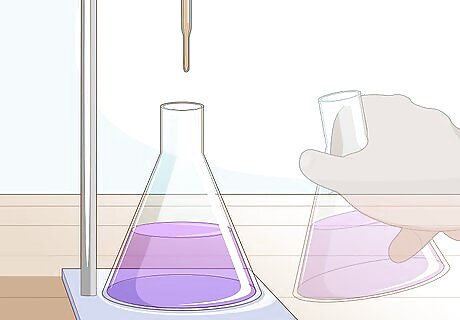
Measure out a precise amount of analyte in a clean beaker or flask. You need to know exactly how much of your analyte you’re using so that you can calculate your end concentrations. Use a pipette to measure out the necessary amount of analyte into your beaker. If necessary, rinse the analyte into your beaker or flask, thus making sure all of the analyte is in the beaker. The amount of analyte you need will depend on your experimental design, the types of chemicals, and the titrand you’re trying to find.
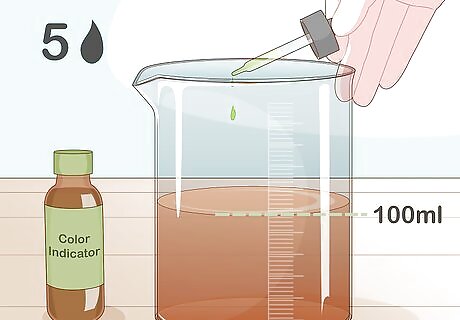
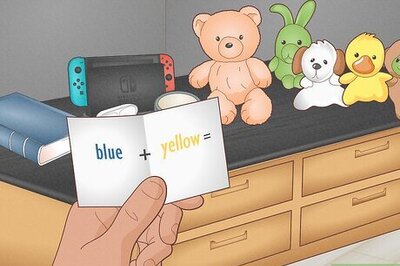
Drop a small amount of color indicator into the beaker. Many titrations require the addition of a color indicator prior to adding the titrant. The specific type of color indicator you need will depend on what titrant you are looking for. Likewise, the amount of color indicator you need will depend on the volume of your analyte. Generally, you will need between 3-5 drops of indicator for 100 mL of analyte.
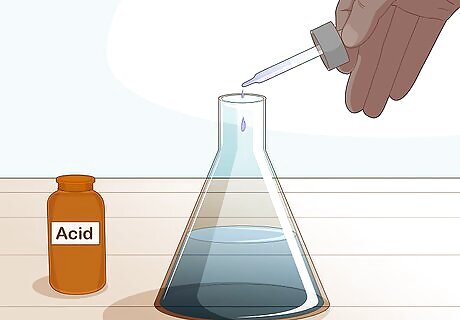
Add your second chemical, if necessary. While not all titration experiments require a second chemical, some do. This second chemical is sometimes referred to as a buffer. If your titration requires a buffer, use a pipette or measured dropper to add it to the analyte after you add the color indicator. As with the color indicator, the amount and type of buffer you may need depends on your quantity of analyte and the titrant for which you’re looking. Generally, though, you will add your buffer until it removes the tint imparted by the color indicator. Generally, the buffer solution will be an acid or alkali in a specific, known concentration.
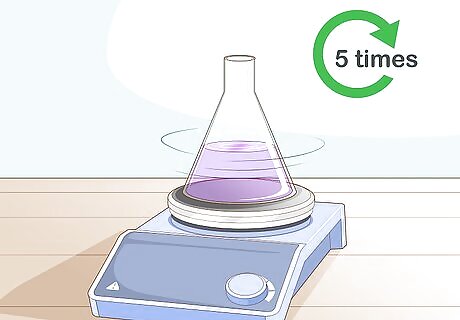
Agitate the beaker using a magnetic stir plate. If you have a magnetic stir plate available, place your beaker on it and drop the agitator into the beaker. Turn the plate on slowly until the agitator is swirling enough to mix the solution in the beaker without splashing it on the beaker walls. You will leave the stir plate on until your titration is complete. If you do not have a magnetic stir plate, you can agitate the beaker by hand by gently swirling it 4-5 times before placing it under the burette.
Place the beaker under the burette. The burette should be centered over the beaker. The tip should not be touching any of the beaker walls.
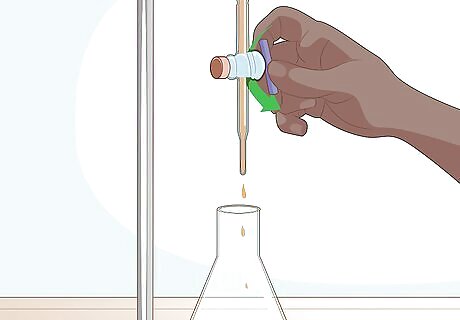
Slowly open the stopcock so that the titrant drips out of the burette. The titrant should come out of the burette drop by drop. Allow the titrant to drop into the analyte until you notice a color change in the beaker solution. The color change may be slight, so proceed slowly and watch carefully. If you notice a color change, close the stopcock and allow the agitator to run for 30 seconds. If the color dissipates before the 30-second mark, open the stopcock slightly and continue to add the titrant drop by drop until you get a permanent change. If you’re not using a magnetic stir plate, close the stopcock once you notice the first flash of color change. Agitate the beaker to see if the color dissipates. If it does, replace the beaker under the burette and continue the titration. If it does not, you’ve reached your endpoint.
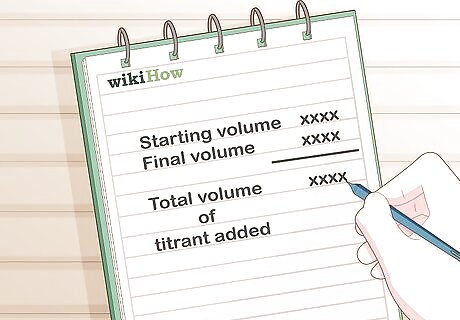
Record your final volume from your burette. Once you’ve reached the endpoint of your titration, close the stopcock and record the final volume of your titrant in the burette. Subtract your final volume from your starting volume to get total volume of titrant added. When reading the end volume of your burette, make sure your eyes are at the level of the titrant meniscus. Take your reading from the meniscus.
Finishing Your Analysis
Dispose of the chemicals used in a labeled waste container. Once you have completed your titration, empty out your beaker, your burette, and any other glassware you used into appropriate containers. If you are unsure of where these are, ask your instructor or lab director.
Clean your glassware by rinsing them with water. If possible, used deionized water to rinse out your glassware. If deionized water is not available, tap water will work. Swirl the water around your beakers and flasks a few times before draining it. Repeat the rinse 2-3 times for every piece of glassware. For your burette, fill it with water, open the stopcock, and allow it to drain completely. Repeat this 2-3 times to rinse out the burette.
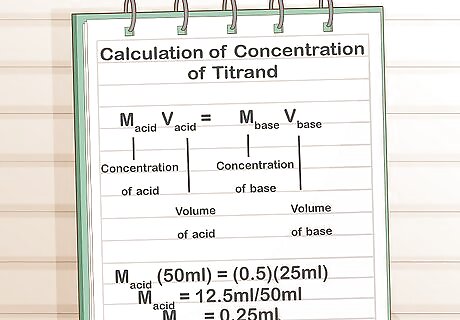
Calculate the concentration of the titrand. Every type of titration will require a different calculation to determine the concentration of titrand in your analyte. Perform your titration calculations or check a titration curve for your specific titrand to quantify your results. Calculations of the concentration should be done to the appropriate number of significant figures. Ask your instructor or lab director if you’re unsure of what these may be. EXPERT TIP Anne Schmidt Anne Schmidt Chemistry Instructor Anne Schmidt is a Chemistry Instructor in Wisconsin. Anne has been teaching high school chemistry for over 20 years and is passionate about providing accessible and educational chemistry content. She has over 9,000 subscribers to her educational chemistry YouTube channel. She has presented at the American Association of Chemistry Teachers (AATC) and was an Adjunct General Chemistry Instructor at Northeast Wisconsin Technical College. Anne was published in the Journal of Chemical Education as a Co-Author, has an article in ChemEdX, and has presented twice and was published with the AACT. Anne has a BS in Chemistry from the University of Wisconsin, Oshkosh, and an MA in Secondary Education and Teaching from Viterbo University. Anne Schmidt Anne Schmidt Chemistry Instructor Titration labs culminate chemistry learning. Titration labs are a favorite because they bring together so many concepts. Students get to apply claim, evidence, reasoning in experiments with engaging, colorful results. It's a culmination of chemistry learning in action.


Comments
0 comment