
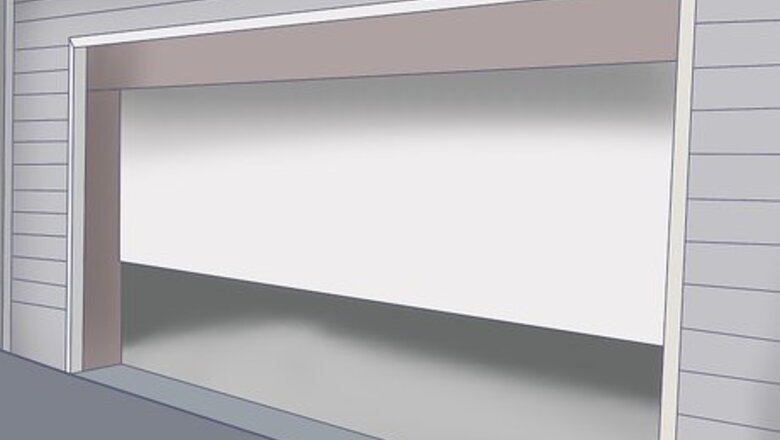
Find a suitable location. Find an area that is large enough to house the car and is very well ventilated. A good suggested area would be an open garage, but if that is not possible, outside under in the shade is a good idea. Avoid direct sunlight.
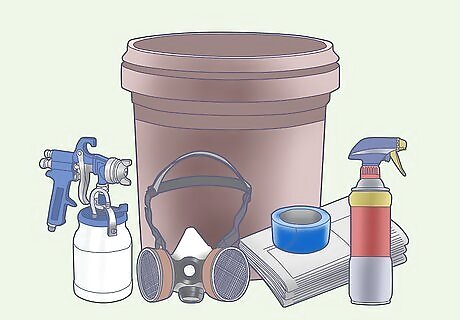
Gather materials. Gather the materials needed listed in the Things you’ll need section.
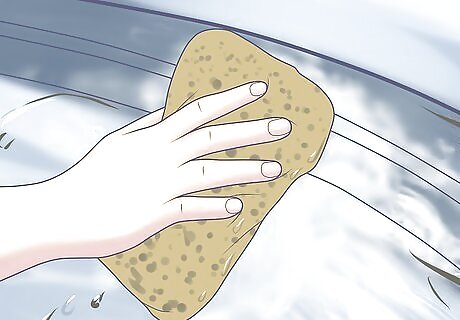
Properly wash and clean the surface. Before applying any type of plasti dip to the car, it must be clean. The plasti dip is an overlay so it will form a separate layer on top of any surface as well as dirt, raised surfaces, or bird poop found on the car. In other words, you want a clean surface to work with.
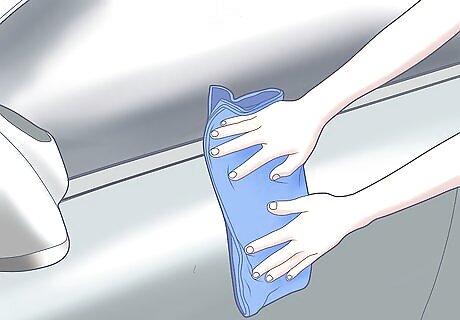
Surface MUST be dry. After cleaning the area, dry it with a cloth of your choice. Try using a Meguiar's Water Magnet Drying Towel, but you can use any terry towel. Avoid using shirts with designs or logos and paper towels.These will create scratches.
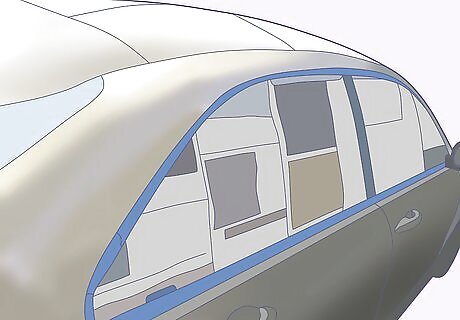
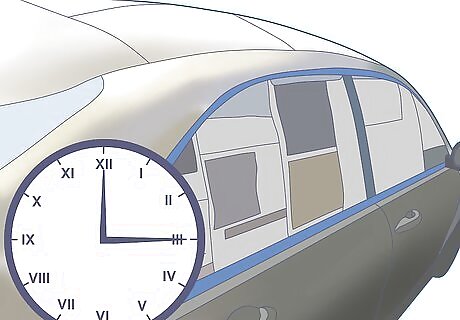
Prepare the area. Although plasti dip is already easy to remove, you would want to prepare the area. Preparing the area you wish to apply the plasti dip reduces the hassle of removing the over spray later. Using painters tape and newspapers, cover windows and any designated area that you do not want to get plasti dip on.
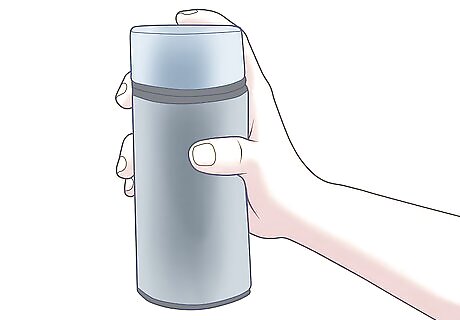
Shake the can. As with any spray-on material, it will need vigorous shaking. Shake the can for one minute.
Paint in sections. Painting in sections will allow for the fastest time (6-8 hours) through this process. For example, add a first layer to the hood, while the hood is drying add a first layer to the roof, etc. You do not need to start on the hood. You may start wherever you like. Important note! do not touch Plasti dip on the car at any point in time during the process as to avoid any mis-painted spots. Plasti dip is safe to touch after curing. It is recommended to wear a mask and eye protection.
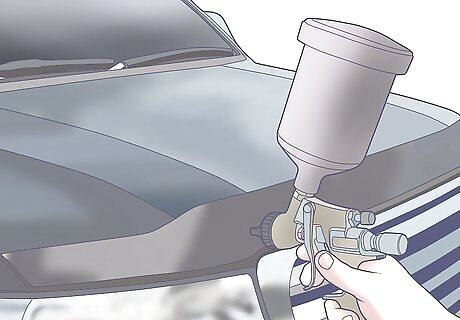
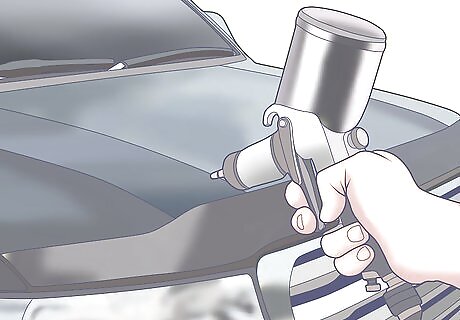
Spray the first layer. It is very important that this layer is a light dusting because the first layer is the bonding layer meaning it will be a 50 - 60% transparency. This will allow the rest of the layers to bond and stick to the paint. Spray in a clean sweeping motion, making sure to hold the can 6–8 inches (15.2–20.3 cm) away from the area. Allow plasti dip to dry 15-30 minutes depending on climate, before adding the next layer.
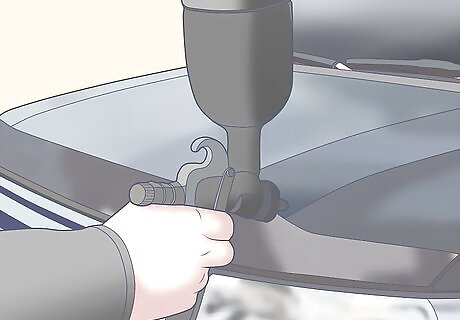
Spray additional layers. Increasing the layers on top of the first will only increase the durability of the plasti dip. The average number of layers is 4-5. Any additional amount of layers is up to personal preference. The layers after the first will be light layers in which you will fully coat the area. Spray in a clean sweeping motion, making sure to hold the can 6–8 inches (15.2–20.3 cm) away from the area. Remember Allow 15-30 minutes of drying time in between each layer.

Tape/newspaper removal. After the final layer is applied, immediately remove any painter's Tape or newspaper that may have been used, from the immediate area, and toss in the trash. Remove before plasti dip dries.
Cure time. At this point the plasti dip will take four hours to fully cure. At ALL costs, avoid any form of liquid, or any substance that may cause damage to the area. It may ruin the curing process.
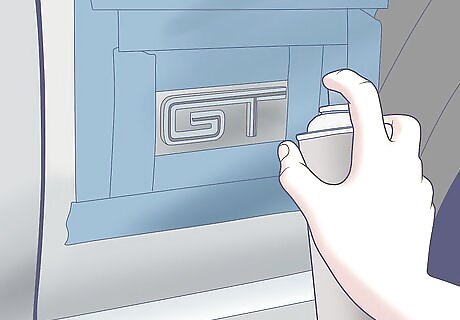
Spray car accessories. For car accessories such as emblems and the grille, repeat steps 1 - 11. Spray onto emblems or grille only. important note - if the car is currently in the curing process, wait until car is fully cured before preparing the area. Spraying the car accessories can be done while painting the main body of the car.

Plasti dip rims. The cleanest way to apply plasti dip your rims is to remove the wheels completely from the car. Follow respective car manual on how to remove entire wheel from car. Repeat steps 1-11 for the rims. It is completely optional to cover the rubber of the wheel as plasti dip is easily removable. But covering the rubber ensures easy clean up. (Wranglerforum.com)


Comments
0 comment