views
X
Research source
To maintain your wheels (and, possibly, your health), make cleaning your wheels a regular part of your vehicle's maintenance.
Preparing To Clean
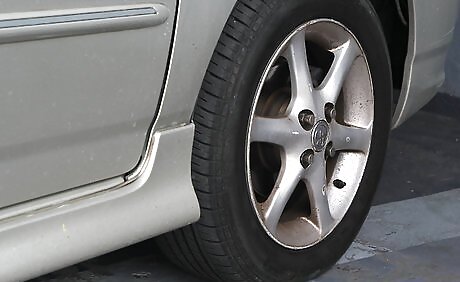
Park on a safe, flat surface with good drainage. Put your vehicle in park with the emergency brake up. Don't park on a steep slant like a hill. Although unlikely, rolling is always a concern with any sort of vehicular maintenance. Since you'll be using soap or commercial wheel cleaners for this method, you won't want to park somewhere where your rinse water will run into a storm drain. Instead, try parking on your lawn — the grass will absorb the water and chemicals without polluting your area's water supply.
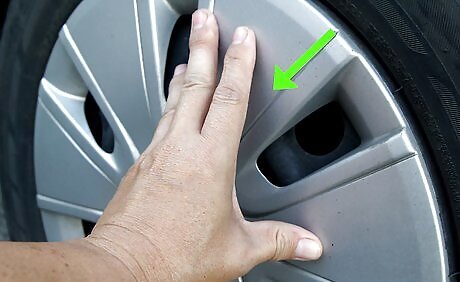
Remove the hubcaps from your vehicle's wheels. Most modern hubcaps can be removed by prying them off with your fingers or a wide-tipped removal tool. However, some select types of hubcaps are secured by lug nuts or plastic screws. If you're unsure which type of hub caps you have, consult your owner's manual. Trying to pry off bolted-on lug nuts can break or crack them. The hubcaps can (and should) be washed, rinsed and dried separately from the aluminum wheels. Don't forget to wash the insides of the hubcaps — brake dust also settles here.
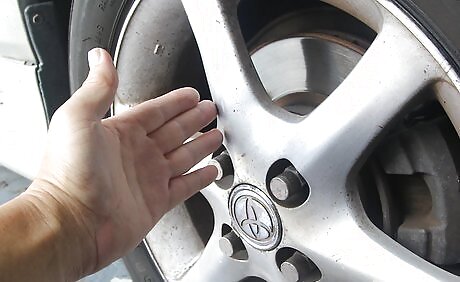
Make sure the wheels are cool before beginning. The process of braking generates intense friction between the brake pad and the disc (or rotor). After heavy braking, this can cause the disc or other parts of the wheel to become quite hot. If you've just driven your vehicle, give your wheels a chance to cool off and prevent painful burns. To determine whether or not your wheels are hot, carefully move the back of one hand toward the wheel once the hub caps are off. Back off and give your vehicle a few minutes to cool down if you feel any radiating heat. Note that excessive heat after driving can be a sign of problems with your breaks. Consider having your brake pads examined if you notice major heat radiating off of the wheel.
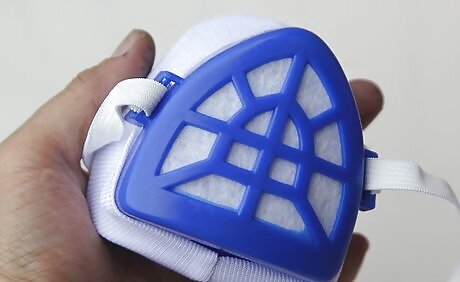
Consider putting on a face mask and gloves when working around brake dust. It's important to note that there is some evidence that, over time, exposure to brake dust can contribute to a type of cancer called mesothelioma. However, the link is not yet well-understood and it is thought that the cancer-causing effects may be limited to asbestos-containing brake pads. To be safe, you may want to consider wearing a basic surgeon's mask and protective gloves whenever you're working with brake dust. However, no matter which precautions you take (or do not take), a single exposure to brake dust is very unlikely to lead to cancer.
Cleaning Your Wheels
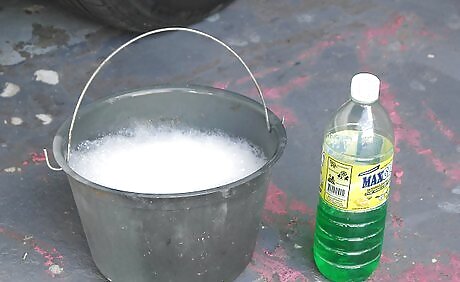
Make a mixture of warm, soapy water. For a cheap, easy brake dust cleaner, try mixing soap and warm water. Squirt a teaspoon or so (about 20 milliliters) of dish detergent into a bucket and add warm water from the sink. Briefly stir the mixture a few times with your hand or a stick before beginning.
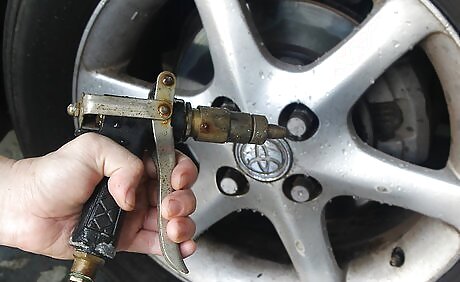
Give the wheels a quick rinsing. Spray the aluminum wheels with water from a hose (not your soapy water) to loosen accumulated grit and grime. Removing this unwanted material now prevents it from scratching your wheels while you scrub. For extra power, screw a hose attachment onto a hose and use the "jet" setting.
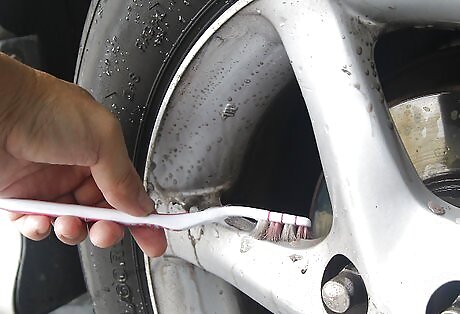
Scrub the brake dust off the alloy wheels. Next, grab a small hand brush. Dip it in your soapy water and start to scrub the wheel. The brake dust should come off fairly easily, but it may take some light pressure to remove built-up deposits. Be patient and take your time, being sure to scrub every inch of your wheels — don't forget the inside surfaces, which can be easy to see if you have open-spoked wheels. The best brushes for this job are small, maneuverable automotive brushes with soft or medium-stiff bristles. Some auto stores sell "wheel brushes" specifically made for this task which look somewhat like toilet-cleaning brushes. A toothbrush or an infant bottle washer work well for those hard to reach areas of the wheel. Don't use a stiff, harsh brush (like the steel-bristled kind you may use to clean your grill). These brushes can scratch and mar your wheels' aluminum finish.
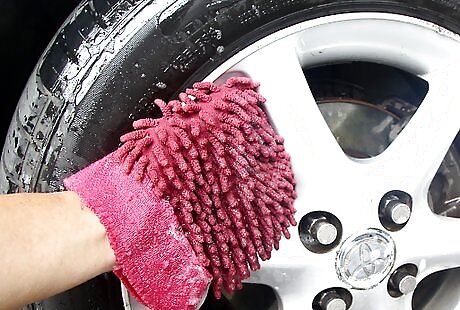
Consider using a washing mitt. One cleaning accessory you may want to consider to make your job easier is called a washing mitt. This looks like a rubber mitten with a brush attached to the fingers. Some vehicle maintenance experts claim these make it easier to clean in wheels' hard-to-reach cracks, while others prefer traditional brushes. If you're looking to experiment, cleaning mitts are usually available for quite cheap at auto repair stores — usually not much more than $10 or so.
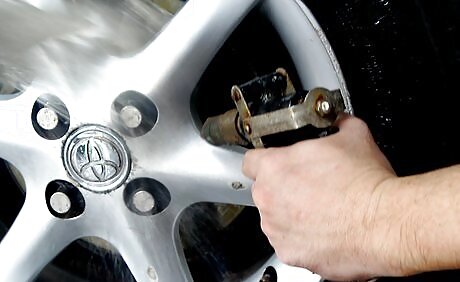
Rinse each wheel, removing all soap residue. When you've given your vehicle a good scrubbing, hit it with the hose to remove the dust and any soap suds. Repeat for each wheel as you clean them. It's usually faster to scrub all of your vehicle's wheels, then rinse them, rather than scrubbing and rinsing each individually, because you don't spend as much time switching between the scrubbing tools and the hose.
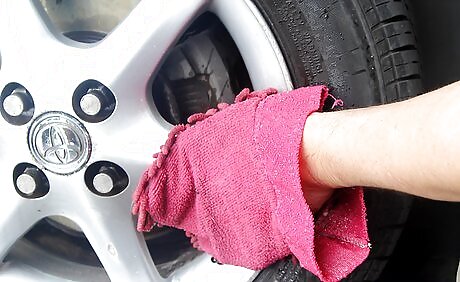
Repeat the scrubbing process as needed. After you rinse, you may notice that you missed a few spots on your wheels. If this is the case, simply scrub and rinse again until you're satisfied with your result!
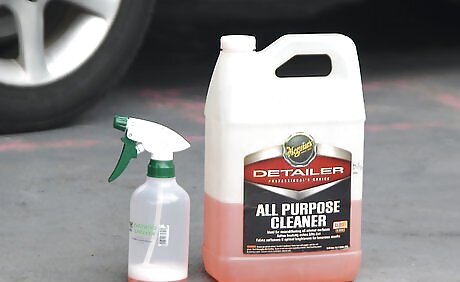
Grab a can of a suitable wheel cleaner. Commercial wheel-cleaning fluids (usually sold for less than $10) work well for removing accumulated brake dust. However, before you buy a can of wheel cleaner, be sure to read the label — some cleaners are formulated only for wheels made of certain types of metal and can actually damage the finish if used incorrectly. In a study, Consumer Reports found that Eagle One, Meguiars, and Mothers brand products were among the most effective at cleaning wheels. However, the same study noted that Zep Industrial Purple Cleaner & Degreaser (an all-purpose cleaner) worked even better.
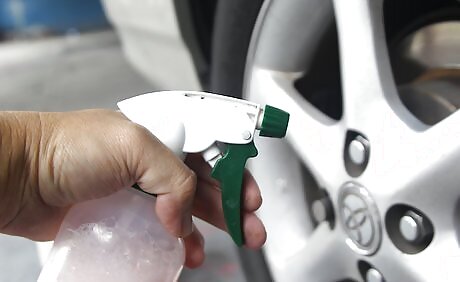
Spray the cleaner directly onto the wheel. Spray your wheel cleaner onto the wheel (or apply as directed). Be sure to cover all areas of the wheel that you wish to clean. Note that certain types of wheel-cleaning fluid will advise you to wear eye, mouth, and hand protection and not to breathe in the product's fumes. If you are unsure whether you are adequately protected, consult your product's label.
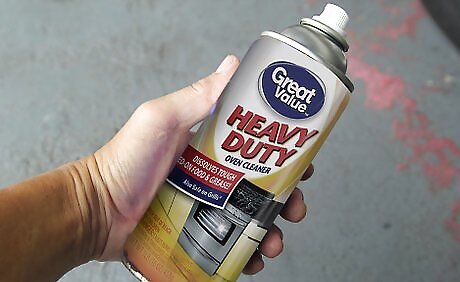
Consider using oven cleaner. If you don't want to spend the money on wheel cleaning fluid or you simply can't find a product that's right for your vehicle's wheels, you may want to consider using oven cleaner. According to some amateur sources, oven cleaner is comparable to commercial cleaners in terms of its ability to remove built-up grime and brake dust from wheels. Note, however, that oven cleaner is not specifically designed to be used on metal wheels. Thus, it's possible that using oven cleaner may have negative effects on your wheels' finish, so use caution if you're especially concerned about your wheels' appearance.
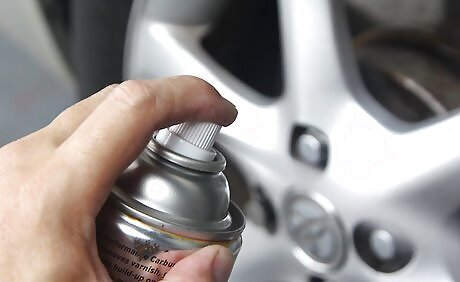
Allow the cleaner to "soak in". Once you've applied your wheel cleaner, give it a few minutes to loosen the brake dust. The recommended waiting time may vary from product to product — consult your product's label for more information.
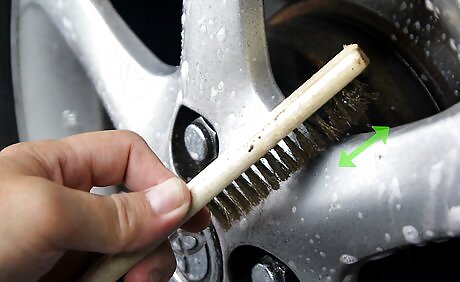
Scrub with a cleaning brush. After the cleaner has soaked into your wheel, start to scrub it off. While you can do this with anything from an old rag to a toilet-cleaning brush, automotive wheel brushes typically work the best. As noted above, you'll want a soft or medium-bristled brush for this job. Any stiffer and your brush may scratch or mar your wheels' finish.
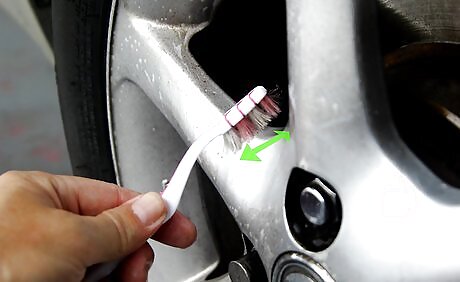
Rinse and re-apply as needed. Just as with the soap and water method above, you'll want to rinse your wheels with a hose after scrubbing them, taking care to remove any excess foam or suds. As noted above, don't let the rinse water drain into a storm drain, as wheel-cleaning chemicals can be harmful to local water supplies. Rinsing may reveal spots on the wheels that you missed. If so, don't be afraid to apply a second coating, scrub, and rinse again.
Finishing Up
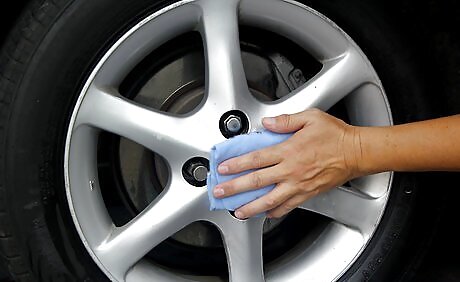
Dry each wheel immediately. Once you're happy with the way your wheels look, don't wait to dry them off. If you do, small water droplets may dry on them, giving them an unappealing, spotty appearance. You've just worked hard to get your wheels looking great, so don't forget this crucial step! The best towels for this job are older, worn-out terry cloth towels or all-purpose cleaning wipes. You want a soft towel so that you don't leave swirl marks, but high-quality towels (like those made from microfiber) can be ruined by using them on wheels, even after they're clean.
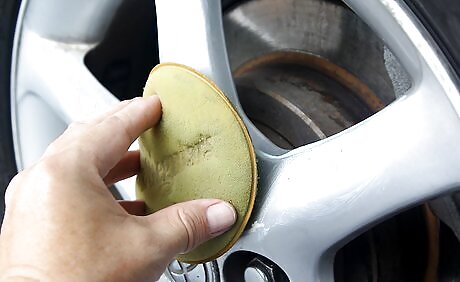
Consider applying a wax for long-term protection. A high-quality paste wax can help keep your wheels in tip-top shape by preventing brake dust from building up and causing pitting in the future. Before you replace your hubcaps, consider waxing your wheels — it doesn't take long and it's a good long-term investment. For maximum protection, re-wax your wheels every six months as part of their regular maintenance.
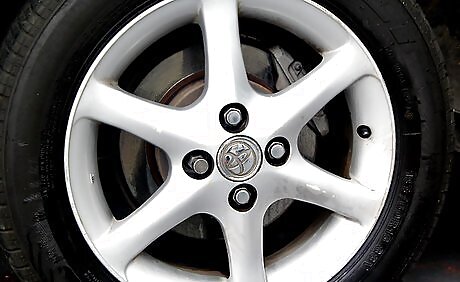
Replace each hubcap. After you have finished washing, rinsing and drying the wheels, you're more or less done. Replace your vehicle's hub caps (which you may want to soak and clean separately) to finish this job.










Comments
0 comment