views
Choosing an Epoxy Stripper
Opt for a methylene chloride stripper. Since epoxy paint is strong and resistant to wear and tear, removing it with a typical paint thinner will not work. Working with a stripper that contains methylene chloride, also called dichloromethane, will work best for removing epoxy paint. These can be found at home improvement stores, industrial suppliers, and various online retailers. Methylene chloride is a carcinogen and can cause respiratory, eye, and skin irritations. In addition, exposure to high concentrations can cause dizziness, confusion, headache, nausea, and even unconsciousness and death. It is important to follow the safety measures and instructions provided with the product.
Consider using a caustic stripper. Caustic strippers are also an effective option for removing epoxy paint. These products work to break down the chemicals in the paint. They typically take longer to remove paint than methylene chloride strippers, but they carry fewer health risks. If the surface you are working with has several, thick layers of epoxy paint, consider using a caustic stripper. Caustic strippers should not be used to remove epoxy paint on wood since they can break down the fibers in the wood and attract moisture.
Use acetone to remove epoxy paint on smaller surfaces. Acetone is a solvent that can help lift away epoxy paint on small surfaces. Acetone evaporates quickly, so it will not work on larger surface areas. Soak a small plastic object in a plastic container that is filled with acetone. While wearing gloves, use a washcloth that is soaked with acetone to rub away paint after soaking. Acetone is highly flammable. Be sure to use this product in a safe environment away from an open flame. Purchase acetone online or at your local home improvement store.
Using Epoxy Strippers Safely
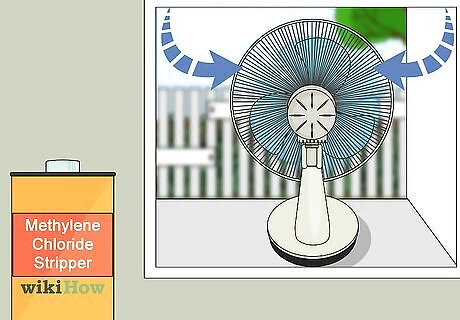
Use a fan to circulate the air. When using chemical strippers, particularly methylene chloride, the air in the room must circulate and change 7 to 10 times every hour. As you are working, place a fan behind you so the vapors are pushed away from you. Point the fan toward an open window, or opt to work outdoors. The chemicals in some paint strippers are considered carcinogens, and being exposed to high concentrations in a short period of time can cause confusion, headache, lightheadedness, nausea, and vomiting. Keep the air circulating, and limit your exposure.
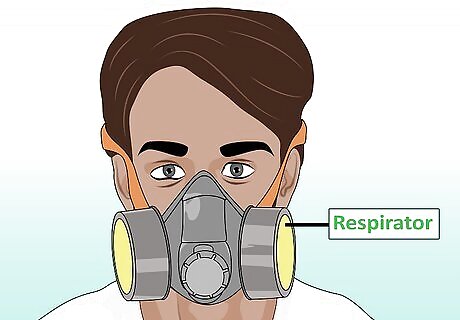
Wear a respirator. A respirator is a device that covers your nose and mouth and helps filter the air you breathe to protect you from toxic gases and vapors. When using chemical paint strippers, it is recommended that you wear a respirator. These devices can run between $40 and $145 at home improvement stores. Some businesses allow you to rent respirators. Talk to an employee at your local hardware shop to see if renting is an option. Dust or particulate masks can protect against dust, liquids, and some fumes, but they do not protect against chemical vapors and gases. In addition, you should also take frequent breaks. Move away from the room or area you’re working in and get some fresh air.
Put on neoprene or butyl gloves. Protect the skin on your hands by wearing chemically resistant gloves made from neoprene or butyl. These gloves can be found online and at your local home improvement store.

Dress in protective clothing. When working with a chemical solvent or stripper, it is important to cover your body and feet with protective clothing. Be sure to wear a long-sleeved shirt and pants to cover your skin. Wear rubber boots to protect your feet in case you drip or spill the product.
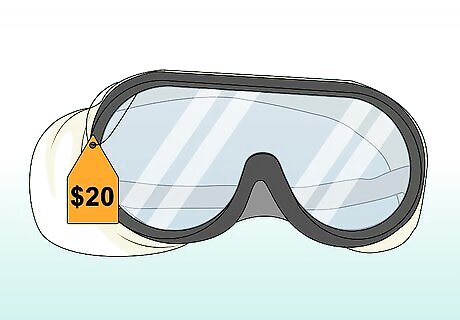
Protect your eyes with splash goggles. The chemicals in the paint strippers can cause eye irritations. Use protective eye goggles to prevent the stripper from splashing into your eye. The goggles also offer protection against the chemical vapors. These can be found for around $20 at home improvement and hardware shops.
Stripping the Epoxy Paint
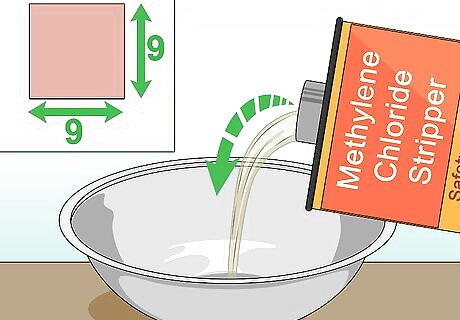
Pour the solution into a metal container. Slowly pour a small amount of the epoxy stripper into a metal container or can. Since the product should be applied incrementally to small surfaces areas, do not pour out a large amount at once. Apply the product to surfaces up to 9 square feet (0.83 square meters).
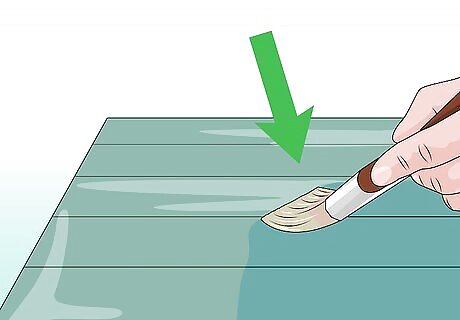
Use a paintbrush to apply the solution. Dip a paintbrush into the stripper. Brush the stripper onto the surface that has been painted with epoxy paint. Be sure to brush in one direction only onto small surfaces.
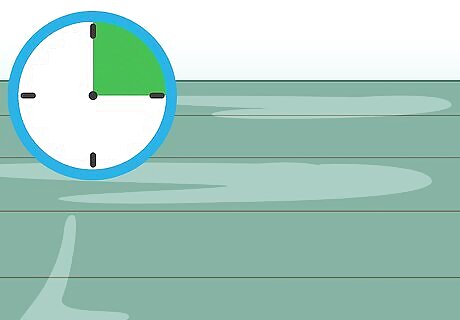
Leave the product on for 15 minutes. The paint stripper should remain on the epoxy paint for about 15 minutes. This will give the product enough time to break down the chemicals in the epoxy. The instructions may vary from product to product. Be sure to follow the suggested time in the instructions. During this time, consider leaving the room to limit your exposure to the paint stripper.
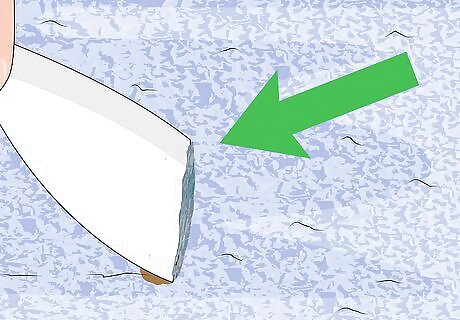
Test to see if the stripper is working. After 15 minutes, use a paint scraper to scratch the surface of the paint. If the paint lifts away, it is ready for removal. You may have to apply multiple coats to fully remove the epoxy paint.
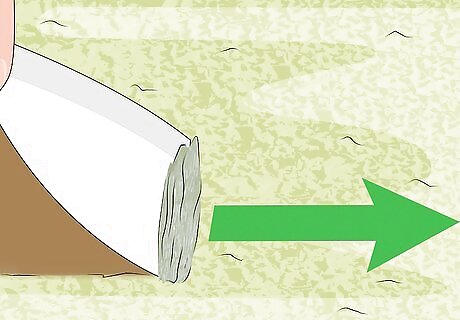
Loosen the paint with a paint scraper. Use a paint scraper to lift away the epoxy paint. At a shallow angle, place the metal blade of the scraper onto the surface of the epoxy paint. Apply pressure and push the scraper away from you to lift up the paint. If you are working with wood, be sure to move in the direction of the wood grain with a plastic scraper to avoid damaging the surface. Consider using a toothpick or a toothbrush to remove the epoxy paint in nooks and recesses.
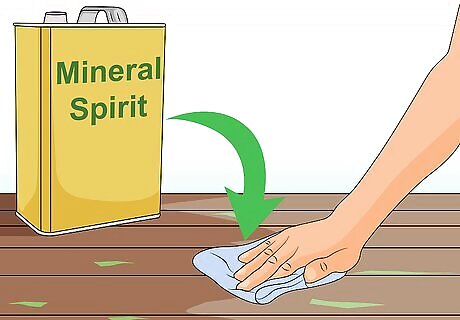
Wash the surface area. After you have removed the paint, wipe the surface area with a damp washcloth or towel to neutralize the pH balance. Caustic strippers can be cleaned with vinegar and water, while others can be cleaned with mineral spirits. If you used a methylene chloride stripper, use mineral spirits to clean the surface as water can damage the surface of wood.
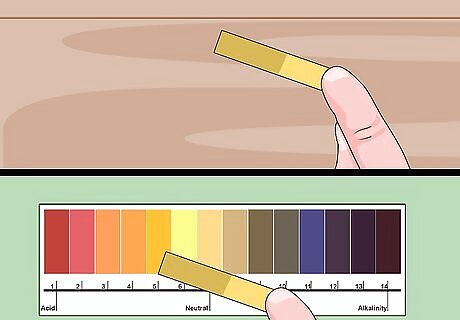
Test the pH level. Paint strippers can disturb the pH balance on a wooden surface, which can cause problems if you wish to repaint the area. Use pH papers to check for a pH level of 7. Place the test paper on the damp surface of the clean surface, and compare the reading on the paper to the pH key provided. If the pH level is too high, wash the area again and test once more in a few days.
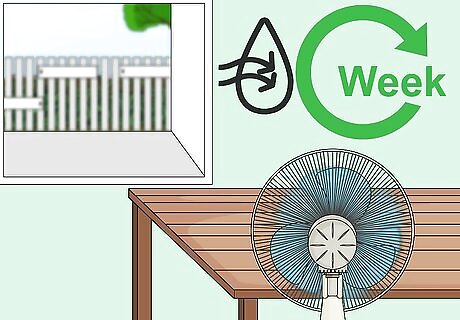
Let the area dry. After you have removed the epoxy paint, let the surface area dry. Point fans toward the surface to help speed up the drying process. Depending on your climate, it may take up to a week to completely dry.
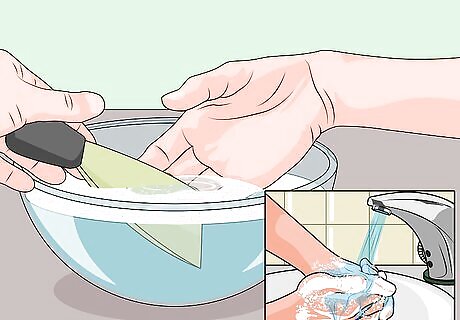
Clean up your work space. Carefully pour any unused stripper back into the container, and wash your tools and work surfaces with water and soap. After removing your protective gloves, wash your hands with cold water and soap. Any rags with flammable chemicals on them should be allowed to air dry and be disposed of in a metal container. Sealing them in a plastic container may cause combustion.
Using Abrasive Power Tools on Flooring
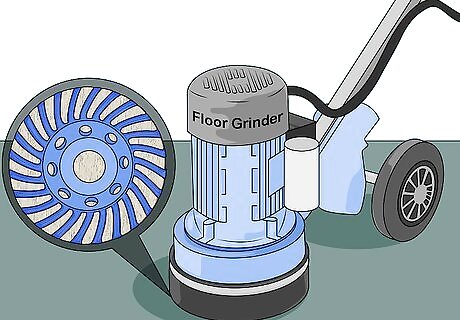
Rent a floor grinder to lift away epoxy. A floor grinder is a tool that uses an abrasive surface to remove paint and dirt while polishing a large area. To remove epoxy paint or coatings from a concrete floor, consider renting a floor grinder at your local home improvement store. A bladed diamond grinder attachment or a diamond cup wheel can help scuff up a concrete surface and remove epoxy.
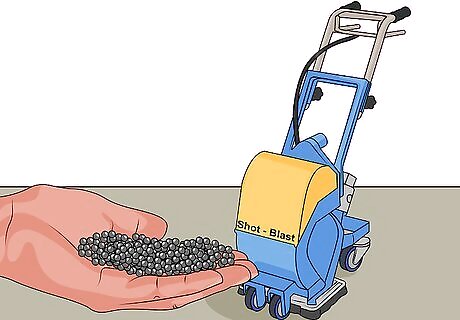
Use the steel shot-blast method to remove epoxy. Shot blasting can help remove epoxy paint from a concrete floor, and it can help prep the surface if you are planning to repaint it. This method removes the paint by chipping it away using tiny steel balls that rebound off the floor at high pressure. The grooves and surface texture that this leaves behind can be polished afterward. Home restoration professionals and industrial flooring companies offer these services. You can also rent these devices at home restoration and hardware stores.
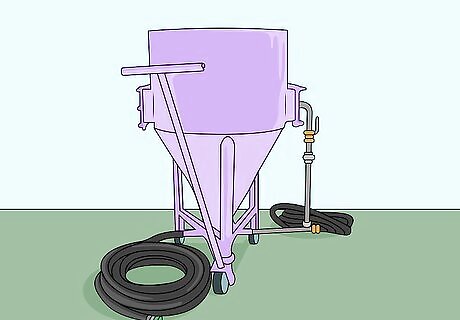
Consider sand-blasting. Sand-blasting is another form of abrasive blasting that can help remove epoxy on concrete or hardwood floors. Compressed air or steam shoots a stream of sand particles over a surface at high speeds to remove the surface coating. You can rent portable sand-blasting equipment at your local hardware store, or you can hire a home improvement professional.
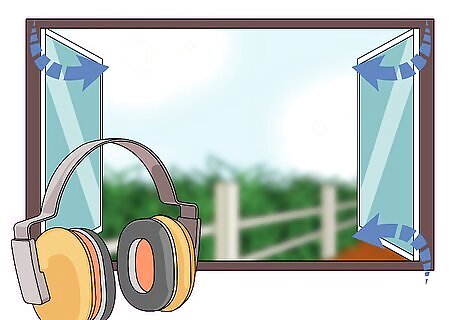
Proceed with caution. With any blast-removal method, it is important to wear protective earmuffs while working as these machines can produce a lot of noise. In addition, the area must be well-ventilated to prevent any toxic particles or chemicals from entering your lungs as you work.
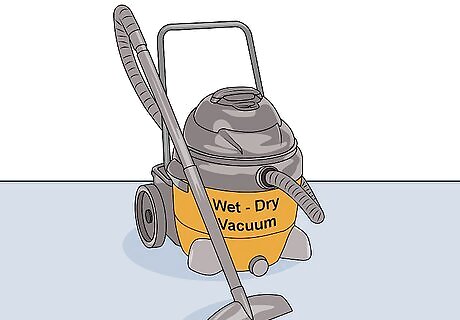
Vacuum the particles. Remove the dust and particles from the surface after blasting by using a wet-dry vacuum. These can be purchased at home improvement stores and range between $30 to $130.
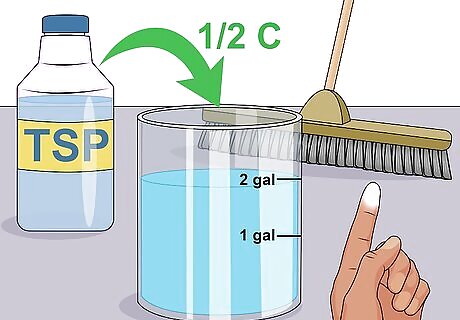
Check for white residue. After vacuuming, run your finger along the floor. If you lift up white residue, then the vacuum did not clean the surface entirely. Vacuum the surface again or pressure wash the floor to thorough clean the surface. If there is a large amount of white residue, mix ½ cup of trisodium phosphate, or TSP, with two gallons of water. TSP is a cleaning agent that can be purchased at hardware stores. Gently scrub the floor with the mixture, or use a push broom to move the mixture along the surface. Use a pressure washer or hose to rinse the surface.


Comments
0 comment