
Diagnosing the Problem
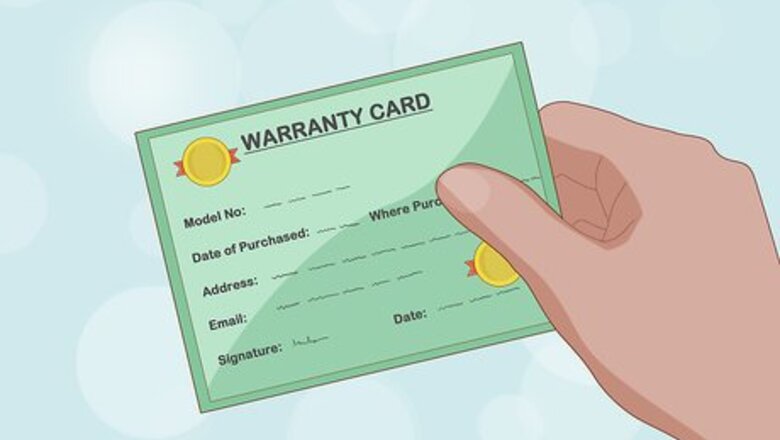
Check your warranty. Most new computers come with at least a year of warranty. If your warranty is still active, contact the manufacturer to have it repaired for free or for a reduced price. Attempting the repair yourself will likely void the warranty.
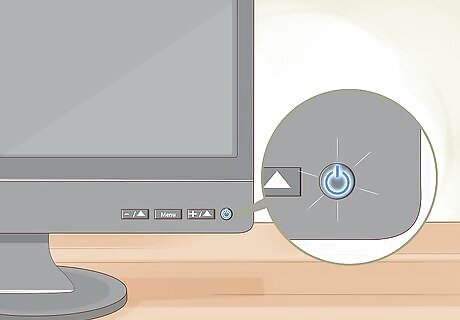
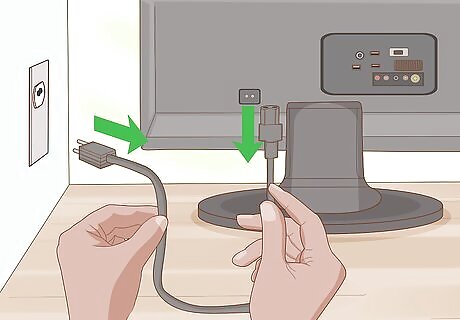
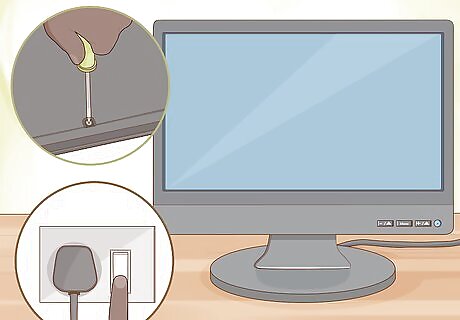
Check the power indicator lights. If your monitor won't display an image, turn it on and watch the lights at the edge of the monitor. If one or more lights turn on, continue to the next step. If the lights won't light up, the power supply is broken (or one of the attachments leading to the power supply). This is usually caused by a blown capacitor. You may repair it yourself, but be aware that the power supply includes dangerous, high voltage components. Unless you have significant electronics repair experience, take your monitor to a professional repair service. Other signs of a blown capacitor include a loud humming noise, lines across the screen, and multiple images. The power supply unit is one of the most expensive components in the monitor. If the problem is more serious than a blown capacitor, the price of repair could be considerable. A replacement may be a better idea if your monitor is getting old.

Shine a flashlight on the monitor. Try this if your monitor just displays a black screen, but the power indicator light does come on. If you can see the image when you point a light at the screen, the monitor's backlight is at fault. Follow these instructions to replace it.
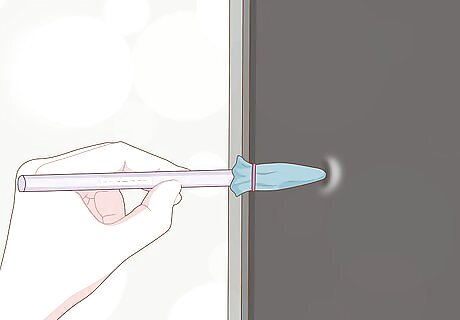
Repair stuck pixels. If most of the screen works but a few pixels are "stuck" at one color, the fix is usually easy. Keep the monitor on and try the following: Wrap a pencil tip (or other blunt, narrow object) in a damp, non-abrasive cloth. Rub very gently over the stuck pixel. Rubbing too hard can cause further damage. Search for stuck pixel repair software online. These conduct rapid color changes to jolt the pixel into working again. Purchase hardware designed to plug into your monitor and repair dead pixels. If none of the above works, you may need to replace your screen.
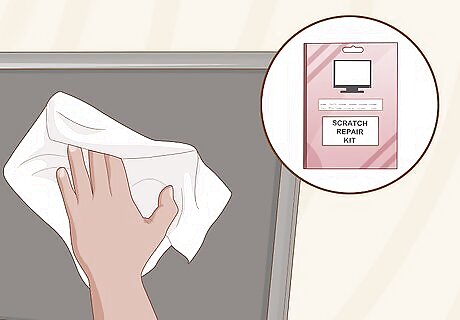
Attempt to fix spiderweb cracks or black splotches. These are signs of physical damage. A monitor at this stage is often beyond repair, and attempts to fix it can end up causing more harm. However, if the screen is not usable in its current state, there's no harm in trying a repair before you look for a replacement: Run a soft cloth or other object over the screen. If you feel any broken glass, do not attempt repair. Replace the monitor instead. Rub the scratch with a clean eraser, as gently as you can. Wipe off the eraser whenever residue builds up. Purchase an LCD scratch repair kit. Read this article for more homemade solutions.
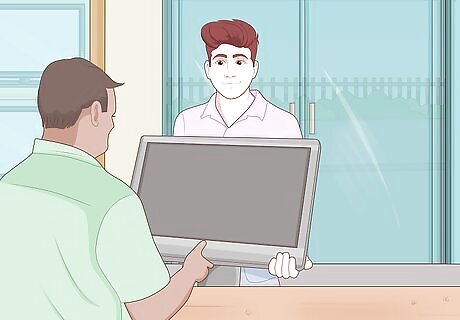
Replace the display. If you're using a standalone LCD monitor, consider purchasing a replacement. This may be more cost-effective than having new components installed in an old monitor with a shorter lifespan. However, if you have a laptop or a relatively new device, purchase a replacement LCD display panel. Hire a professional to install it. The panel serial number should be displayed somewhere on the device, usually on the back. Use this to order a new panel from the manufacturer. While you can attempt to replace the panel yourself, the process is difficult and can expose you to dangerously high voltages. Follow a guide devoted to your specific model, to maximize safety and success rates.
Try other repairs. There are many ways an LCD monitor can go wrong, but the diagnostics above cover the most common problems. Try the suggested fix that matches your problem first. If your problem is not described above, or if the monitor still won't work after the attempted fix, consider these issues as well: If the picture responds to input but displays a messy image, such as jumbled multicolored squares, the AV (audio visual) board may be damaged. This is usually a rectangular circuit board located near the audio and visual cables. Replace obviously damaged parts using a soldering iron, or order a replacement board and carefully install it to the same screws and ribbon cables. The main control buttons may be faulty. Clean them with a metal cleaner, or jostle to attach a loose connection. If necessary, locate the circuit board they are attached to and re-solder any broken connections. Check input cables for damage, or try other cables of the same type. If necessary, inspect the circuit board they are attached to and re-solder damaged connections.
Replacing Bad Capacitors
Understand the danger. The capacitors may hold a major charge even after you disconnect the power. If you handle them improperly, you can receive a dangerous or even lethal electric shock. Take the following steps to protect yourself and your monitor's components: Be honest about your abilities. If you have never replaced a circuit board or handled electronic equipment before, hire a professional. This is not a good repair for beginners. Wear static-free clothing and work in a static-free environment. Keep the area clear of wool, metal, paper, lint, dust, children, and pets. Avoid working in dry or wet conditions. A humidity level between 35 and 50% is ideal. Ground yourself before you begin. You can do this by touching the metal chassis of the monitor, while the monitor is off but plugged into a grounded outlet. Stand on a low-friction surface. Before working on carpet, treat it with an anti-static spray. Wear tight rubber gloves if you are still able to manipulate the components involved.
Disconnect the power. Unplug the monitor. If the monitor is attached to a laptop or other battery-powered device, remove the battery. These steps will reduce the chance of an electric shock. Even if your laptop has a "non-removable" battery, you can usually remove it after opening up the device. Follow an online guide for your laptop model. Some components inside the laptop will continue to hold charge. Use caution and do not touch any component until you have identified it.

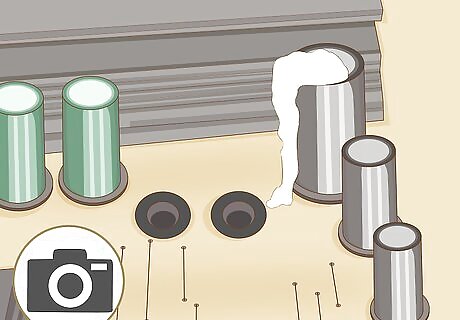
Keep careful track of your progress. Work on a large, flat surface cleared of all other objects. Use small containers to hold each screw and other removable components. Label each container with the name of the component the screw held down, or with the step number from this guide. Consider photographing the monitor before you separate any connections. This will help you fit the monitor back together again.
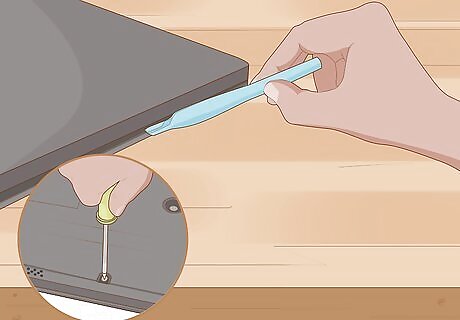
Remove the case. Unscrew the plastic case at each corner, or wherever you see screws holding the back and front frames together. Pry it apart using a thin, flexible tool. A plastic putty knife works well. Prying apart components with a metal object risks destroying them with chipping or an electrical short. A metal object is relatively safe for this initial step, but do not use it for any further steps.

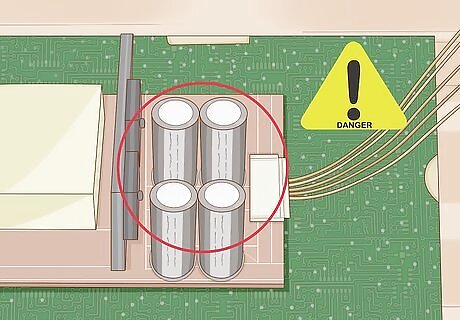
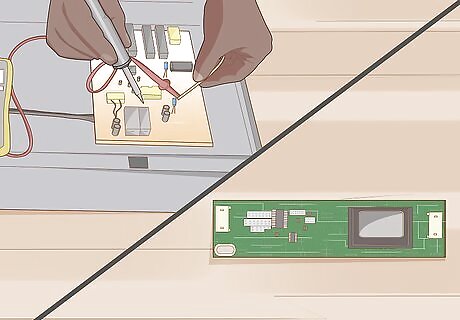
Locate the power supply board. This circuit board usually sits near the power socket. You may need to unscrew additional panels to find it. This circuit board is the one with several cylindrical capacitors, including one large one. However, these capacitors are usually located on the other side, and are not visible until you finish disconnecting the board. If you are not sure which board is the power supply, search online for an image of your specific model. Do not touch any of the metal pins on this board. They may deliver an electric shock.
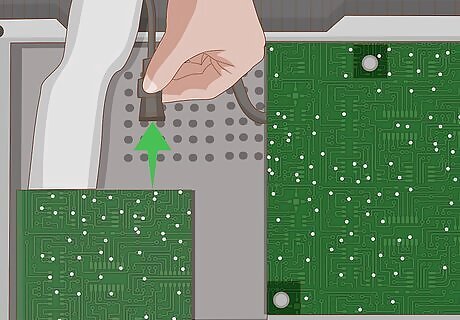
Disconnect the circuit board. Remove all screws and ribbon cables holding the circuit board in place. Always disconnect a cable by pulling directly out of the socket. If you pull a ribbon cable vertically when it is in a horizontal socket, you can easily break it. Some ribbon cables have a small tab you can pull to disconnect them.
Locate and discharge the largest capacitors. Carefully lift the board by the edges, without touching any metal pins or attached components. On the other side of the board, locate the cylindrical capacitors. Each one is attached to the board with two pins. Discharge the stored electricity to reduce the risk of harm, as follows: Purchase a resistor in the range of 1.8–2.2kΩ and 5–10 watts. This is much safer than using a screwdriver, which may create sparks or destroy the board. Put on rubber gloves. Locate the pins attached to the largest capacitor. Touch the two resistor leads to the pins for several seconds. For best results, test the voltage between the pins with a multimeter. Use resistor again if significant voltage remains. Repeat with each of the largest capacitors. The smaller cylinders cannot typically cause serious harm.
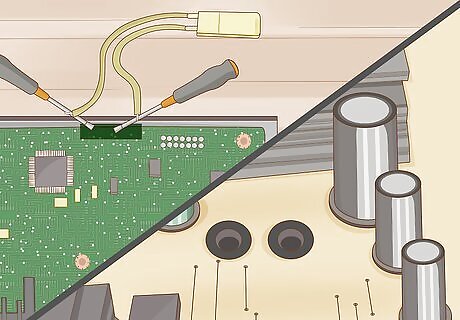
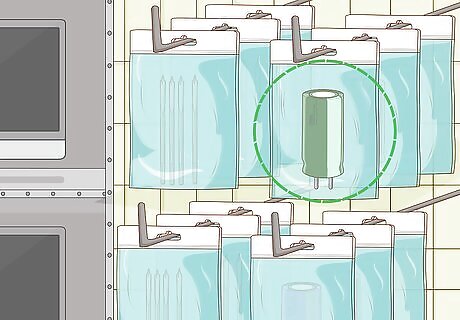
Identify and photograph broken capacitors. Look for a capacitor with a domed or bulging top, instead of a flat one. Check each capacitor for leaking fluid, or a crusty buildup of dried fluid. Before removal, photograph or record the position of each capacitor and the markings on its side. It's very important that you know which pin attaches to the negative side of the capacitor, and which to the positive. If you are removing more than one type of capacitor, make sure you know where each one goes. If none of the capacitors look damaged, test each one with a multimeter set to resistance. Some capacitors are shaped like small discs instead of cylinders. These rarely break, but check to make sure none are bulging outward.
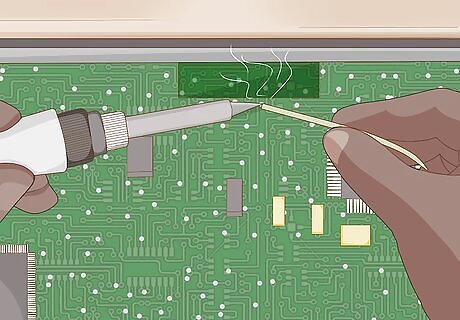
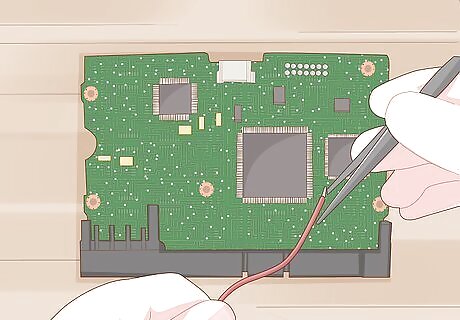
Desolder broken capacitors. As described in the linked article, use a soldering iron and desoldering pump to remove the pins connecting faulty capacitors. Set aside the broken capacitors.
Purchase replacements. Any electronics supply store should sell capacitors at very low prices. Look for a capacitor with the following attributes: Size — identical to the old capacitor Voltage (V, WV, or WVDC) — equal to the old capacitor, or slightly higher Capacitance (F or µF) — equal to the old capacitor
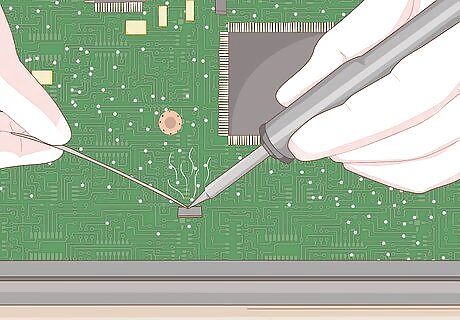
Solder the new capacitors. Use your soldering iron to attach the new capacitors to the circuit board. Make sure to connect the negative (striped) side of each capacitor to the same pin that was attached to the negative side of the old capacitor. Check that all new connections are solidly connected. Use soldering wire suitable for electronics. If you've lost track of where the capacitors were located, look online for a diagram of your model's power supply board.
Fit back together and test. Reattach all cables, panels, and components exactly as they were before. You may test the monitor before screwing in the final plastic panel, as long as all other parts are connected. If it still doesn't work, you may need to hire a professional or buy a replacement.
Replacing the Backlight
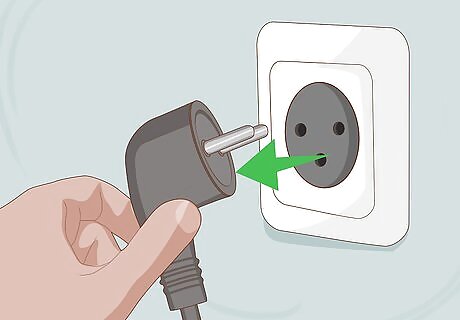
Disconnect the power source. Unplug the monitor or remove the battery from the laptop.
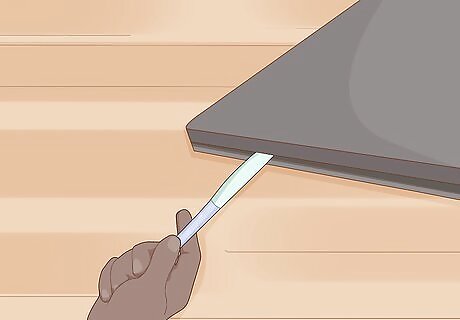
Open up the monitor. Unscrew the plastic case at each corner. Carefully pry apart the case with a plastic putty knife. Detach all components attached to the display panel, noting where each one goes.
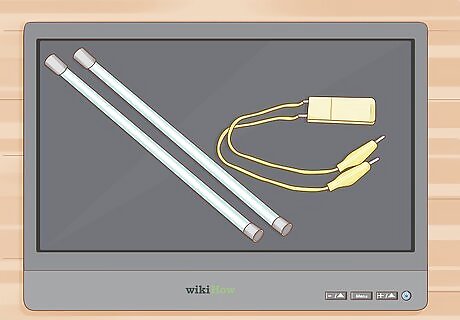
Locate the backlight. These glass lights should be just behind the glass display. You may need to unscrew additional panels or gently pull back flexible covers in order to find them. Some components can deliver a dangerous electric shock. Do not touch any circuit boards during your search, unless you are wearing rubber gloves.
Purchase exact replacements at an electronics store. If you're not sure what types of light they are, take a photograph and show it to the store employee. Measure the size of the lights as well, or note the size and model of your monitor.

Remove old lights and insert new ones. Use caution if the backlight is a cold cathode fluorescent light (CCFL). These contain mercury and may require special disposal according to local laws.
Try additional repairs. If the monitor still won't light up, the problem may be with the circuit board powering the backlight. This is called an "inverter" board, and is usually located near the backlight, with one "cap" for each strip of lights. Order a replacement and carefully replace this component. For best results and minimum risk, follow a guide dedicated to your specific model. Before you try this, confirm that the monitor still produces a visible image when you shine a light on the screen. If it has stopped displaying an image entirely, you may have not connected it correctly after the light replacement. Check thoroughly for loose connections.


Comments
0 comment