
views
Sanding and Taping the Banister
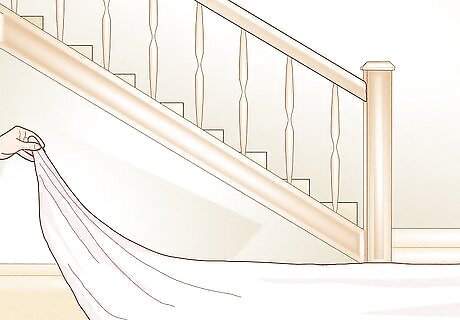
Use 1-3 drop cloths to cover the area surrounding your banister. Stretch your drop cloths so they lay flat, and place them across your stairwell and floors. This way, your surfaces will be covered if any paint splatters.

Rub 220-grit sandpaper lightly across all of your banister. Lightly sanding all of your banister helps the stain adhere to the wood. To do this, grip the sandpaper in your hand and move it back and forth very quickly. For example, sand the base, spindles, and hand rail. In addition, sand off any rough, uneven spots in the wood. This helps the surface look even and smooth.

Wipe down the banister with a wet cloth to remove any dust or debris. Wet a clean washcloth with water from your faucet, and run it over the sanded areas. It is helpful to wipe down the entire banister so you don't miss a spot. This gets rid of any dust particles or wood debris so they don’t get caught in the stain. If dust gets caught underneath the stain, it may add an unwanted texture to your banister.
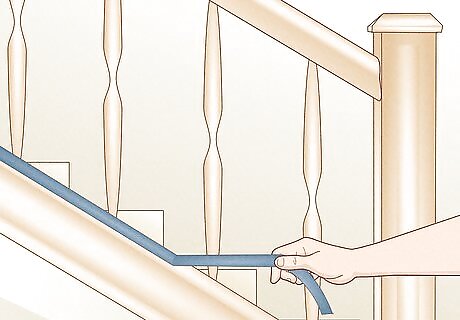
Apply pieces of tape wherever you don’t want stain. Painter’s tape protects the surface underneath from paint or stain. Rip pieces of tape about 6–12 in (15–30 cm) long, and stick them where the banister meets the wall, carpet, or floor. For example, rip a long piece of tape and place it on your carpet where it meets the stairs. That way, no stain will wind up on your carpet.
Applying the Stain
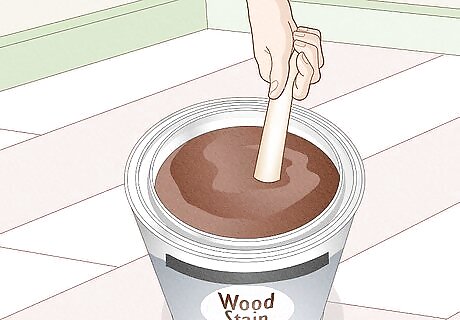
Stir up your stain with a paint mixer. To do this, dip a paint mixer into the middle of the container, and swirl it around in a circle. Some stains have a slightly thick consistency. If you stir up your stain, it makes it easier to apply an even, smooth layer.
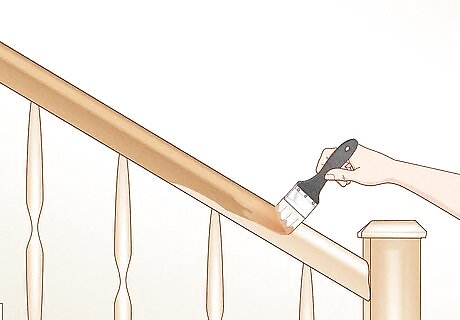
Apply an even coat of stain to the banister using a medium-sized brush. After you mix up the stain, dip the tip of your brush into the liquid. Cover about ⁄8–⁄6 in (0.32–0.42 cm) of the tip with the stain. Then, apply an even, thin layer of the stain to all of the banister. Paint the railing, spindle, and base. Alternatively, you can use a cloth or sponge in place of a paintbrush. If you want a thin, light stain, only apply 1 coat. This looks good for natural wood looks, for example. You can add more coats of stain, based on personal preference.
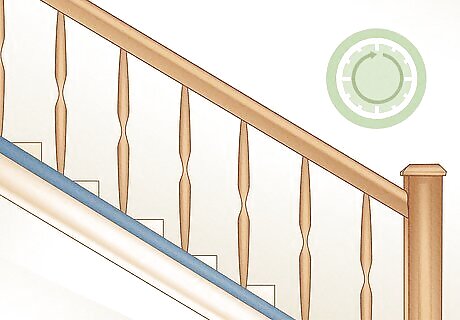
Let the first coat dry for 24 hours before applying additional coats. You can apply additional coats if you want a darker or more solid appearance. Once the first coat is dry, dip your brush back into the stain and paint another layer over the railing, spindle, and base. Then, let the second coat dry for 24 hours. Stain takes awhile to completely dry, but waiting until it dries ensures a smooth, through application. Do this if you want an almost black banister with little visible wood grain, for example.
Adding Paint
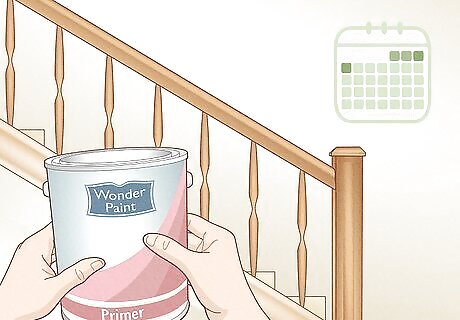
Paint parts of your banister after the stain sets for 2-4 days. If you want a two-toned banister look, you can paint the spindles and/or base. Applying the stain before you add paint helps the paint adhere to the wood. For example, painting the spindles and base white if you have a dark stain looks attractive and modern.
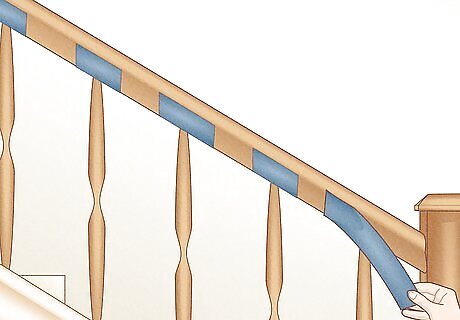
Tape around the banister to protect surfaces from the paint. Before you add paint, use painter’s tape to protect your banister. Use pieces of tape about 6–12 in (15–30 cm) long, and place them along your banister and walls. This way, your freshly stained banister will not get paint smudged on it. If you are painting the spindles, apply tape around each of their bases. If painting the base of the banister, put the tape where it meets the wall.
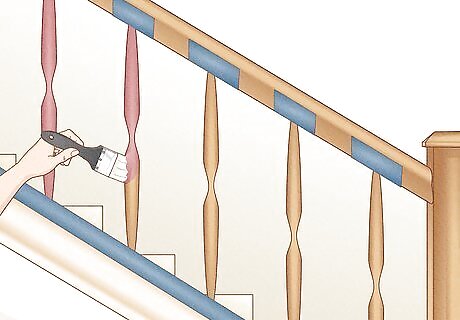
Apply a light, even coat of primer to the areas where you want to paint. Mix up your primer with a paint mixer, and dip your medium-sized paint brush into the primer. Then, apply a light, even layer only to the areas where you want to apply paint. Using primer ensures you cannot see the wood grain from underneath the paint. Primer also makes it easier to apply your paint. You can paint the spindles and base of the banister, for example.
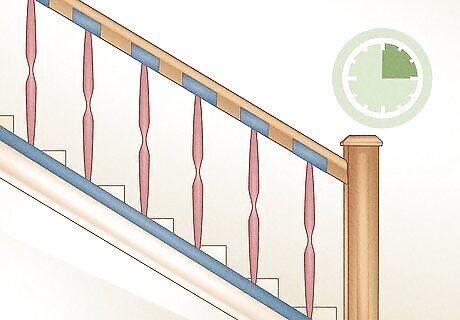
Let the primer dry for at least 3 hours. It is best to let the primer completely dry before you apply the paint. Each primer varies in the time it takes to dry, but on average primer dries entirely in about 3 hours.
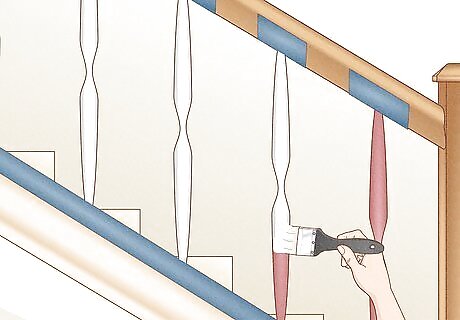
Paint an even layer of indoor paint over the primed areas. After your primer is dry, dip your brush into the indoor paint and apply it to the areas where you applied primer. Be sure to get all of the edges, and use your brush to wipe up any additional paint.

Let each coat dry for 1-2 hours before applying more paint. Once your first layer of paint is dry, you can apply 1-2 more coats as desired. To do this, dip the tip of your brush into the paint, and lightly brush an even coat across your primed areas. If applying a third coat, let the second coat dry for at least 1 hour. Adding more layers of paint results in a more solid appearance.
Sealing the Banister
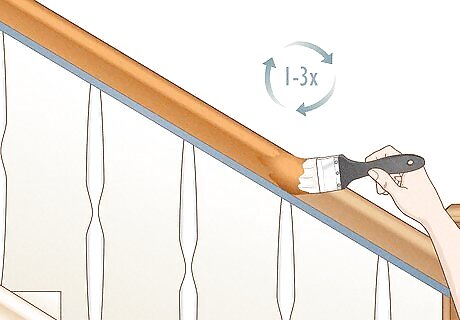
Paint 1-3 even coats of varnish over the banister. Varnish adds a shiny look to your banister, and it helps preserve and protect the stain and/or the paint. Once your stain or paint is dry, dip the tip of your medium-sized paintbrush into the varnish, and apply an even, smooth layer across each part of your banister. Let the coat dry for 3-4 hours, then apply 1-2 additional coats if you’d like. While 1 coat of varnish will adequately protect your paint job, add another layer if you want a very shiny, finished appearance.
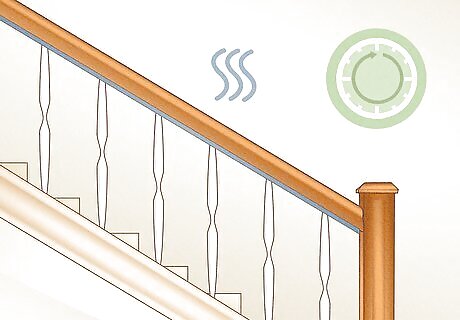
Let your banister dry for 24 hours. Once you apply your varnish, leave your banister undisturbed for about 1 day so it can fully dry. After 24 hours or so, your banister’s paint job is finished.
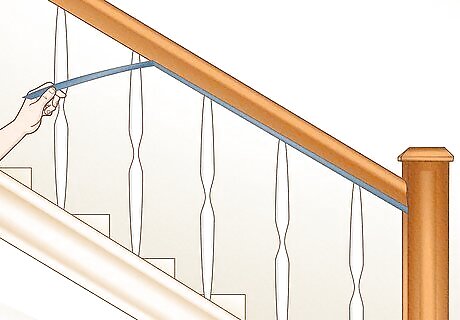
Remove the painter’s tape. It is best to remove the painter’s tape from the banister after the varnish is dry. To remove the tape, simply lift up on 1 corner, and peel the tape upwards until it comes off. This way, you will not smudge or mess up your stain, paint, or varnish.


Comments
0 comment