
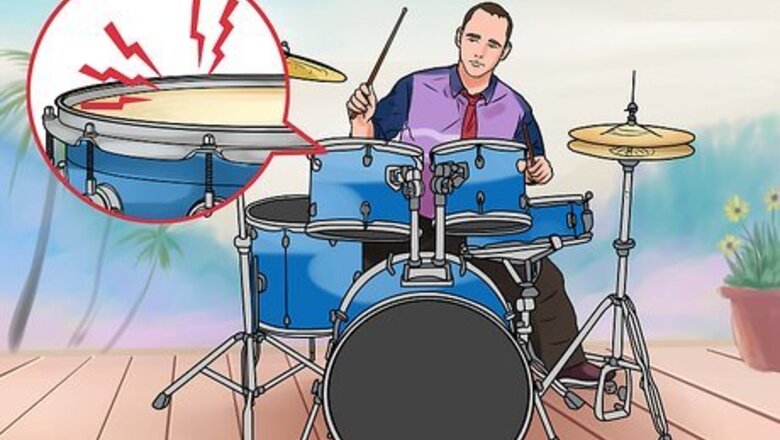
Tuning the Resonant (Bottom) Head
Turn your snare when it sounds "wet," and the sound isn't sharp and crisp anymore. You should also retune your drum if it sounds uneven. When hitting it, the distance to the edge of the drum will change the sound. However, you should get the same sound from spots that are equally far away from the edge (for example, 2" from the right edge of the drum should have the same tone as 2" from the top, bottom, left, etc). You should also retune your snare if you've replaced either head. If you're having trouble with your sound, particularly the "decay" (how long the sound lasts for), you likely have issues with your bottom head. Always check if it is loose before tuning the top head.
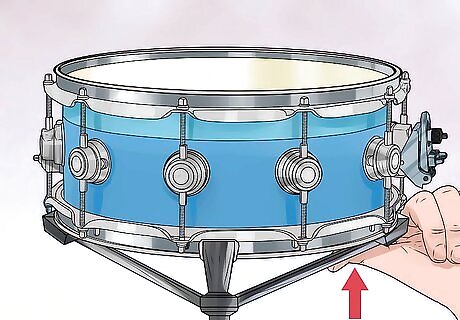
Test the bottom head for tightness. Press your thumbs around the edges of the bottom of the drum. It should be relatively tight. Not so tight that it feels hard, but it shouldn't have a lot of give. If you touch your thumb and pinky together on your left hand, then poke the fleshy part of your palm under the thumb with your fingers, you can get a good idea how it should feel. There should just be a little give. The resonant head is clear, and has snare wires across it.
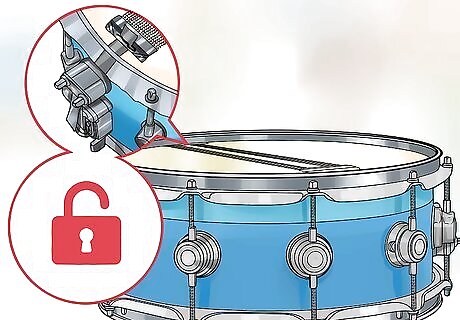
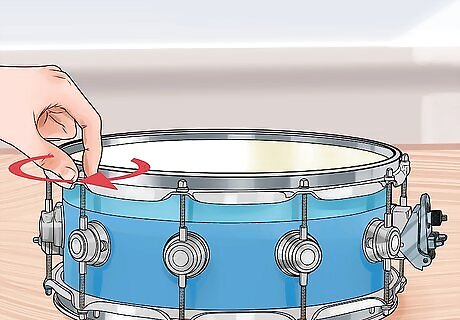
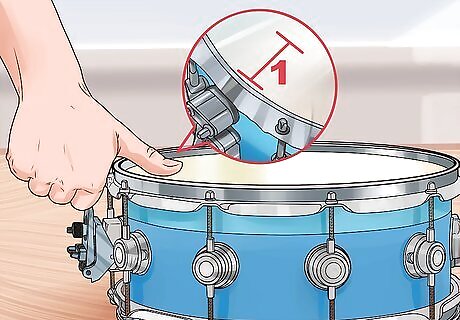
Unlock the snare wires. These are the thin metal wires running across your snare drum. There are two clamps on either side of the drum that clip the wires down. Unlock them so the snares are free. If you hit the top of the drum, you'd hear a deeper sound without the ringing, snare-like sound. This means the snares are unlocked.
Hand tighten all of the nuts around the top of the head. Just use your fingers to get the sides around as tight as possible, though if you have access to a drum key, it is much easier to use that.
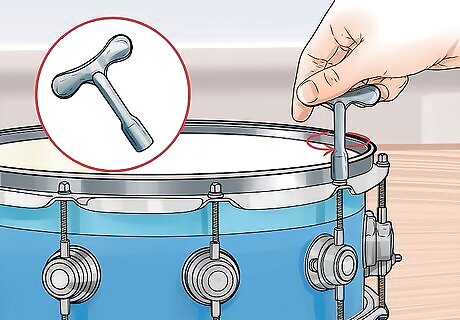
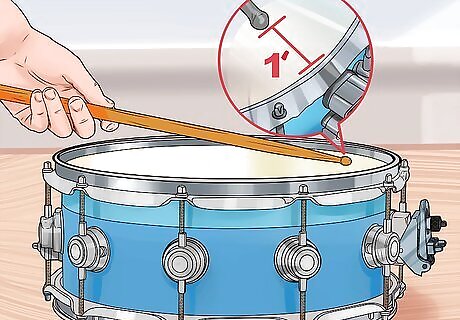
Use a drum key to tighten the top-most bolt 1/2 a turn. Rotate the key clockwise 180-degrees to tighten it. Use your thumb to test the head once again. Remember, it should be tight, but still have a few millimeters of give under your thumb. If it is too tight, turn it back a quarter turn.
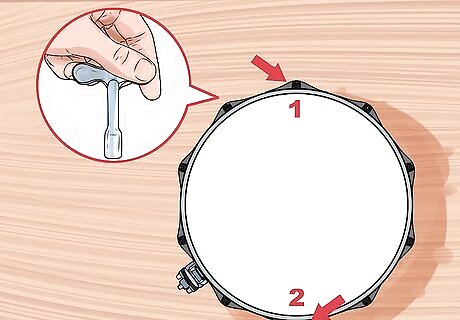
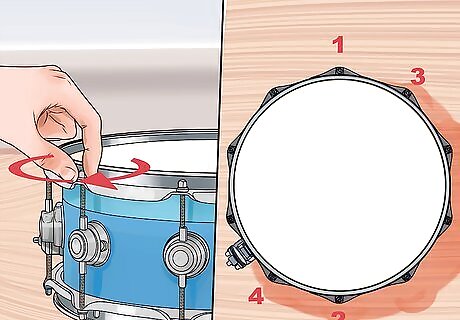
Use the key to tighten the bottom-most bolt as far as you turned the first one. In order to keep the tension on the drum even, you want to always tighten the bolts in opposite pairs. So, after tightening the 12:00 bolt, move on to the 6:00. Again, test the tightness before moving on. Think of the drum head as a game of tug-of-war. You want all sides to be pulling on the head equally, otherwise it stretches too far in one direction and becomes uneven.
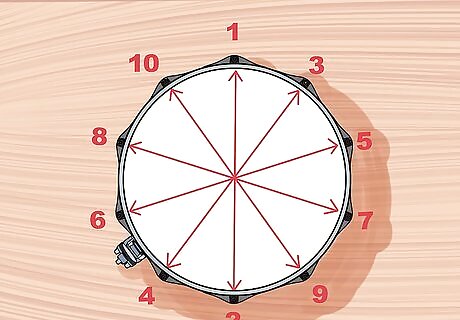
Continue working around the drum head by tightening the bolts in opposite pairs. So, if you move to the bolt at 1:00, you then tighten the 7:00 bolt. Keep moving around the drum like this until you've tightened all of the bolts evenly. There are usually eight total bolts.
Test the head with your thumb roughly 1" in from each bolt. Move your fingers around the drum, testing each spot. You want even tension throughout. If it is not even, use the drum key to tighten the loose heads to align with the others. There should not be any wrinkles across the bottom head when you are done. Remember, you need some give. Resonant heads are thin, and can snap if over-tuned.
Tuning the Batter (Top) Head

Loosen all of the rods on the top head almost completely. If you're doing a light tuning, this is unnecessary. However, for the best results you should start from scratch, tuning the drum up all at once. Loosen the bolts on the tension rods so that there is no tension on the head, but the rods are still in.
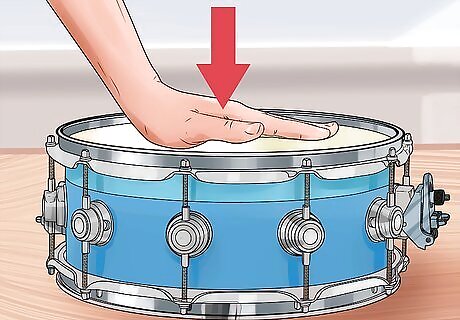
Let the new skin stretch if you are tuning a new head. Use the heel of your hand to press into the snare lightly, pushing it into the drum. This stretches it out, which will prevent it from falling out of tune as quickly later on.
Tighten all of the tension rods by hand. The snare catches should still be unhooked. Turn the drum over and tighten all of the bolts on the head by hand until you can't turn them anymore. Tighten the snare using the same system of opposing pairs. If you tune the 12:00 first, tune the 6:00 second. Then move on to the 1:00 and the 7:00, etc. For perfect drum tuning, get out a ruler and measure the distance from under the hoop to the top of the lugnut. They should all be even. This, however, is likely not necessary for casual players, or those playing looser music like rock and roll.
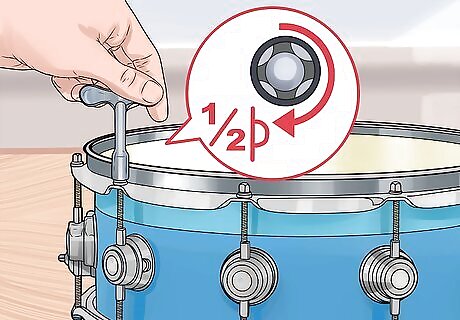
Use your drum key to tighten each pair of rods 1/2 a turn. Remember, you want to work with opposite sides. If there was a string connecting the tension rod to the rod directly across it, you would have even force on both sides. Start with half turns, moving all the way around the drum.
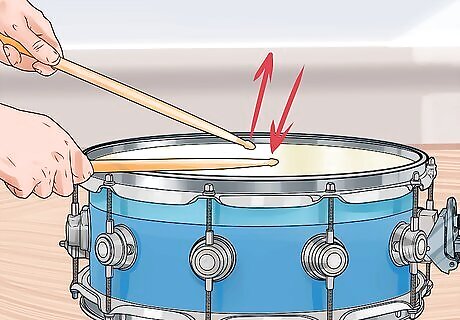
Using a stick, test the drum 1" inch away from each rod. Hit the snare right in front of each rod. More likely than not, the sound is a little different at each one. Use your drum key to tune the rods so that they all sound the same when hit. Tightening the rod will make it sound higher pitched. Loosening it will make it a bit deeper. If you have a percussion keyboard or piano, you can listen directly to pitch to make this easier. You want the head to be between G and B-flat.
Play the snare to test it's overall sound. Is it tight enough for you, or do you want a little more splash? For crisper, tighter sounds you want a tighter head. For more resonant, slightly deeper sounds you want a slightly lighter head. If you're going to adjust the rods again, make sure you remember to work in opposite pairs, and only turn each rod 1/4 turn at a time. You'll get more stick bounce with a tighter head. You should re-test the drum at each rod when done to make sure the tone is even.
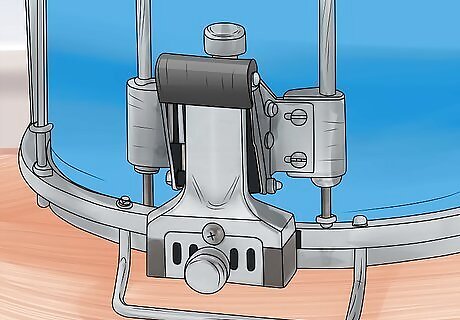
Reclamp the snare switch down. Once you've got the drum tuned to your liking, you're ready to put the snares back on and start playing. Make sure that the snare wires are evenly applied. They should be in a straight line through the middle of the drum, not diagonal.

Experiment to find the type of tone you're after. Drum tuning is not to a key, like a melody instrument. While you can clearly tell an untuned snare by its muddy, ringing tone, there are a lot of different sounds you can get out of a tuned drum, depending on your needs. You can tune it extra tight for a high pitched, sharp "snap," or you can keep it a bit looser to create a more resonant sound. The key is to test the drum regularly, hitting it often to find the sound your want. Drum tone is largely subjective. Keep playing and tuning yourself and you'll find out what you like and don't like. Don't tune your drum with the wires hooked up, or microphones attached. You need to hear the drum cleanly and crisply.


Comments
0 comment