
Picking a Tuning Assistant
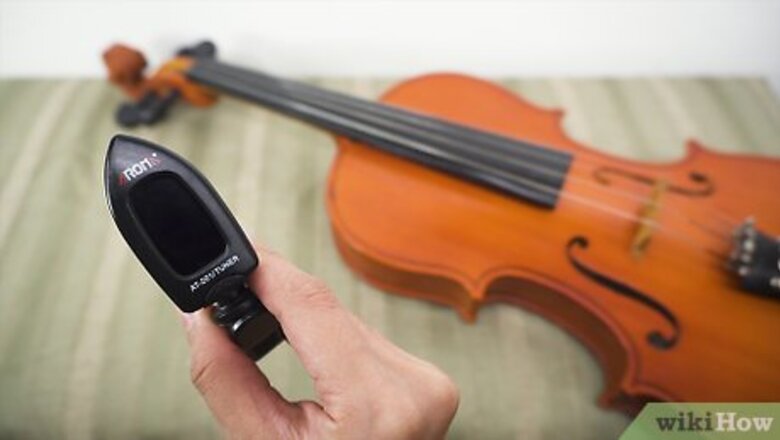
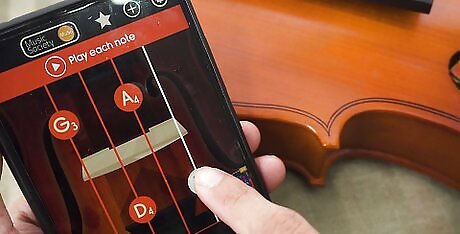
Pick an electric tuner that listens for the note if you're a beginner. With this type of tuner, you play a string, and then the tuner tells you whether you are sharp or flat. This type works well if you don't have a very good ear yet, as it does the hard listening for you. You can find these types of tuners online or at music stores. In addition, you'll find many smartphone apps that will act as tuners. Most of these cost a little money, but they are generally cheaper than a physical tuner. Try Tunable, ClearTune, or insTuner, to name a few.
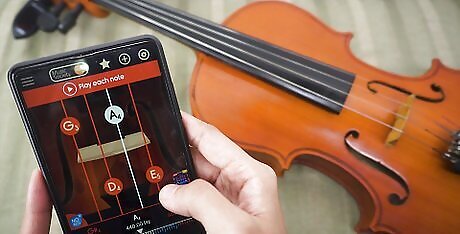
Use online videos if you have a good ear. These videos will give you the appropriate note for each string. Then you can tune the string to match the note. However, you must have a musical ear to be able to match the note perfectly.
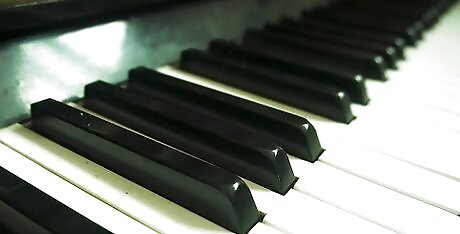
Try a tuning fork or piano if you can find the notes. The notes you need to find and play are G, D, A, and E, which match the violin strings. On the piano, the "G" is the one just below middle "C," and every other note you need is spaced out at 5 intervals higher, starting with "D." Play the note on the piano or tuning fork, then play the matching string on your violin. Adjust the string on your violin up or down to match the note you're hearing. With a tuning fork, you'll hit the tuning fork on a table and move it towards your ear so you can hear it better. A tuning fork is just a metal instrument that always hits a certain note when struck. With this method, you'll play the note and then match try to match your violin to it.
Tuning the String by Ear
Move somewhere quiet to tune your violin. It can be difficult to hear the note if there's a lot of noise going on around you. Move to a room that doesn't have a television or radio going, if possible. If you're outside, you may need to move inside for a moment.
Listen to the sound of the note. Play the note on the computer, your phone, a piano, a tuning fork, or a metronome, which sometimes has a tuner built in. Listen carefully to hear the pitch of the note. Play it again if you need to. Work on the "A" string first. That's the string that's the second smallest.
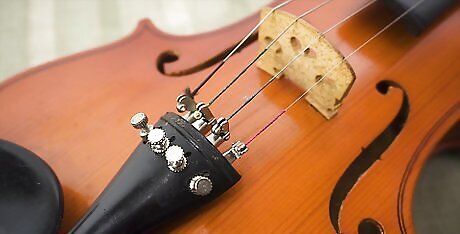
Find the fine tuners. Some violins have fine tuners on just the E string, while others have one on the E and A strings and still others have one on all strings. Follow the string down to find the fine tuner for that string. The fine tuners look like tiny screws on the tailpiece, which is located where the strings end near the chin piece.
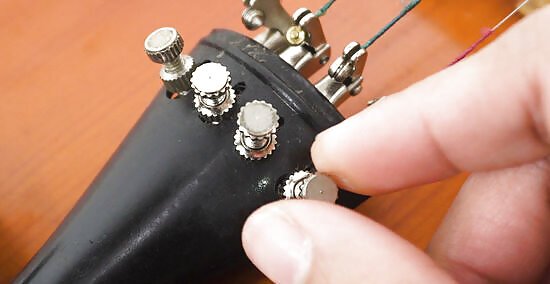
Adjust the string in small increments with the fine tuner if it's a little out of tune. Turn the tiny fine tuner clockwise to make the string higher and counterclockwise to make it lower. Play the string with the bow to see if it matches the sound you just heard. Keep adjusting and playing the string to get the right note. You can only make fine adjustments with this tuner, so if your string is majorly out of tune, you'll need to move to the pegs instead. If the screw is turned all the way down, turn it back the other way to loosen it all the way. Then move on to tuning with the peg. That way, you're less likely to break the string.
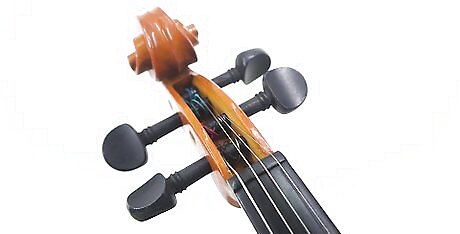
Find the right peg for the string. The pegs are the knobs on the far end of the violin. If you're holding the violin facing you with the pegs at the top, the right top is the "A" string, the right bottom is the "E" string, the left top is the "D" string, and the left bottom is the "G" string.
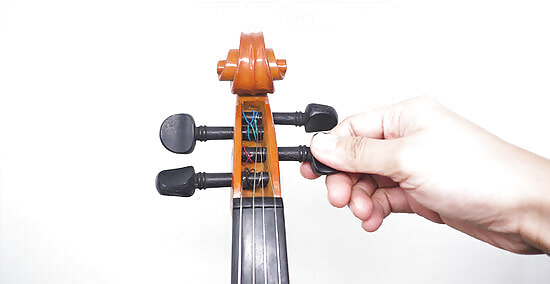
Turn the peg with your finger and thumb to make major adjustments. Grasp the peg between your pointer finger and thumb. Turn it clockwise to make the string go higher or counterclockwise to make the string go lower. Try to match the note you just heard by running the bow across the corresponding string. Play the note on the tuner or computer again if you need to.

Do the same for each string. Once you've tuned the "A" string, move on to the other strings. Do the "E" string, then the "D" and "G" strings. You may need to check the "A" once more at the end, just to make sure you haven't knocked it out of tune in the process.
Adjusting Strings with an Electronic Tuner
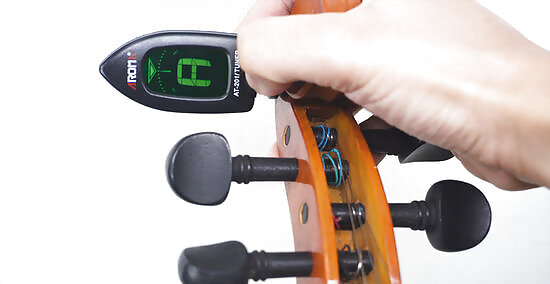
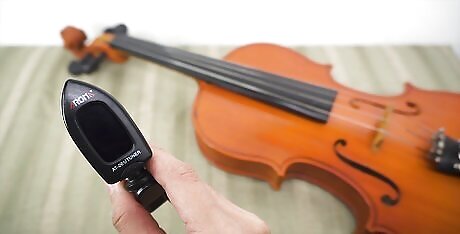
Turn the tuner on. The tuner should have an on/off switch, as most of the time, they won't just stay on. The digital screen should show text and a tuning dial when you turn it on.
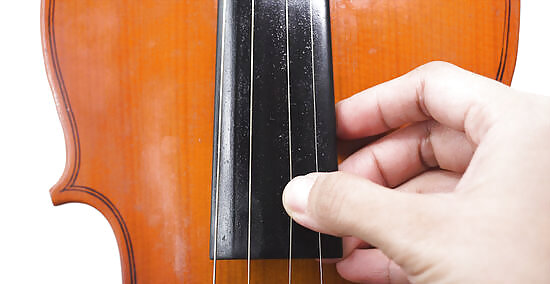
Pluck a note on the "A" string. Use your fingers to pick at the string, striking a note. The tuner dial will move up and down to show you where the note is. Make sure the note says "A" in the corner when you pluck the string. If it doesn't, you'll need to make a lot of adjustments. Remember, the "A" string is the second smallest string. If it doesn't say "A," figure out if the note it does say is above or below "A," and adjust up or down with the pegs.

Use the fine tuner to adjust the notes if it needs small adjustments. Twist the fine tuner that corresponds to the appropriate string to the right (clockwise) to increase the pitch. Turn it counterclockwise to make the pitch go lower. Keep plucking as you go, watching the screen to see if you hit the center point of the dial. Match the note of the string with the note on the tuner. You may only have a fine tuner on the "E" string or the "E" and "A" string. If you do, just adjust the other strings at the pegs instead. The fine tuners are the small "screws" on the tailpiece of the violin, which is where the strings end near the chin piece. If you turn the screw until it won't go anymore and the violin still isn't in tune, turn it back until it's loose again and use the pegs instead.

Turn the pegs to make larger adjustments. Find the corresponding peg for the string. For the "A" string, it's the one that's at the top right if you're holding the violin facing you with the pegs at the top. Move clockwise to make it higher or counterclockwise to make the note lower. Make small moves, less than a 0.25 inches (0.64 cm) at a time to adjust the pitch. Keep moving the peg slightly until the dial hits the middle on the tuner. To find the correct peg, follow the string up to the peg it's attached to.

Make sure the note matches the tuner. When the note matches, it will say the name of the note in the corner. The dial will hit the center of the note, which means it's not sharp or flat but right on key. Once it does, you've tuned the note.
Repeat the process for each string. Remember that the strings are "G," "D," "A," and "E," starting from the lowest and going to the highest. The lowest sting will always be the biggest string.


Comments
0 comment