
Uninstalling Visual Studio on Windows 10
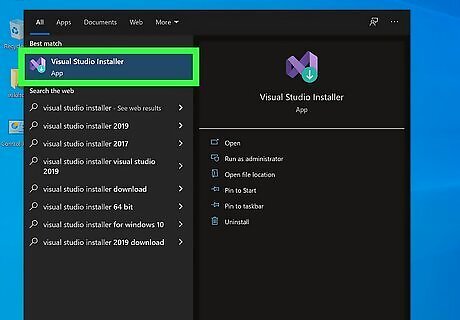
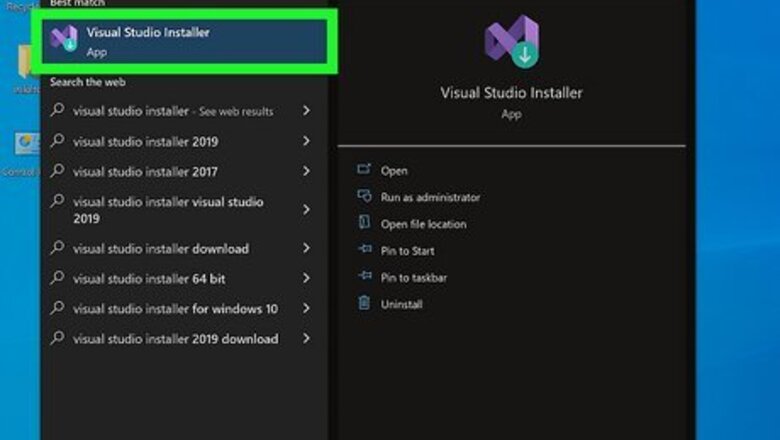
Launch the Visual Studio Installer. You can search for Visual Studio Installer by pressing the Win key, then entering "installer" to search for it. You can also usually find it in "C:\Program Files (x86)\Microsoft Visual Studio\Installer\vs_installer.exe".
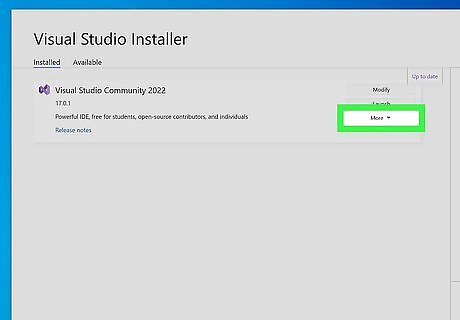
Click More. It's usually the last item in the menu on the right side of the window and will drop down more menu options.
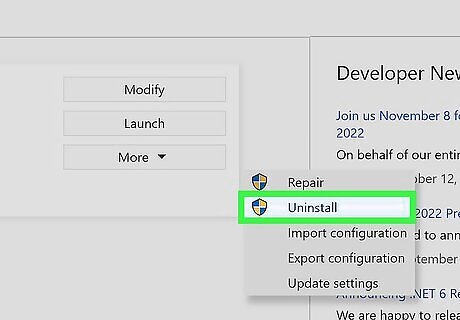
Click Uninstall. This is usually the second option in the menu under Repair. A window will pop up to warn you that you're about to uninstall Visual Studio.
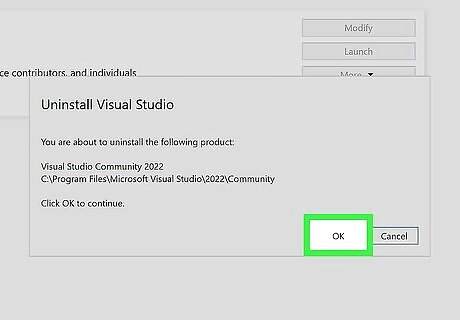
Click OK. The uninstall process should take a few seconds and you'll see the progress bar of the uninstallation in the middle of your screen.
Uninstalling Visual Studio on Mac
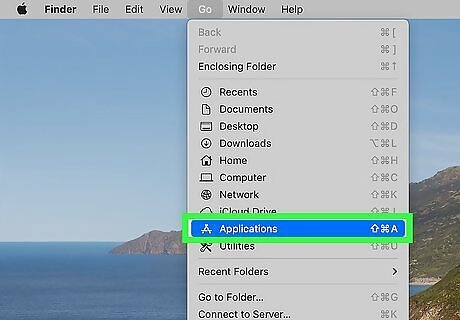
Find the program that you want to uninstall. Scroll through the programs in Finder > Applications until you find the icon for the program that you want to remove.
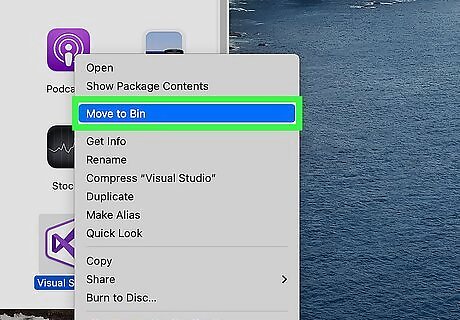
Drag the icon to the trash. Other than dragging the app icon to the trash, you can right-click the icon and select Move to Trash. Although Visual Studio will be uninstalled that way, you'll still have lingering files associated with it. To delete all of them, enter each of the following commands into Terminal (press Return after each line to enter the command): sudo rm -rf "/Applications/Visual Studio.app" rm -rf ~/Library/Caches/VisualStudio rm -rf ~/Library/Preferences/VisualStudio rm -rf ~/Library/Preferences/Visual\ Studio rm -rf ~/Library/Logs/VisualStudio rm -rf ~/Library/VisualStudio rm -rf ~/Library/Preferences/Xamarin/ rm -rf ~/Library/Application\ Support/VisualStudio rm -rf ~/Library/Application\ Support/VisualStudio/7.0/LocalInstall/Addins/ rm -rf ~/Library/Application\ Support/VisualStudio/8.0/LocalInstall/Addins/


Comments
0 comment