
views
Using Function Lock
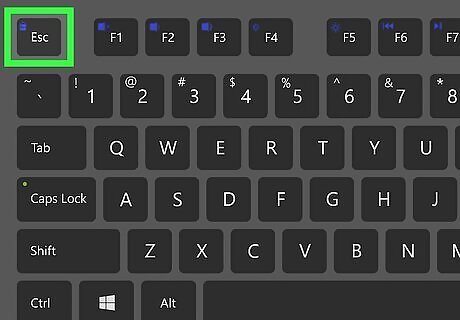
Find the Fn Lock key on your keyboard. The Fn Lock usually displays a lock icon and the letters "Fn." It may be shared with another key, such as Esc or Shift. For example, if you're using a Lenovo ThinkPad, the Esc key says "FnLk" at the bottom, which means that you'll use the Esc key as the function lock key. Not all keyboards have a Function Lock key, so this method won't work for everyone.
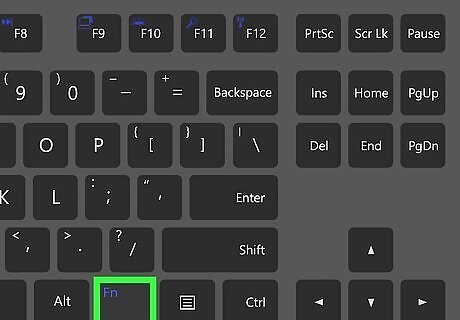
Press and hold the Fn key on your keyboard. Hold this key down while you move to the next step.
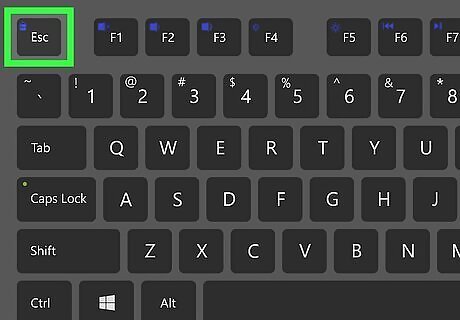
Press the Fn Lock key. When you release your fingers, the Fn key will no longer be needed to use the F1 – F12 keys. You can restore the original settings at any time by pressing those two keys again.
Changing BIOS Settings

Enter the system BIOS or UEFI. Depending on your computer manufacturer and BIOS version, you may be able to change the behavior of the function keys in the BIOS. Start by booting into the BIOS. The standard way to do this is to reboot your PC and press the required key (usually F1, F2, F10, or Del). However, most modern Windows 10 PCs now have an easier way to do this: Press the Windows key + I key together to open Settings. Click Update & Security (Windows 10). Click Recovery in the left panel. Click Restart now under "Advanced startup" in the right panel. Click Troubleshoot. Click Advanced Options. Click UEFI Firmware Settings and select Restart. The PC will boot into the BIOS. If you don't have a UEFI settings option, search for your computer model to figure out which key you need to use to enter the BIOS.
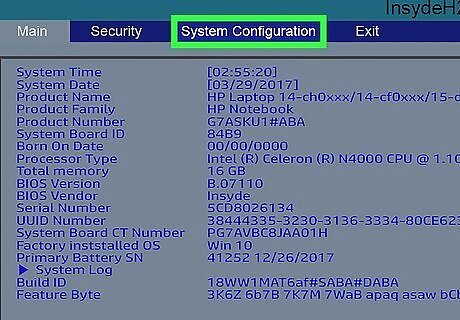
Select the Configuration or System Configuration tab. You can use the arrow keys on your keyboard to navigate, and press Enter to make selections. If you don't see an option with a name like this, look for System Options or similar. You may need to select an Advanced menu first.
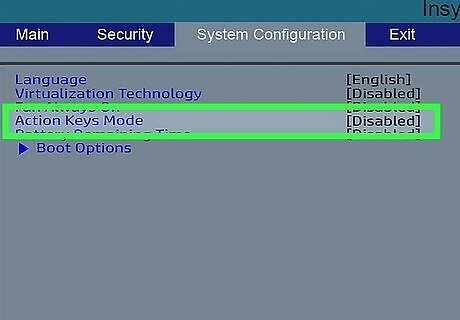
Set "Hotkey Mode" or "Action Keys" to Disabled. The name of this feature varies by manufacturer. When the feature is disabled, you will not have to press the FN key to use the F1 – F12 keys. Pressing the FN key along with an F1-F12 key will activate the action. For example, tapping FN + F10 toggles airplane mode, which is shown as an airplane on the MSI keyboard. You can toggle this feature back on by returning to these BIOS settings at any time.
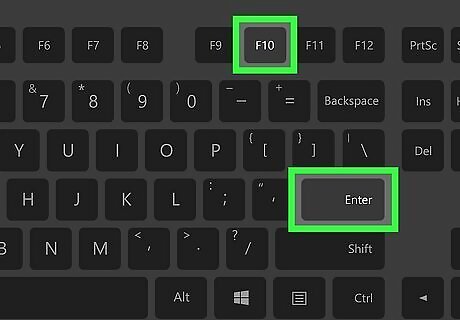
Press F10 and then Enter to save. This saves your settings and reboots into Windows, where you'll no longer have to hold down the Fn key to use the F1-F12 keys. If you want to use the hotkey functions of the keyboard, such as toggling Wi-Fi on or off or muting the volume, you can still press Fn and the associated F1-F12 key to do so.


Comments
0 comment