views
Growing Prickly Pear From Seeds
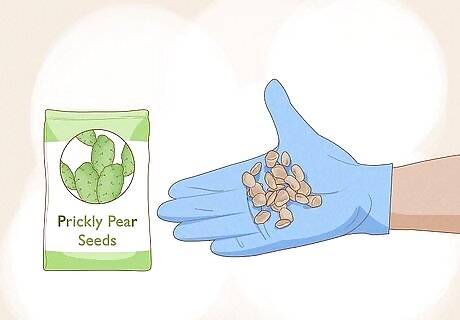
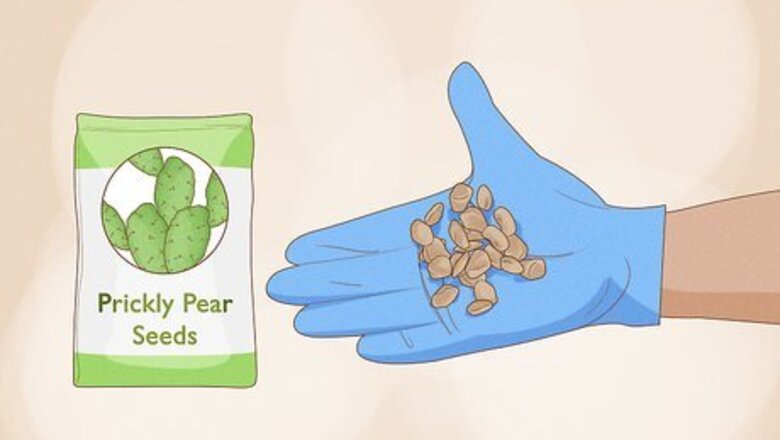
Obtain the seeds. You can do this by purchasing them from a nursery or garden store, or you can extract them from prickly pear fruit. Prickly pear fruit is a red, egg-shaped fruit that grows off the top of the prickly pear plant. To remove the seeds from a fruit: Put on gloves to protect your hands from the thorns. Slice the ends off the fruit. Stand the fruit up on one end. Make a thin, vertical slice down one side of the skin, and carefully stick a finger underneath. Peel away the skin by unwrapping the fruit like an orange. Use your fingers to break apart the flesh to find the seeds, which are studded throughout the fruit.
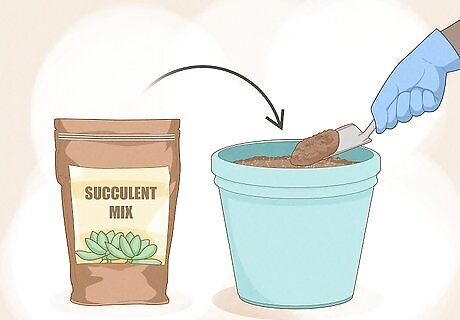
Prepare a garden pot. Take a small garden pot that has a hole in the bottom. Cover the bottom of the pot with a layer of small rocks, which will allow water to drain better. Fill the pot with soil that contains about half soil and half sand, rough pumice, or loam. These soils drain better than ones with a high clay content, and are more similar to the natural desert soils a cactus prefers. You can also purchase a pre-mixed cactus or succulent potting mix. If you don’t have any garden pots, you can use a plastic cup. Poke several holes in the bottom to allow water to drain out. To grow multiple prickly pears, prepare several garden pots in this way.
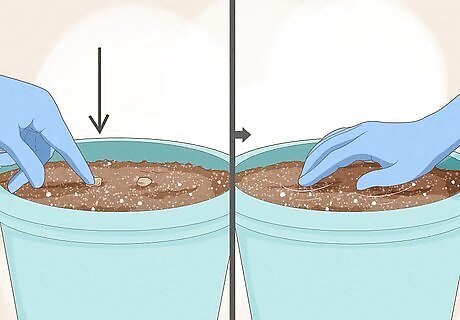
Plant the seeds. Lay one or two seeds on top of the soil. Gently press the seeds into the soil and cover them with a light dusting of soil. Add a small amount of water. You want the soil to be moist, but not wet.
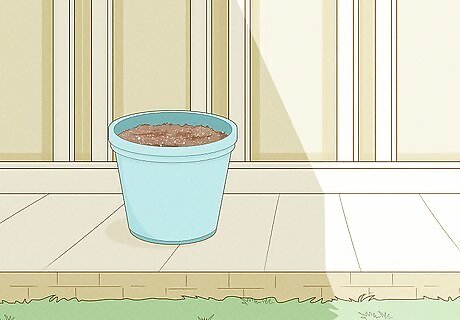
Keep the pots in a warm but shady place. Cactus seeds don’t need direct sunlight the way established plants do. Keep the pots in a shaded area that’s surrounded by sunlight to allow for a warm climate. As the seeds grow, keep the soil moist until they germinate. Water the soil when it starts to become dry to the touch. Prickly pears grown from seeds tend to take longer to grow than propagated plants, and the resulting cacti could take three to four years to produce flowers and fruit. However, growing plants from seeds is important for ensuring genetic diversity.
Propagating Prickly Pear
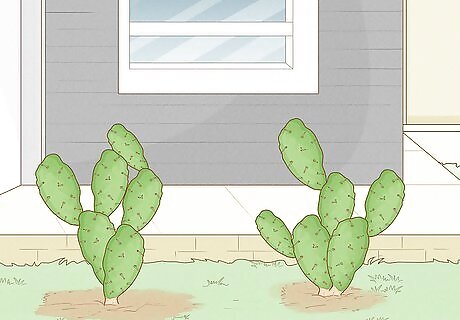
Find an establish prickly pear to propagate. Another way to grow prickly pear is to use a cutting from an established plant. Ask friends and neighbors if you can take a cutting from one of their plants if you don’t have any established prickly pears of your own. To propagate prickly pear from existing plants, you use cuttings from the pads of the plants, which are actually modified stems or branches. The pads are the flat, green, fleshy parts that make up the majority of the plant.
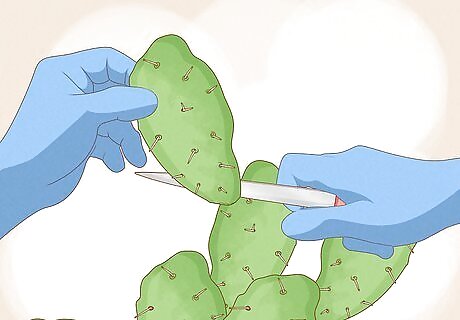
Cut off a pad. Select a healthy pad that’s medium or large in size, and between one and three years old. Ideally, look for a pad that’s free of damage, specks, or any deformities. To take a cutting, hold the top of the pad with a gloved hand and slice the pad above the joint where it attaches to the rest of the plant. Don’t cut the pad below the joint, because this can cause infection and the plant will rot.
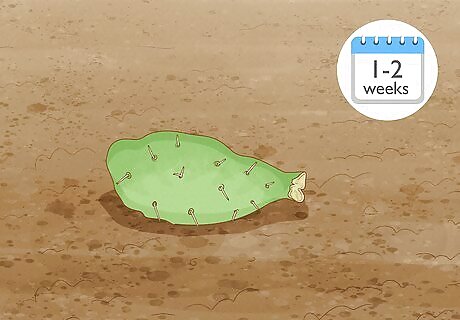
Let the pad form a callous. To prevent infection and rotting, you must let the cactus pad cutting form a callous where it was cut before you can plant it. Lay the pad on a bed of soil or sandy soil for one to two weeks, until the cut has healed. Leave the pad in a shaded area while you're waiting for the callous to form.
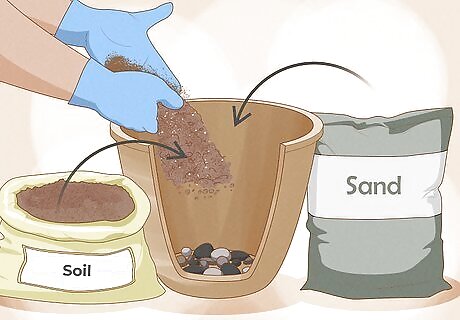
Prepare a garden pot. Fill the bottom of a medium planting pot with stones to allow for drainage. Fill the rest of the pot with sandy or loamy soil, which will also allow for good drainage. The ideal soil will be a half-and-half mixture of soil and sand or pumice.
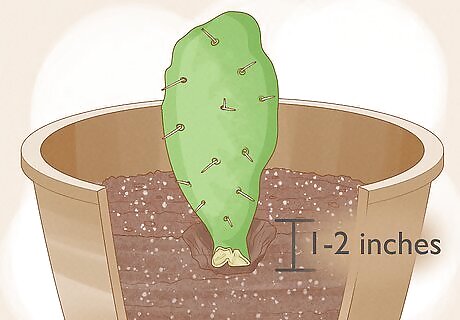
Plant the pad when the cut has healed. Make a one- to two-inch hole in the soil with your finger. Place the pad upright in the garden pot, with the cut end in the soil. Bury the end. Do not bury the end more than one or two inches deep, otherwise it could rot. If the pad is having trouble standing, surround it with a few rocks to prop it up.
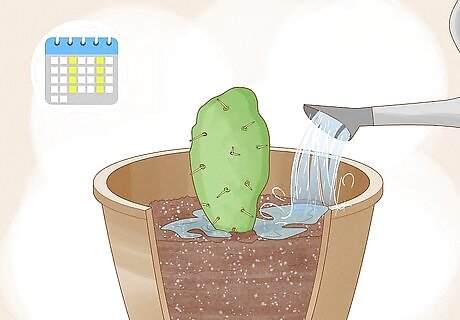
Water the plant. Water the plant only when the soil looks dry, about once or twice per week.
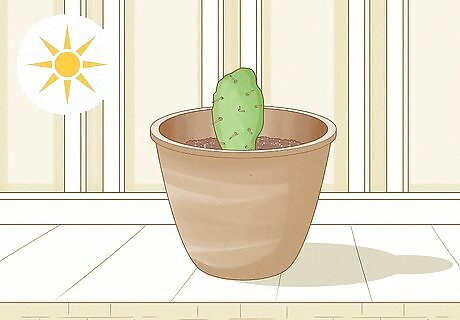
Place the pad in the sun. Unlike prickly pear seeds, pads need plenty of direct sunlight. However, the pads can sunburn in hot sun, so it’s important to protect the pad from direct sunlight between the hours of 11 a.m. and 1 p.m., when the sun is strongest. To avoid having to move the prickly pear constantly, you can position the plant so the broad sides of the pad are facing east and west, so the thinner sides of the pad are facing the sun when it’s at its hottest. This will protect it from sunburn so that you don’t have to move it out of the sun every afternoon. Once the cutting has established roots it will be ready for full sun exposure.
Caring for Prickly Pears
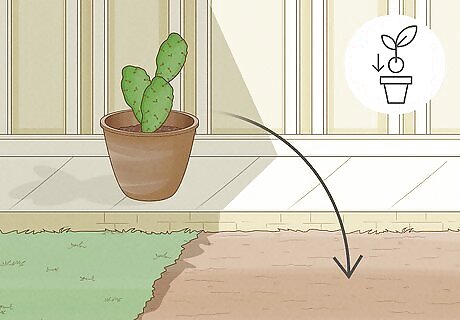
Choose a permanent location for the cactus. You can continue growing your prickly pear in a pot, or you can transplant it into the ground. To transplant the cactus, choose an outdoor location that gets lots of full sun exposure. Even if you keep the prickly pear in a pot, it still needs to be positioned somewhere that gets full sun. If you live in a climate with colder winters where temperatures dip below 14 degrees F (-10 degrees C), keep the prickly pear in a pot so you can move it indoors when the weather gets cold.
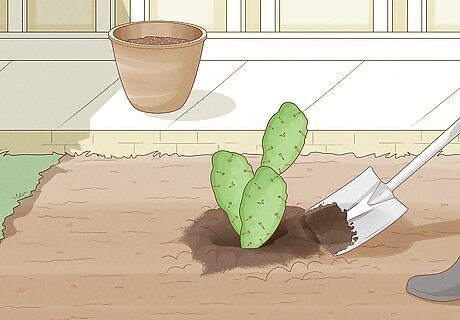
Transplant the cactus. The best time to transplant a prickly pear is in the late spring, when the risk of frost and excessive rain are done. Dig a hole that’s about the same size as the pot the cactus is in. Get the pot as near to the hole as possible. Gently tip the pot upside down and cup the plant with a gloved hand. Place the roots in the hole and cover it with soil. Pack the soil down with your hands and saturate it with water. During the first week, water the plant every three to four days. After that, water the cactus every three to four weeks. After the first year of establishment, it will not need any extra watering aside from the rain it gets.
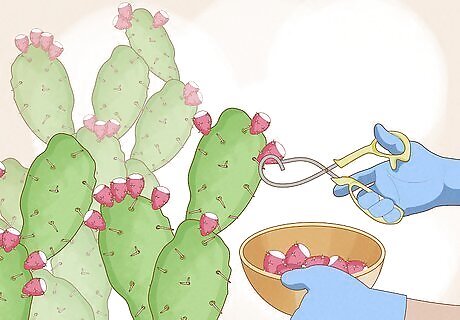
Harvest pads and fruit once the plant is established. Let the prickly pear establish itself for several months before harvesting pads or fruit. Wait for the plant to grow a second or third pad before harvesting pads, and wait until there are at least eight blooms on a pad before harvesting the fruit it produces. Cut pads with a sharp knife in the late morning or early afternoon. This is when the acid content is lowest. Remove the pads just above the joint. Harvest fruit by twisting the fruit and gently pulling it away from the pad. You know the fruit is ripe when the glochids, or thorns, fall off the light or dark colored bumps on the fruit. Be sure to wear gloves to protect your hands from thorns when harvesting from the prickly pear.
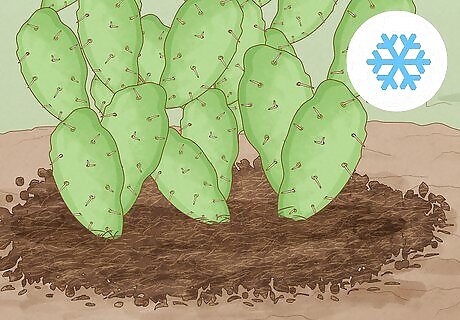
Cover the soil with mulch in winter. To prevent damage from the cold, even if you live in a warm climate, cover the soil surrounding the prickly pear with mulch in the fall. If you live in a cold climate and have your cactus in a pot, bring the prickly pear inside in the fall to prevent it from freezing.


Comments
0 comment