views
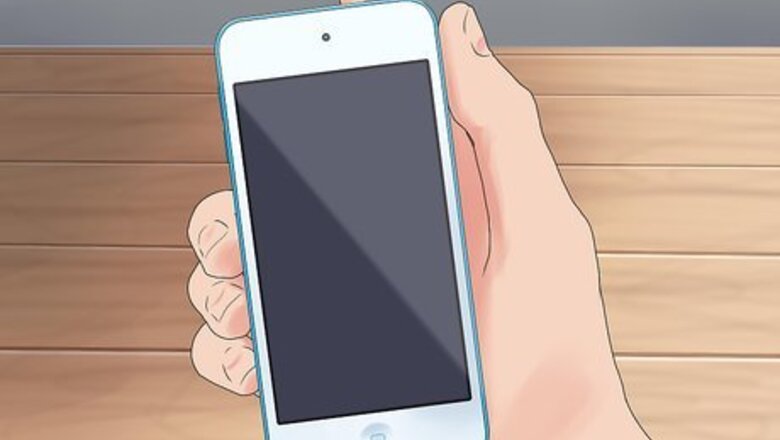
Troubleshooting a Frozen iPod
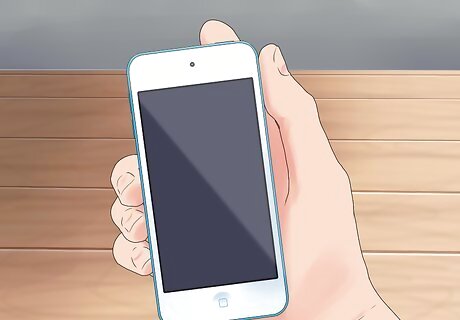
Check the Hold switch. If the Hold switch is toggled on, your iPod will not accept any input. Check the Hold switch, and toggle it on and off a few times, before you move on to more complex solutions.
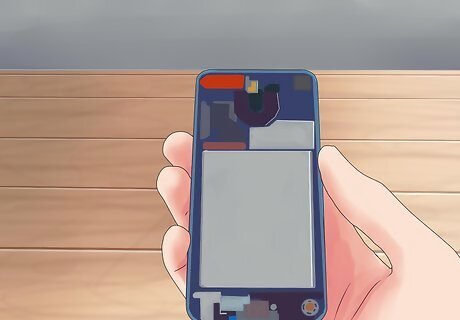
Check the battery. As your iPod gets older, its battery life will begin to shrink considerably. There's a chance that your iPod won't function because it has drained its battery without you realizing. Try plugging it in for about an hour and then trying again.
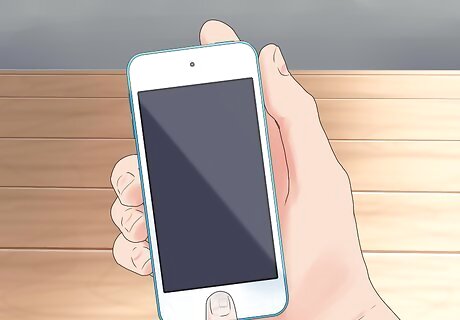
Reset the iPod. If your iPod is frozen and unresponsive, the quickest and most common fix is to perform a reset. This will reboot the iPod and start the operating system over. Resetting your iPod will not cause any loss of data. To reset an iPod Touch, press and hold the Power and Home buttons for about 10 seconds until the Apple logo appears. To reset a classic iPod, press and hold the Menu and Select buttons for about 8 seconds until the Apple logo appears.
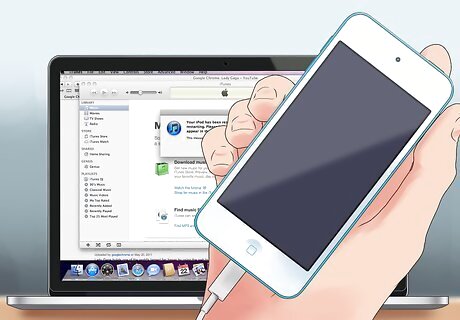
Restore your iPod. If resetting your iPod still doesn't fix the issue, you can restore your iPod to factory conditions and then reload your settings through a backup. This will fix most of the software problems with your iPod. Connect your iPod to your computer and open iTunes. Make sure that you have the latest version of iTunes installed. If your iPod does not show up in iTunes when you plug it in to your computer, you will need to put it into Recovery Mode first. Backup your iPod. Before restoring the iPod, make sure that you back up your data and settings first. Click the "Back Up Now" button in the iTunes Summary page to backup your iPod to either your computer or to iCloud. Click the "Restore iPod" button to begin the Restore process. The restore process can take several minutes to complete. Reload your old backup. Once the restoration is complete, you can either use it as if it was new, or restore your old backup. If you choose to restore the backup, choose the location (iTunes or iCloud) and the date of the backup file. See this guide for more details on restoring your iPod.
Saving a Wet iPod
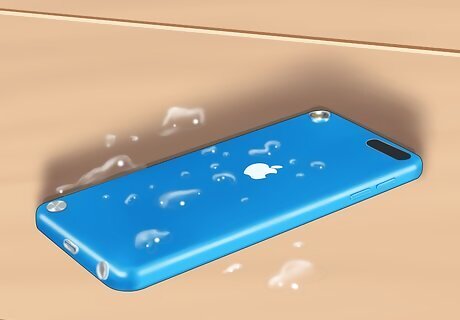
Don't turn the iPod on. If your iPod fell in the pool or into a full sink, don't try to turn it on. This could cause irreversible damage by shorting out all of the components. You will need to remove the moisture before trying to power it on again. Don't simply wipe the phone dry and try to use it. The water can cause serious damage to the inside of the phone when it is wet.
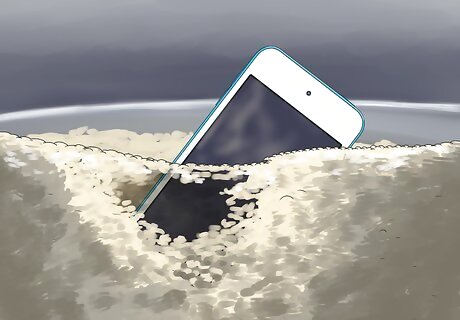
Bury the iPod in rice. While the most effective way to remove the moisture is to put the iPod into a bag of silica gel packets, most people don't have these handy. Instead, put your iPod into a bag or bowl full of rice and make sure it is completely covered. The rice will draw the moisture out of the device over time. This could cause your iPod to get a lot of dust inside, but it sure beats it being broken for good. Seal the bag or container while you let it sit.
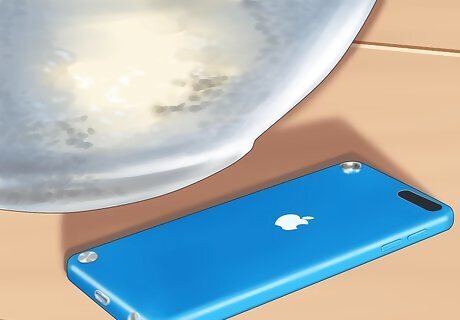
Wait 24 hours before removing the iPod. It will take a while for all of the moisture to get sucked out of the iPod. You want it to be bone dry when you try turning it back on, so give the rice plenty of time to absorb all of the water. Don't use a hair dryer to dry the iPod. The heat from the blower could cause more harm than good.
Securing an iPod's Hard Drive (iPod Classic 1st-5th Generation)
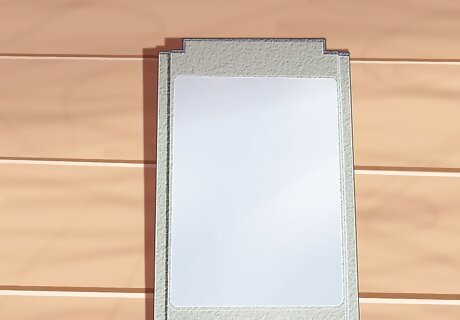
Determine if the hard drive is the problem. If your iPod is displaying a folder icon for the error, then it is having difficulties accessing the hard drive. Oftentimes, this is caused by an ill-fitting hard drive. Luckily, securing the drive is fairly straight-forward. All versions of the iPod Touch, iPod Shuffle, and iPod Nano use flash memory instead of a traditional hard drive. This means there are no moving parts that can fail or connections that can become severed. There is no practical way to secure or replace an iPod Touch hard drive, as the flash memory unit is built into the circuitry.
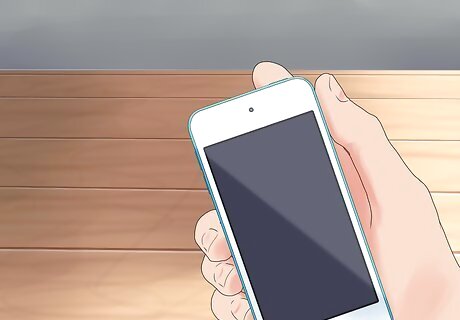
Toggle the Hold switch on. Make sure that the iPod is turned off and locked with the Hold switch toggled on before opening your iPod. This will ensure that you don't accidentally turn it on while working on it.
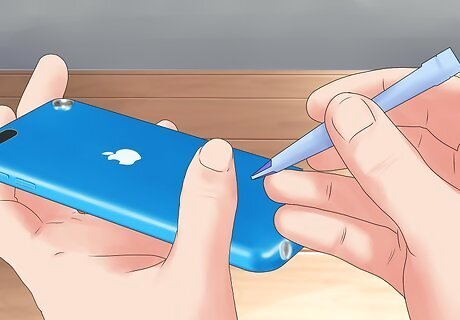
Remove the back from the iPod. It is recommended that you use a specially-designed opening tool to pry the back off, but you can also use a thin flathead screwdriver. If you use a screwdriver, you run the risk of scratching the case. Some guides recommend a sturdy plastic guitar pick as a good substitute tool. Insert the tool into the small crack between the metal and plastic parts of the case. Work the opening tool around the edge, gently prying the back off the iPod. Press the tabs inside the shell using your tool to help release the casing. When the case is open, don't force the two halves apart, as there is a small ribbon cable attaching the front to the logic board.
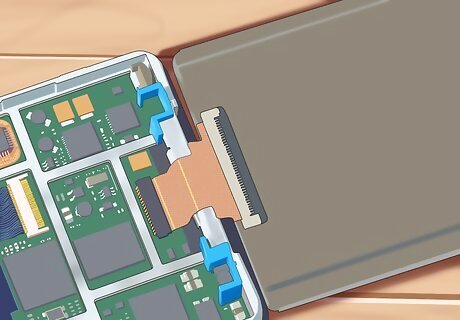
Ensure that the hard drive cables are secure. The large, rectangular metal object in your iPod is the hard drive. Check the cables connecting the hard drive to the rest of the circuitry to make sure that nothing has come loose. Gently lift the hard drive out of it's housing to reveal the connector cable underneath. It is usually connected to the logic board with black tape. Remove the tape and press the connector firmly into the board. Replace the tape and the gently replace the hard drive. This loose cable is the source of a significant number of hard drive problems.
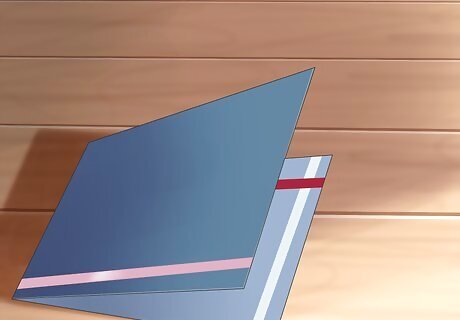
Fold a business card in half. This will create a square that will be thick enough to apply pressure onto the hard drive. If you don't have a business card handy, cutting a square out of a cardboard bar coaster will work as well.
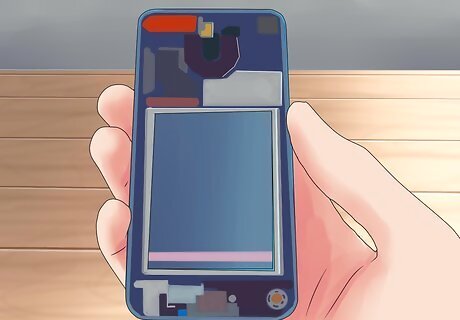
Place the business card onto the hard drive. Center the folded business card on the hard drive, taking care not to disrupt any of the cables.
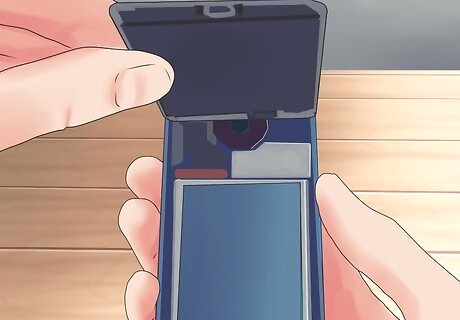
Replace the backing on the iPod. With the card in place, push the backing onto the iPod. Push it in with care, and ensure that all of the tabs click back into place.
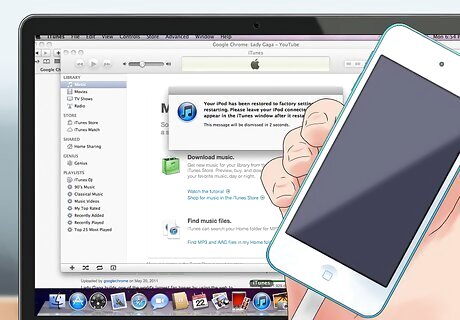
Restore your iPod. After you replace the backing on the iPod, you will likely need to restore it in order to ensure that nothing corrupt remains. See the first section of this article for detailed instructions. If you are still receiving hard disk errors or hear a clicking sound, then your hard drive most likely needs to be replaced. See the next section for detailed instructions.
Replacing an iPod's Hard Drive (iPod Classic 1st-5th Generation)
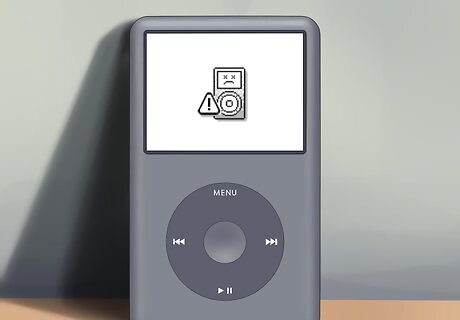
Ensure that there are no other options. This is one of the more difficult repairs to attempt yourself, so make sure that you can't fix the issue using one of the other methods in this article first. If you've tried everything, you can try replacing your hard drive as a last-ditch effort. If you iPod is making a clicking sound and the "sad iPod" image appears on your screen, then the hard drive most likely needs to be replaced. Replacement hard drives can be ordered online, or you can scavenge a drive out of another iPod that is the same model. All versions of the iPod Touch, iPod Shuffle, and iPod Nano use flash memory instead of a traditional hard drive. This means there are no moving parts that can fail or connections that can become severed. There is no practical way to secure or replace an iPod Touch hard drive, as the flash memory unit is built into the circuitry.
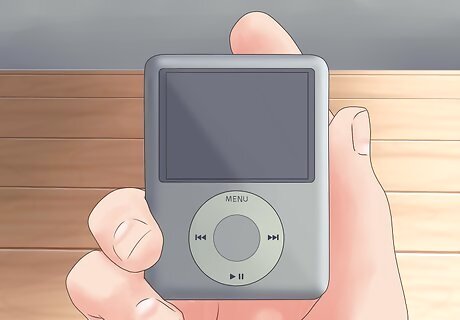
Toggle the Hold switch on. Make sure that the iPod is turned off and locked with the Hold switch toggled on before opening your iPod. This will ensure that you don't accidentally turn it on while working on it.
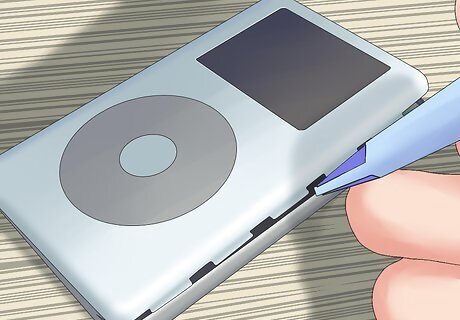
Open your iPod. Follow the steps in the previous method to remove the back from your iPod to expose the hard drive.
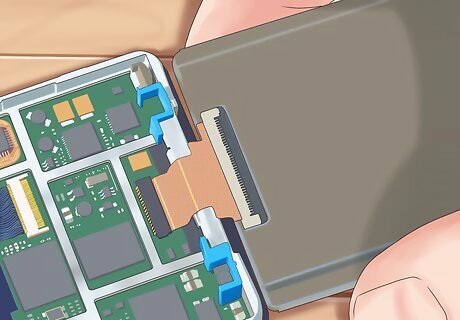
Lift up the hard drive. Lift the hard drive from the top of the iPod. Don't try to pull it out completely. Remove the rubber bumpers and shock absorber and set them to the side.
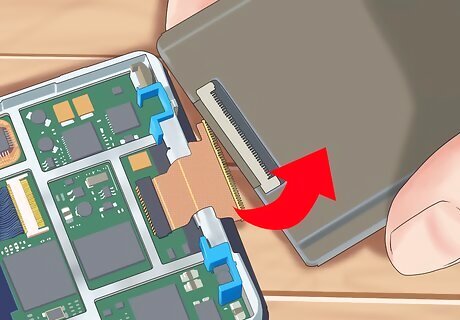
Pull the drive out slightly. You will see a cable at the bottom the drive that attaches the drive to the circuitry. Gently work the cable out of the drive, using either your fingers or a screwdriver.
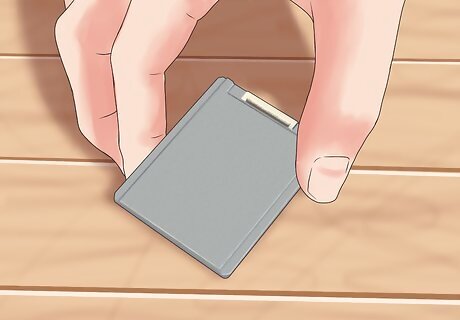
Remove the drive. Once the cable has been detached, you should be able to completely remove the drive from the housing. Once you have pulled the drive out, take off the foam cover and put it on your replacement drive. Put the rubber shock absorbers on it as well.
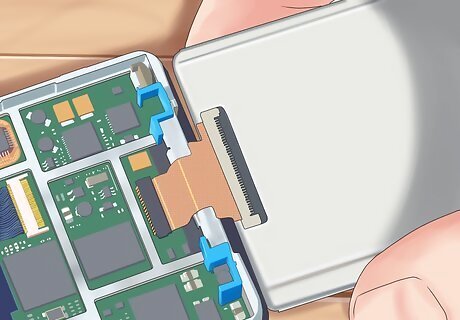
Install the new drive. Insert the new drive in the same direction that the old drive was installed. Gently insert the cable so that the hard drive can send and receive data from the iPod's motherboard. Close up the iPod and ensure that all of the tabs click.
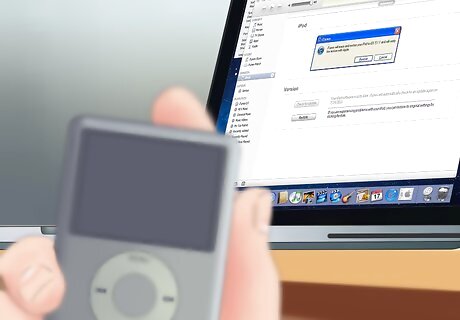
Restore the iPod. With the new hard drive installed, all that is left is to perform a restore on the iPod. See the first method in this article for detailed instructions on restoring the device.
Replacing a Cracked Original iPod Screen (4th Generation)
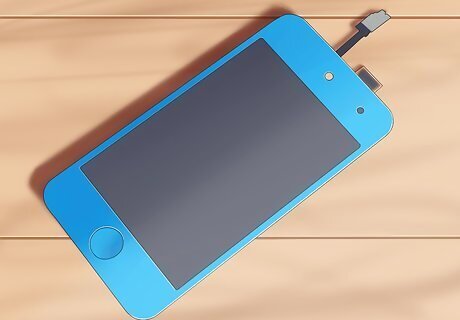
Obtain a replacement screen. You will need to order a replacement screen for your iPod. Replacement screens can be ordered online for about $30 USD. Make sure to order the display for the 4th Generation iPod or Photo, or the display will not work.
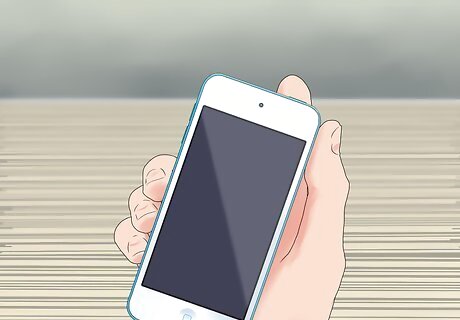
Toggle the Hold switch on. Make sure that the iPod is turned off and locked with the Hold switch toggled on before opening your iPod. This will ensure that you don't accidentally turn it on while working on it.
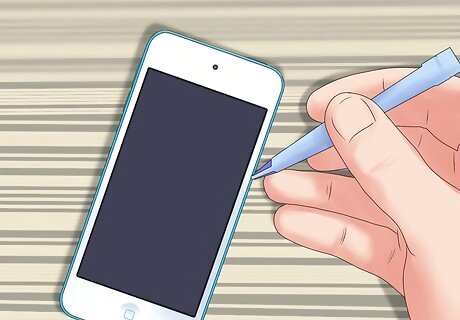
Open the iPod. A set of iPod opening tools is recommended for getting into the seam of the iPod to disengage the tabs. You can use a thin flat-head screwdriver if you don't have an iPod opening tool. Start by inserting your tool into the seam at the top of the iPod, near the headphone jack. Run the tool to the corner, creating an opening. Leave the tool inserted to keep the gap open. Move the second tool down the seam on both sides, releasing the tabs that hold the casing together. There are two tabs at the bottom near the dock connector.
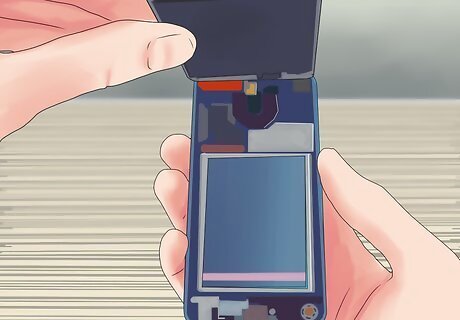
Disconnect the two halves. Once you've separated the halves, gently open the iPod like a book. You will notice a cable connecting the iPod's logic board to a small board on the other half. This is the headphone connector, and needs to be removed to continue. Disconnect it from the iPod side by gently pulling the connector straight up.
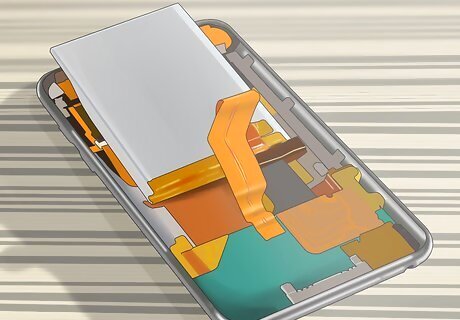
Disconnect the hard drive. Hold the hard drive with one hand and pull the cable out from the bottom. You may need to wiggle the cable slightly to get it loose. Remove the hard drive and set it aside. Peel the tape off covering the hard drive cable's connection to the logic board. Flip up the black connector with your fingernail and pull the cable directly out. Set the cable aside.
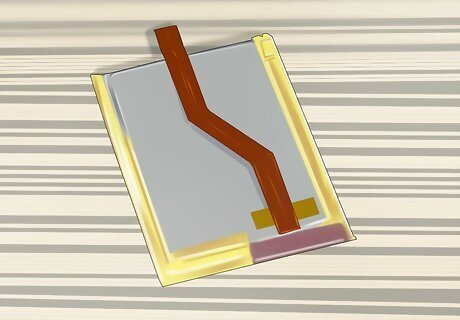
Disconnect the battery. On the bottom corner of the logic board you will see a small, white connector. Gently pull this connector out, making sure that you are only grabbing the connector, and not the cables.
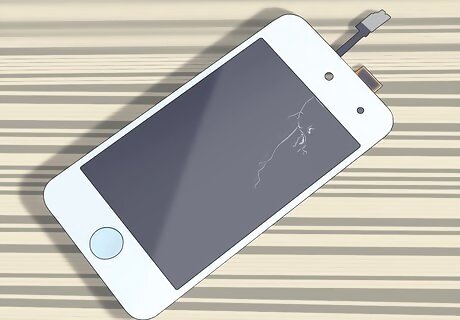
Disconnect the display and click wheel. On the opposite side of the battery connector, you will see a small connector with a black tab. Up the side you will see another, larger connector with a black tab. Flip up both of these so that you can remove the ribbon cables from the connectors.
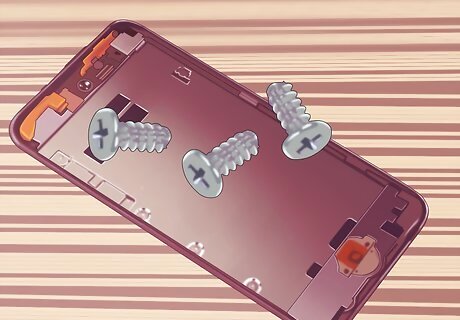
Remove the Torx screws. There are six Torx screws located around the edge of the logic board. You will need to remove each of these to separate the logic board from the front panel. Carefully remove the logic board by gripping the edges of the large end.
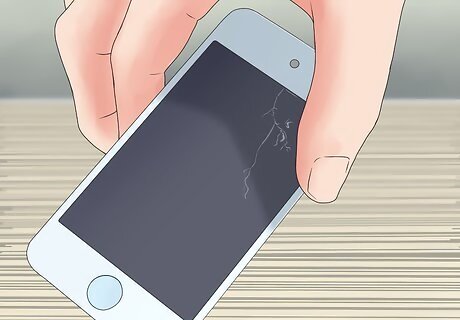
Remove the display. After you remove the logic board, you will see the display panel. Pull this straight out to remove it. It may have some adhesive, so you might have to wiggle it a bit. Replace it with your new screen, and then follow these steps in reverse to close up the iPod.
Replacing a Cracked Original iPod Screen (5th Generation)
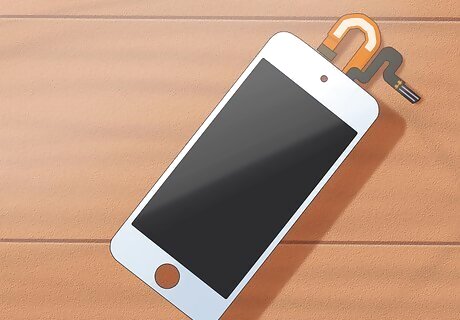
Obtain a replacement screen. You will need to order a replacement screen for your iPod. Replacement screens can be ordered online for about $20 USD. Make sure to order the display for the 5th Generation iPod with Video, or the display will not work.
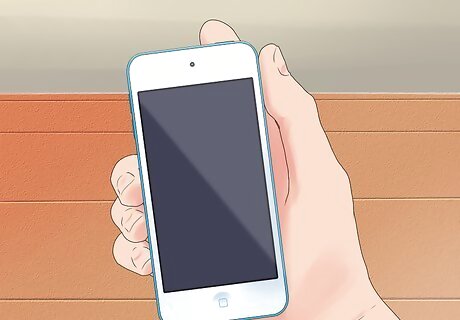
Toggle the Hold switch on. Make sure that the iPod is turned off and locked with the Hold switch toggled on before opening your iPod. This will ensure that you don't accidentally turn it on while working on it.
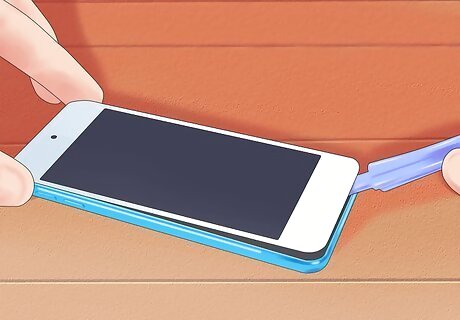
Open your iPod. Use an iPod opening tool or a flathead screwdriver to gently by the front casing from the back. You will need to disengage the tabs around the edge of the iPod. Don't completely separate the two halves when you disengage all of the tabs. There are ribbons connecting the two halves that could get damaged if you pull it apart.
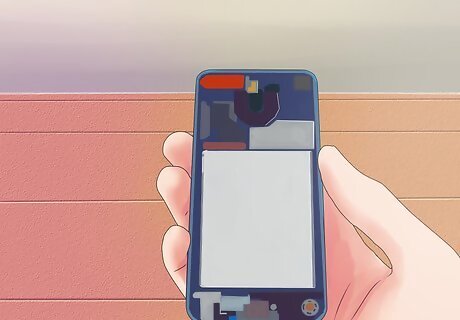
Disconnect the battery cable. You will see a small, brown latch holding a ribbon cable in place in one of the corners. Use tweezers to lift the latch so that you can slide the ribbon cable out. Don't pull the latch too hard, or you may accidentally separate the logic board, which will render your iPod essentially unusable.
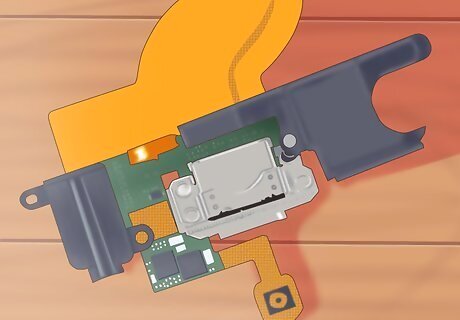
Disconnect the headphone jack. At this point you should have one cable connecting the two halves of your iPod. This cable connects the headphone jack to your logic board. Lift the hard drive up to reveal the brown connector. Use your fingernail or opening tool to lift the latch on the connector and release the cable. Pull the cable out with your fingers and your iPod halves will now be completely separated.
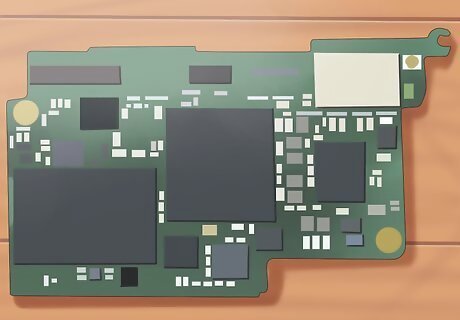
Remove the hard drive. Lift the hard drive up from the top of the iPod, and remove the ribbon cable that attaches it to the circuitry. You may need to use your opening tool to release the hinge on the motherboard connector cable. releasing it from the hard drive.
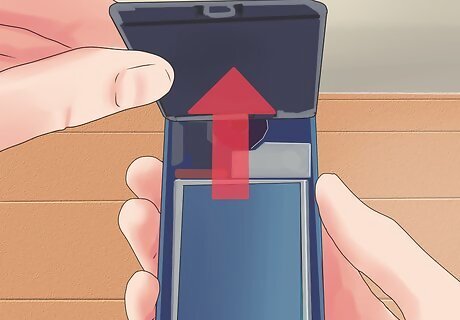
Remove the front panel. On the each side of the iPod, you should see several small screws. Remove these with a Phillips screwdriver and set the screws somewhere you won't lose them. Once the screws are removed, work the metal framework free. There will be a little resistance, as the framework is usually lightly glued to keep it in place. The framework houses the logic board, front display, and click wheel. Lift it completely out of the front panel.
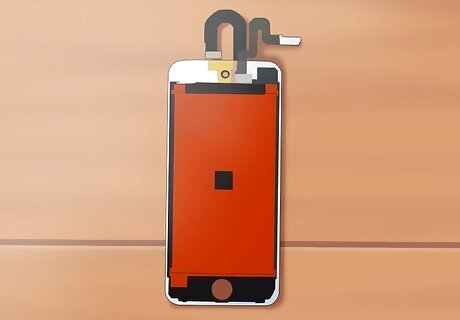
Remove the display. On the logic board, you will see another ribbon cable connected. This cable attaches to the display. Flip the tab up that holds the ribbon in place. Gently wiggle the display free from the framework, and lightly pull it out. The ribbon cable will come with it.
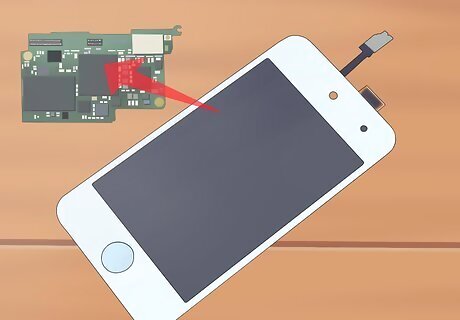
Install your new screen. Now that the display is separated, you can install your new screen. Insert the new screen's cable into the logic board and close the tab to secure it. Follow the previous steps in reverse to reattach all of your components and close up your iPod. You will likely need to perform a restore once your iPod has been put back together. See the first method in this article for details on how to restore your iPod.
Replacing a Cracked iPod Touch Screen (3rd Generation)
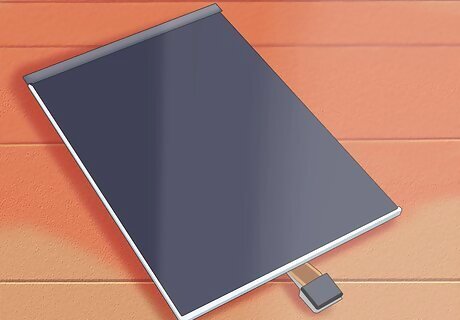
Obtain a replacement screen. You will need to order a replacement screen and digitizer for your iPod. Replacement screens can be ordered online for about $25 USD. Make sure to order the display for the iPod Touch Gen 3, or the display will not work.
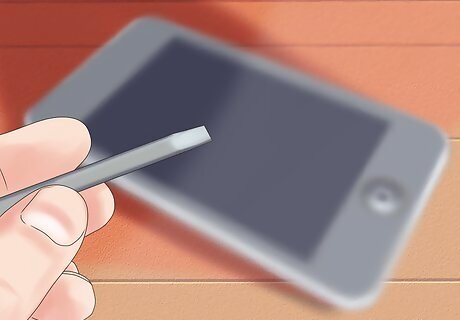
Open the iPod. You will need an iPod opening tool or a thin flat-head screwdriver in order to separate the case of your iPod touch. A screwdriver is more likely to leave scratches than an iPod opening tool. Insert your tool into the seam between the glass and plastic near the volume buttons. Rotate the tool to pry the glass away from the casing. Continue doing this around the edge of the iPod. Do not run the tool down the seam. Instead insert, pry, and remove it to insert it in another location. Detach the clips around the inside of the casing that hold the glass panel in place. Lift the panel away from the rest of the iPod, lifting from the bottom. The panel will still be attached by a cable at the top.
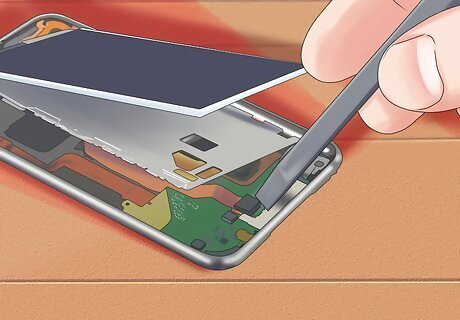
Detach the cable attaching the panel to the iPod. This is located at the top of the iPod, and is very fragile. You will need to gently pry the connector off of the logic board with your opening tool.
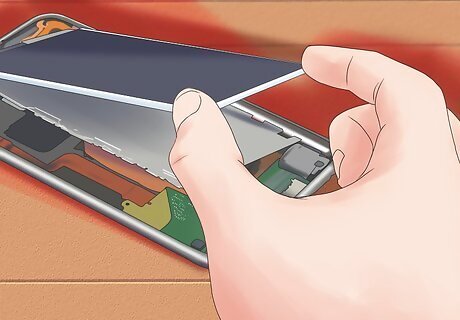
Pry the display up. Insert the opening tool between the white backlight assembly and the metal panel beneath it. Insert the tool at the bottom end of the display, in the middle. Gently pry it up, taking care not to bend the screen as you do so. Rotate the display up, leaving the top near the iPod. You will need to continue holding this up while you work underneath it.
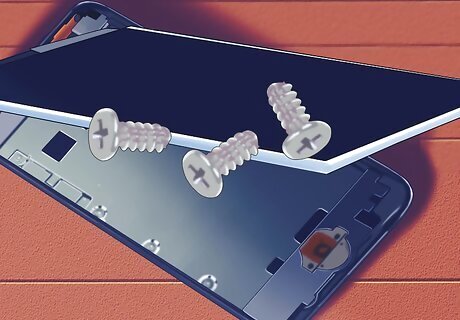
Remove the screws in the metal tray. underneath the display you will see a metal tray with seven Phillips screws in it. You will need to remove all seven to continue. Lay the display back down and remove another Phillips screw at the top edge of the iPod.
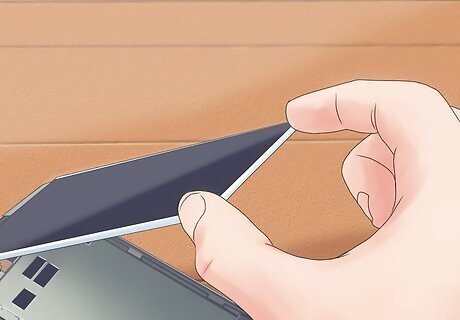
Disconnect the display. Once all the screws have been removed, lift the display up once more, and then lift the newly-freed metal tray up. Rotate them both towards the top of the iPod. Peel the copper tape off of the top edge of the display. Leave it attached to the metal tray. Peel the tape that covers the display cable. It is revealed when you lift the metal tray up. Pry the display cable out of its socket. This is located towards the bottom of the iPod underneath the metal tray. Peel the cable off the adhesive that keeps it attached to the rear panel.
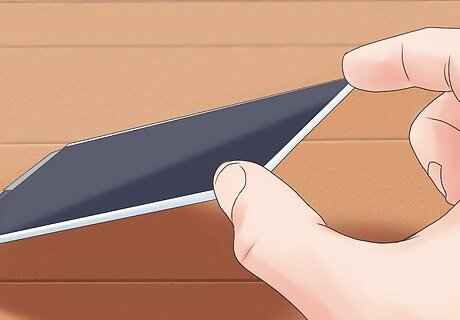
Remove the display. With the cable disconnected, you can lift the display out of the iPod. Lift the metal tray a little so that the display cable does not get caught when you lift the display unit out.
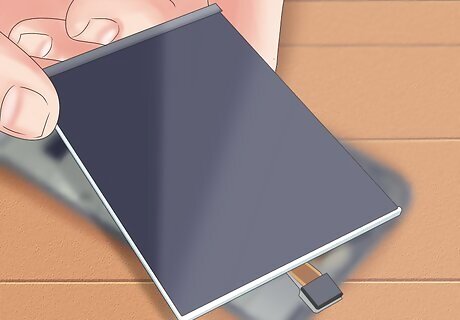
Install the new display. Take your new display and run the new display cable back to where you disconnected it originally. Connect the cable and then follow the above steps in reverse to secure everything and reassemble the iPod.
Replacing a Cracked iPod Touch Screen (5th & 6th Generation)
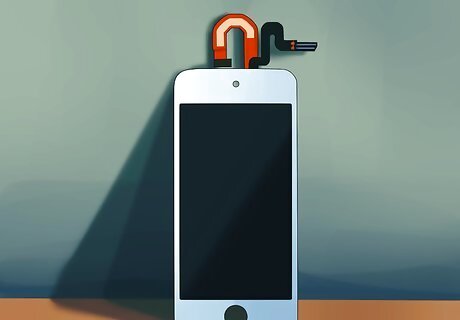
Obtain a replacement screen. You will need to order a replacement screen and digitizer for your iPod. Replacement screens can be ordered online for about $100 USD. Make sure to order the display for the iPod Touch Gen 5, or the display will not work.
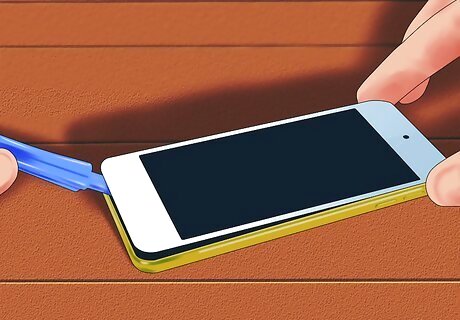
Remove the front panel. To remove the front panel of your iPod, you will need a small, strong suction cup. Place the suction cup on front of the iPod, towards the bottom. The bottom edge of the suction cup should be covering the upper half of the Home button. Press the suction cup firmly to create a good seal. Hold the iPod firmly on a table or workbench with one hand, gripping the edges. With your other hand lift the suction cup. Pull firmly, as you will need to break the adhesive in order to lift it out. Only remove the front panel about an inch or so.
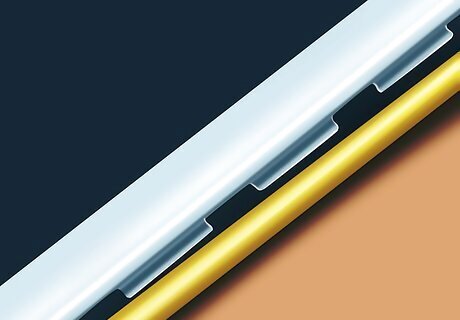
Release the frame. Once one end of the panel has been lifted, you can start working on removing the small plastic frame that sits between the front panel and the metal backing. There are several clips running along each side of the iPod. Insert your opening tool to release these clips, which will eventually release the frame. Once the frame is released, flip the front panel up so that the insides are completely exposed. Take care not to separate the halves at the top as they are still connected with cables. Lay both halves end to end on your work space.
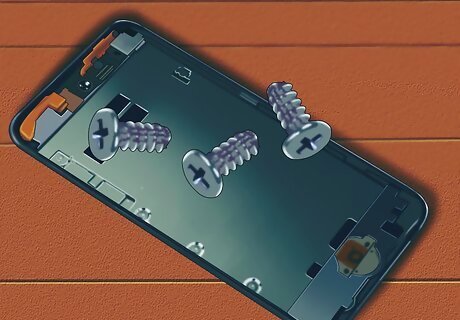
Remove the screws securing the metal plate. The inside of the iPod is protected by a large metal plate. You will need to remove 11 screws in order to take the metal panel off. Once the screws have been removed, lift the plate out of the iPod.
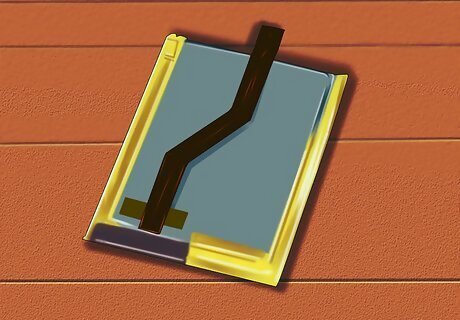
Remove the battery. In order to get at the cables in the iPod, you will need to remove the battery. First, remove the three screws at the top that secure the logic board to the iPod case. Insert the iPod opener tool into the notches around the battery. Gently pry the battery up using these notches. The battery is secured with a lot of adhesive, so you will need to proceed slowly and use all of the notches. Once the battery has been freed from the adhesive, flip it to the side of the case. Proceed slowly, as the cable is soldered to the logic board.
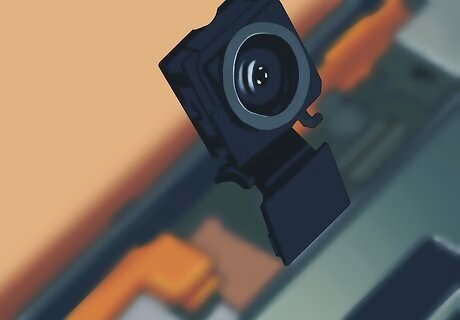
Pop the camera off. Use the opening tool to pop the front camera out of it's housing at the top of the iPod. It will flip out of the housing.
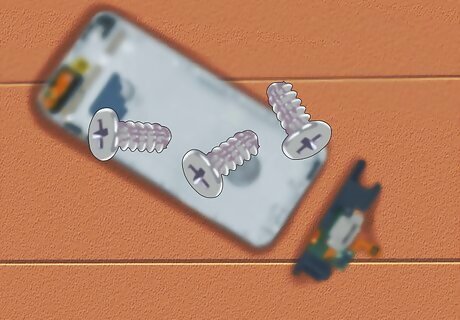
Remove the screws that secure the Lightning connector, headphone jack, and speaker. These can be found at the bottom of the iPod. You will need to remove an edge of the copper tape to reveal one of the screws. There are five screws total: three around the Lightning connector, and two holding the headphone jack and speaker. Pry the speaker out of the case once you have removed the screws. Pull the Lightning connector out by gripping the large flat cable and pulling gently.
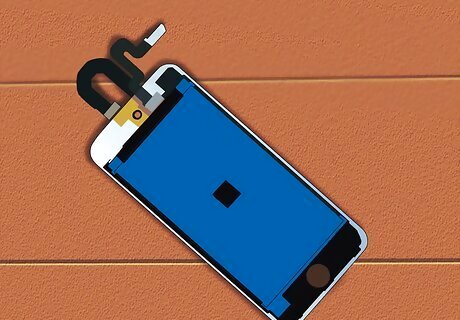
Disconnect the display. Flip everything over, and you will see the back of the logic board. On the edge of the board, you will see a cable connecting the logic board to the digitizer. Use your opening tool to remove the cable. Disconnect the display cable (separate from the digitizer cable) from its socket on the logic board. Flip the Lightning connector assembly up and peel the display cable off of the logic board.
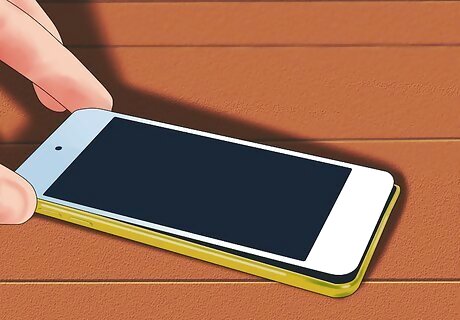
Install the new display. Pull the old display assembly out of the iPod once it's all separated. Install the New display assembly and follow these steps in reverse to secure all of the components and close up the iPod.





Comments
0 comment