
Google Chrome

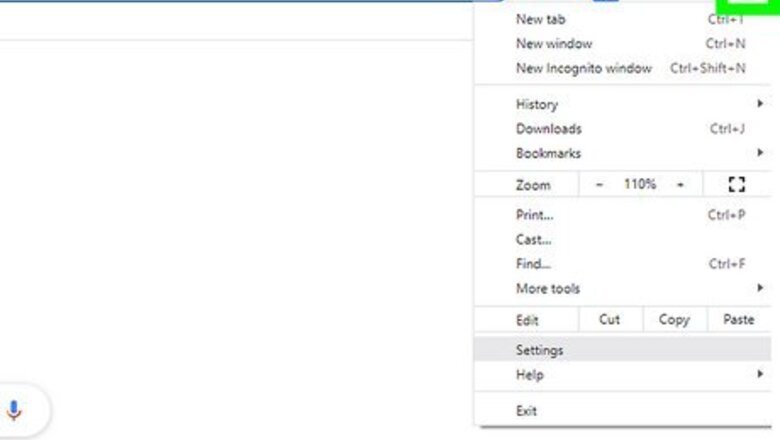
Click the three-dot menu in Chrome ⋮. You'll see these three vertical dots at the top-right corner of Chrome. These steps will work on any PC, Mac, or Chromebook. If you're using an Android, iPhone or iPad, you can't turn off spell check just for Chrome—you can only disable spell check globally for all apps. This might be risky if you're not the most careful typist, so do so at your own risk: To disable spell check for iPhone/iPad apps, go to Settings > General > Keyboard > and disable "Check Spelling" and/or "Auto-Correction." To disable spellcheck for Android, you'll need to do so from your keyboard app. If you're using Gboard, go to Settings > Text correction and toggle off "Spell check" and/or "Auto-correction." To disable spellcheck on a Samsung Galaxy, go to Settings > General management > Samsung Keyboard settings > Auto spell check and turn the feature off. You can also do this for Auto replace if desired.
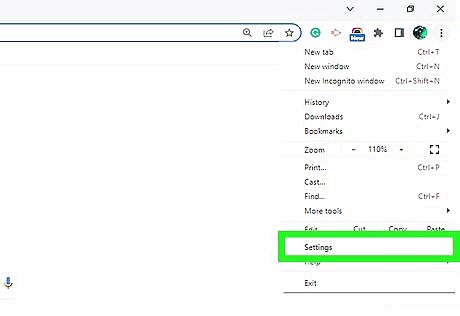
Click Settings. It'll be near the bottom of the menu.

Click Advanced. This option is in the left panel. Additional options will expand beneath it.
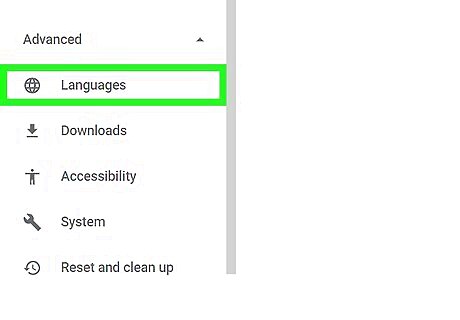
Click Languages. It's the first option under the "Advanced" menu heading.
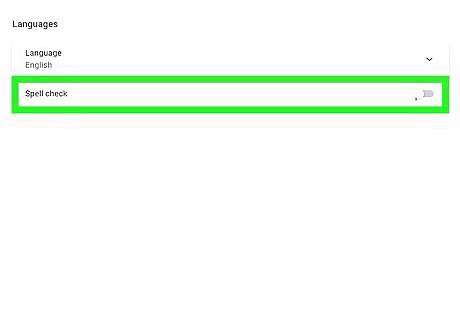
Click the switch next to "Spell check" to completely disable spell check. If you no longer want Chrome to check your spelling at all, this option ensures that potential errors are no longer underlined. If you'd rather switch to a different spell check mode, you have a few options: When Enhanced spell check is enabled, Chrome will send the text you type to Google for better spelling suggestions. To use a simpler version of spell check that doesn't send your text to Google, you can opt for Basic spell check. You can also toggle spell check on or off for individual languages you're using in Chrome. Under "Use spell check for," click the switches next to each installed language to enable or disable spell check.
Google Docs and Slides
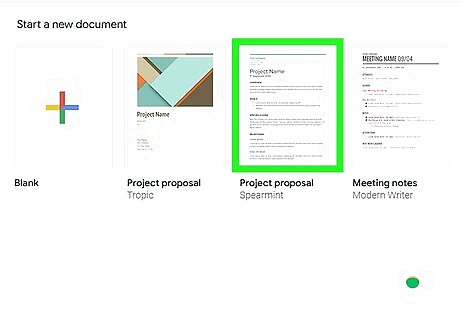
Open a file in Google Docs or Slides. If you want to turn off autocorrect and/or spelling for Google Docs or Slides on your PC, Mac, or Chromebook, you can do so from within any open Google Doc or presentation. You will need to do so through two separate actions. Disabling autocorrect disables automatic corrections for all of your Docs or Slides files. Disabling spelling suggestions prevents Docs and Slides from underlining suspected errors in red. However, it will only apply to the document or presentation that's open now. It's not possible to disable spell check for Docs or Slides on an Android, iPhone, or iPad.
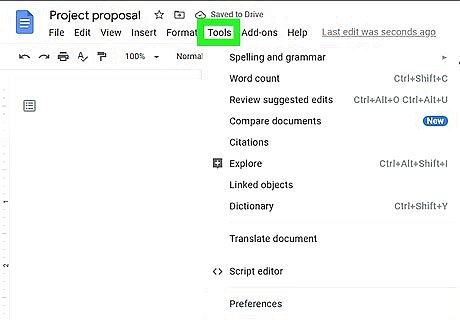
Click the Tools menu. It'll be at the top of the window.

Click Preferences. It's at the bottom of the menu. This takes you to the General tab of the Preferences window.
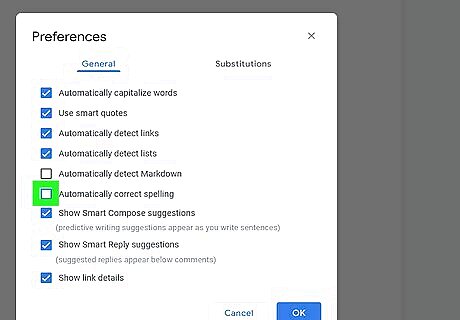
Remove the checkmark from "Automatically correct spelling." If you remove this checkmark, Docs or Slides will no longer instantly correct spelling mistakes as you type. At this point, you'll still see red underlines below each potential spelling error. If you want to get rid of those red underlines to completely disable spell check, read on.

Click the Tools menu again.
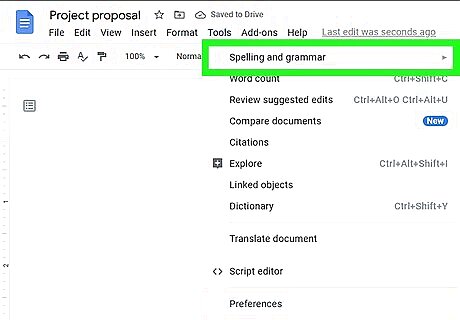
Click Spelling and grammar. It's the first option.
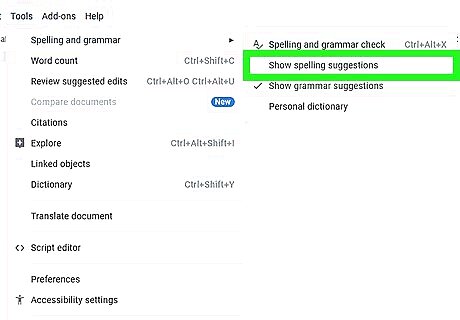
Click Show spelling suggestions. This removes the checkmark from the option, which also removes any red underlining from potential spelling errors. If you want to stop seeing red underlines below potential grammatical errors as well, return to Tools > Spelling and grammar and click Show grammar suggestions.


Comments
0 comment