

- To change the cursor speed, go to "Settings" → "Accessibility" → "Switch Control" → "Gliding Cursor" → "-" or "+".
- Switch Control must be enabled to adjust the speed of the Gliding Cursor.
- The Gliding Cursor highlights each tappable item on the screen. Currently, you cannot change the speed of Apple's on-screen text cursor.

Open the Settings app. This looks like a grey cog icon. The Gliding Cursor is an iOS feature that highlights tappable menu buttons and makes them more accessible. Be sure to update your iPhone.
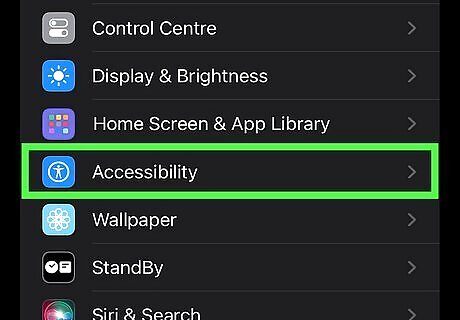
Tap Accessibility. This will be underneath Home Screen. You may need to scroll down to find this option.
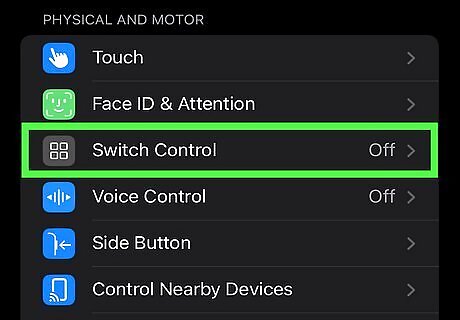
Tap Switch Control. You can find this underneath the Physical and Motor header. A new page will open. If Switch Control isn't already enabled, tap the switch for "Switch Control" to enable it now. You can adjust the timing by tapping Auto Scanning Time.
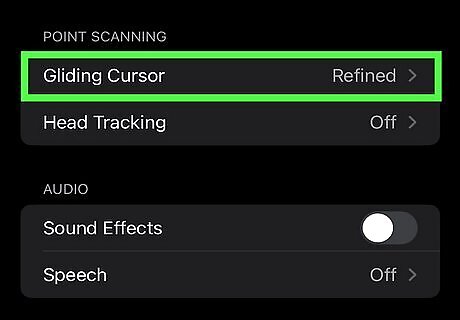
Tap Gliding Cursor. This will be underneath the Point Scanning header.
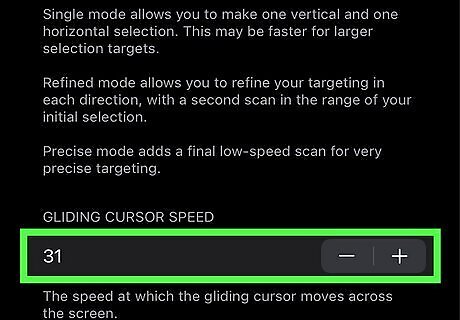
Tap the - and + buttons to change the speed. This will change the number to the left. The higher the number, the faster the cursor will move when using the switch control. The new speed will be applied immediately. Alternatively, you can tap directly on the number to type in a speed. If you don't want to use the Gliding Cursor anymore, you can disable Switch Control by tapping the switch to toggle it off.


Comments
0 comment