
Preparing the Space
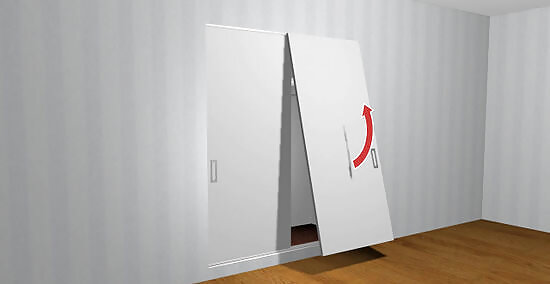
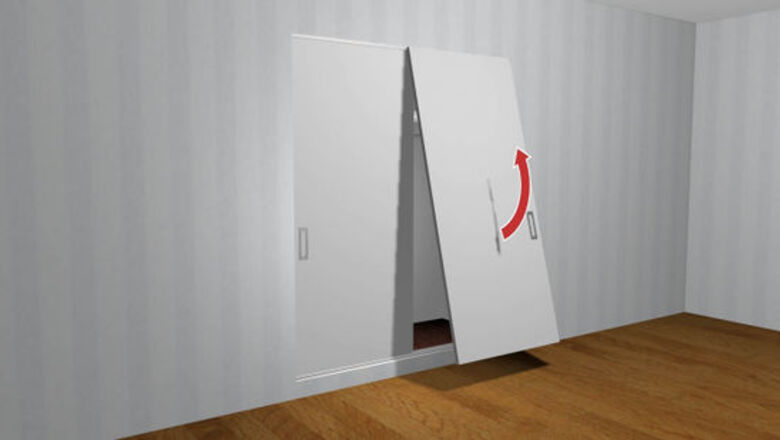
Remove the old doors. If you want to install completely new sliding doors, then start by removing the old doors and tracks. Lift up on the old doors until the rollers come off the track. Angle them toward you as you lower the top guide away from the top track.
Remove the old tracks. Unscrew the old tracks and pry them off if necessary. For wooden tracks coated with paint, use a utility knife at the edge of the track. This will stop the adjacent paint from potentially peeling up with the track.
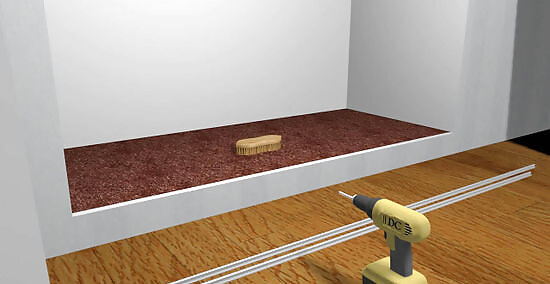
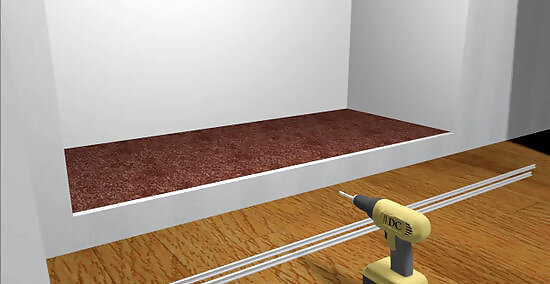
Clean up the area. Remove any leftover debris. Precision measurements are essential for proper installation.
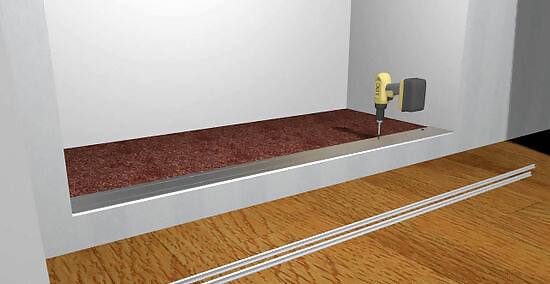
Install a floor liner. If the closet space has carpeting or a rug that sits right next to the door, you should install a floor liner. These inexpensive liners fit beneath the bottom track. They keep carpeting or rugs from binding the door rollers. If you decide to install a floor liner beneath the bottom track, set it in place before you measure to ensure accurate measurements.
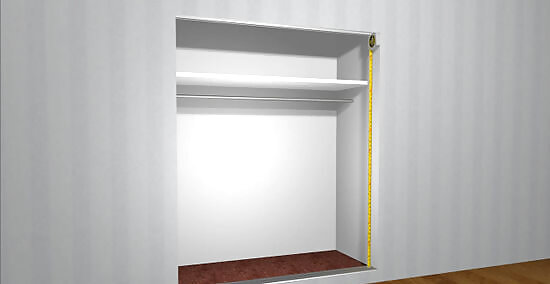
Measure the space for the doors. Before you even buy doors, measure the space because not all doors are created equal. Take a horizontal measurement from the edge of the left wall to the edge of the right wall. Take a vertical measurement from the floor (or liner) up to the top of the space. Since the height from one end of the closet to the other can differ, take the height measurement at the middle and each end of the opening. Use the smallest of the measurements. Measure twice and write the measurements down to take with you. If the top of your closet space has a fascia (a decorative, overhanging accent piece), then make sure you take your measurement behind the fascia where you will install the track. If you have an existing track system that’s in good shape, be sure that it will work with the new doors.
Installing the Tracks and Doors

Buy doors. Using your measurements, buy doors for the space. Most door sets come with corresponding tracks (typically made of aluminum) that you can cut to size. The actual rollers on the doors typically have an adjustable screw to change the lift of the roller. Look at the variance figures on the doors to ensure they’ll fit your space. The combined width of the doors should equal the width of the space plus approximately 1”. This will give the doors 1/2” of overlap, ensuring you do not end up with a gap between the doors. If you buy tracks separately from the doors, remember that most tracks come sized for 1-3/8” thick doors. Thicker doors may need special-sized tracks.
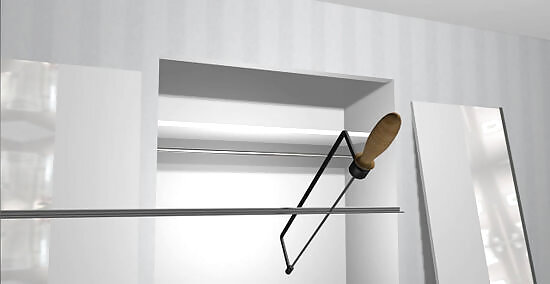
Cut the tracks to size. You will likely need to trim the tracks that come with the doors down to size. Measure twice and cut once to ensure you don’t cut too much off the tracks. The width of the closet opening can vary from top to bottom, so measure the width at both spots to ensure you cut each track to the proper length. Most tracks are aluminum. You can easily make the cut with a hacksaw or any type of electrical saw. If using an electric saw, always wait until the blade is spinning before cutting metal.
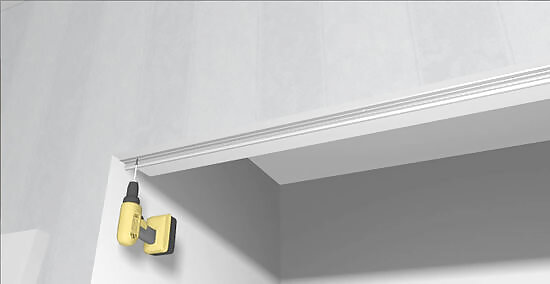
Install the top track. Since the rollers on the doors do not align perfectly with the guide on the top track, you must install the top track slightly farther back on most doors. This adjustment is tiny—approximately 5/16”. The exact adjustment will vary based on your chosen doors, so follow the instructions with your doors carefully when screwing the top track into place.
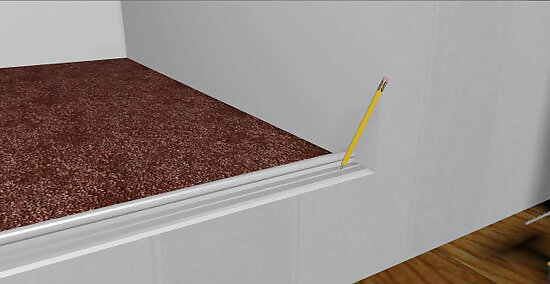
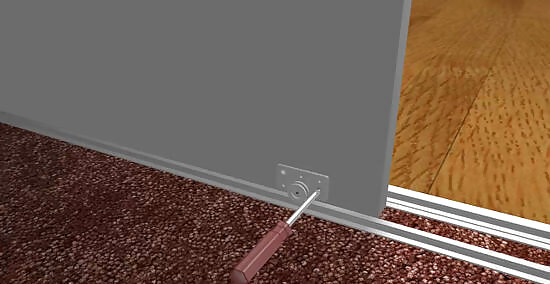
Install the bottom track, if needed. Most sliding doors don’t have a bottom track. If they do, though, first set your bottom track in place. Then use the pre-drilled holes to screw the track down to the floor. If your space has carpeting over a concrete slab, then put a piece of masking tape on the carpet before setting down the track. Mark the tape by poking a pen or pencil through the pre-drilled hole. Then use the marking on the tape to drill your pilot hole through the carpet into the slab before screwing the track down. Be careful if you’re drilling through carpet. The drill bit can easily catch and unwind carpet loops. In fact, it’s smart to cut out a small section of the carpet slightly bigger than the bit.

Fit the rear sliding door. Since the doors will overlap slightly, you will need to fit the rear door before the front door. To install, lift the top of the door into the rear track guide at a slight angle, and then tilt the bottom into place. Ensure that the rollers properly align in the rear bottom track.

Fit the front sliding door. Once you have the rear door in place, use the same process as in the previous step to install the front door.
Adjust the rollers. The rollers at the bottom of each door typically have an adjustable screw to slightly raise the door. Adjust the door height to raise the door, which will give a bit more clearance for the rollers and keep the wheels from binding with carpet. Some designs will snap the rollers into place along the track as you adjust the height screw. Other sliding door designs may have a small switch on the roller assembly that locks the roller into the bottom track. Follow the directions on your specific doors.


Comments
0 comment