
Sketching Basic Images
Tailor images based on reading level. Different age ranges of readers require different kinds of illustrations. If you are writing for very young children, each major plot movement may need to be portrayed in your illustrations in obvious and easy-to-follow ways. Slightly older readers who can read most or all of the story themselves, however, may only require illustrations that portray central themes and moments in a chapter.
Gain inspiration from the work of other artists. There’s no shame in consulting the styles of other successful children’s books for ideas. Additionally, look to other forms of art--such as paintings, textiles, or film--to get ideas for the general aesthetic of your images. If you’re writing for younger audiences, the works of Dr. Seuss might be a great place to start; his whimsical and original style paved the way for a great deal of other children’s artists. Try to look at art related to the setting of your story. For example, if you’re illustrating a tale about knights and castles, you should try researching art from the middle ages.
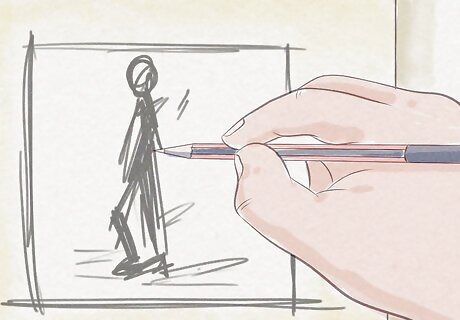
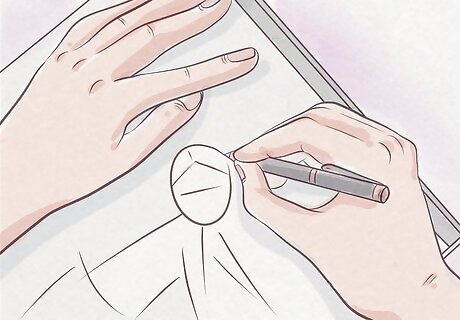
Draw thumbnail sketches of the book. These small, un-detailed sketches--only a square inch or two in size--will allow you to trace out the visual flow of the whole book. There’s no need to erase or revise these; just quickly draw and let your ideas flow. Focus on landscape design, focal points, and general scene layout.
Draw some study sketches of your story. Focus on character development, exploring a range of potential expressions, postures, and moods for each character you intend to illustrate. You can use these as references throughout the whole illustration process. For example, if your main character begins the book in a sad state and ends happy, try drawing him or her in both poles of emotion, developing intermediate expressions in between. Practicing drawing the same character in different positions so you can get better at poses.
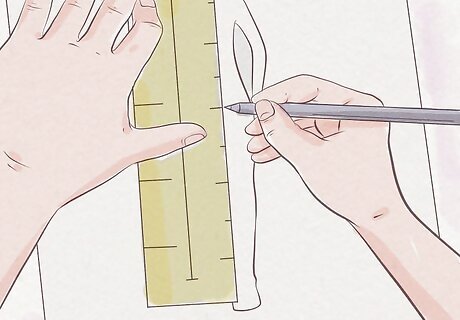
Create a sketching template. Each illustration you produce will eventually cover one or two pages of a physical book, so it’s important to match the dimensions of your sketch with those of your final product. Try creating a precise grid with a pencil and a ruler on your sketch paper before sketching your scenes. If your illustrations cover two pages, make sure to mark the area occupied by the spine of the book, and avoid sketching important details in this space. Make sure to determine where the author intends to place the text on each page. Mark these areas with a grid, and avoid sketching over them with details.
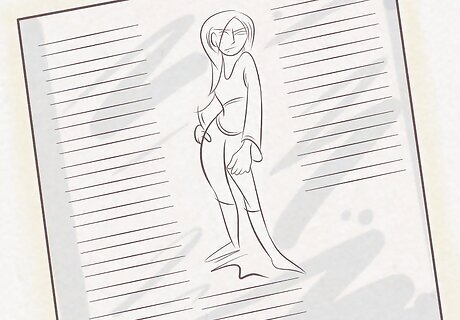
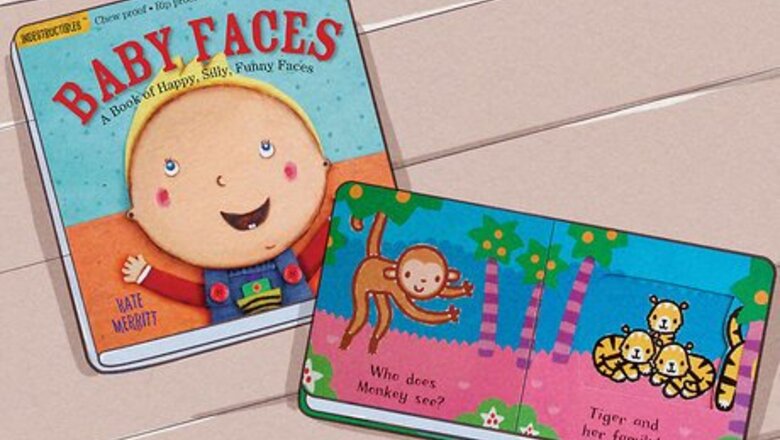
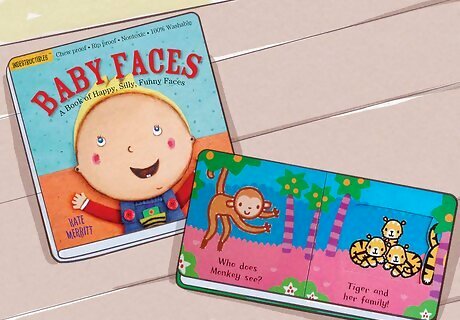
Work with the text. Your illustrations should seamlessly follow the plot of the book as printed on each page. Try to capture details portrayed in the story, and look for ways to subtly foreshadow events in coming pages with your images.
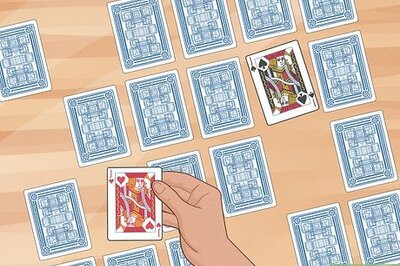
Check for consistency. Make sure each of your characters are easily identifiable across the entire book. Check for consistent clothing, coloration, and expressions. If characters are hard for children to identify across multiple spreads, they may struggle to follow the plot of the book.
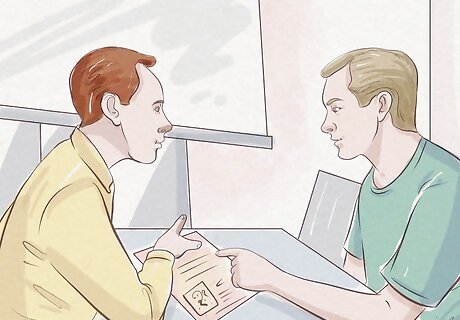
Share your sketches with your client. If you are illustrating for a client, be sure and run your sketches by them before proceeding. At this stage, images are relatively easy to alter or replace, and it is important to have the author’s full approval and feedback before you move on to painting.
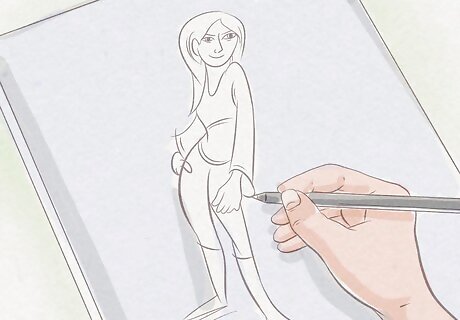
Prepare final sketches of each spread. Using your study sketches for reference, resize your images to their target size and add any extra details--objects, textures, or scenery--you want to put in the illustration. To scale accurately, try creating a measured grid over your study sketches, and simply reproduce them one quadrant at a time in a larger grid scaled to your final dimensions.
Painting and Finishing Your Image
Transfer your sketches to watercolor paper. Before you bring your sketches to life with paint, you will need to transfer them to the appropriate paper. For a simple solution, try photocopying your sketches directly onto watercolor paper using a printer. If your printer is unable to handle heavy watercolor paper, try a traditional charcoal transfer. Rub the back of your sketching paper with charcoal, attach it charcoal-side down to your watercolor paper, and retrace the image. Upon removing the sketch paper, you should be left with a carbon copy of your original sketch on the watercolor paper.
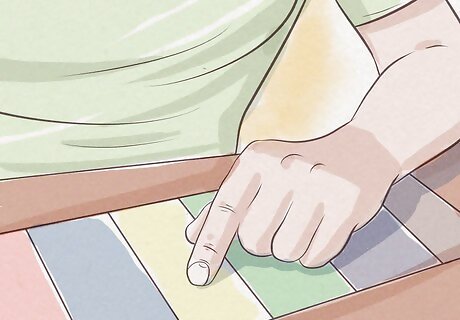
Determine your colors. Before painting, whip up a quick thumbnail study of your color palette. The colors of a children’s book can contribute as much to the mood and feel of the work as design of the drawings, so make sure to consult with the author concerning the book’s hues. Bright, vibrant colors often convey cheerful emotions, while dark amber and dark blues can give your illustrations a more somber feel.
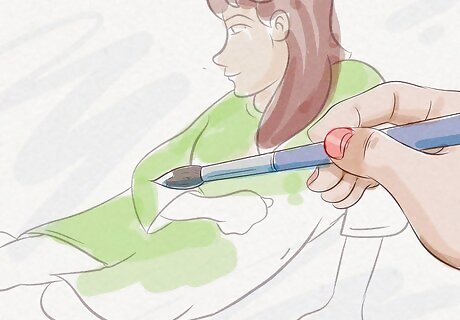
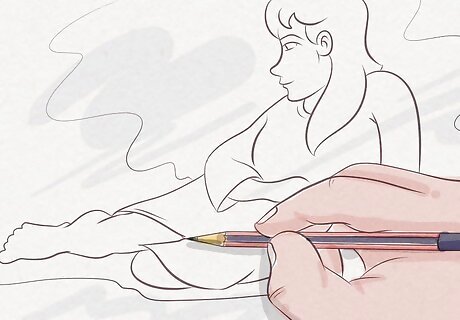
Paint with a watercolor brush. If you are new to painting with watercolors, you may want to produce some extra carbon copies for practice before attempting your final piece. Remember: painting with watercolors takes a lighter touch than other forms of painting. Brush lightly, and practice with multiple drafts to develop your skills.
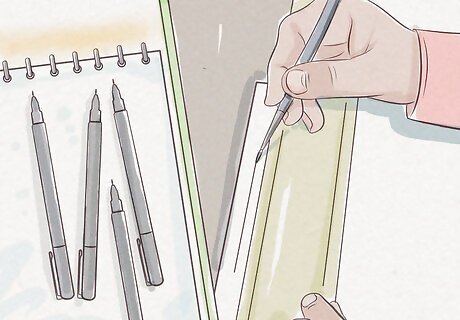
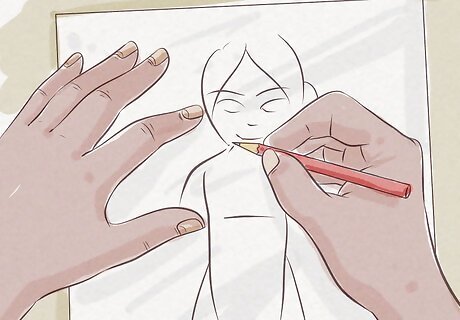
Define your lines with a pen. For extra contrast, definition, and pop, add pen outlines to some or all of your lines. To prevent bleeding, try using a pen with waterproof ink. For a more comic-like feel with harder, firmer edges, try outlining your lines with ink before painting, and simply filling in the lines. Remember: ink is optional! If you are aiming for whimsical, abstract feel, limiting your outlines or leaving them out altogether are both viable options.


Comments
0 comment